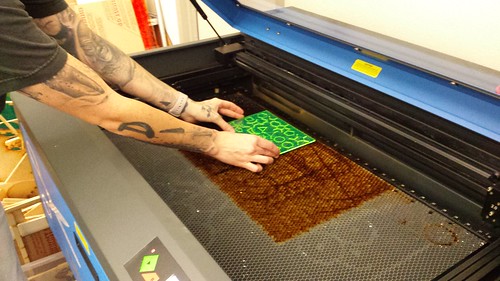
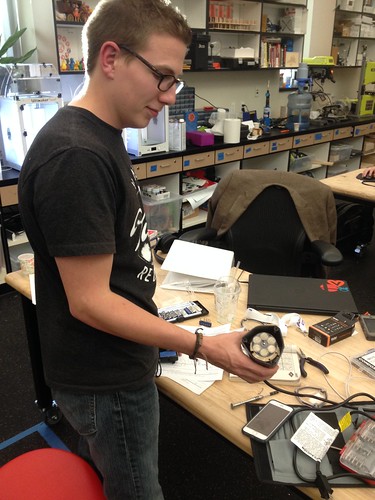
The hardware store was blowing out these Halloween ghost-projecting LED lights for $5, so I picked up a couple, with the intent of modding them to project images of our own choosing. After some initial hassle getting the nonstandard screws out of the housing, we were able to pull the whole thing apart, after which CJ (student) laser cut a new projection mask featuring Nova, our mascot. Behold!
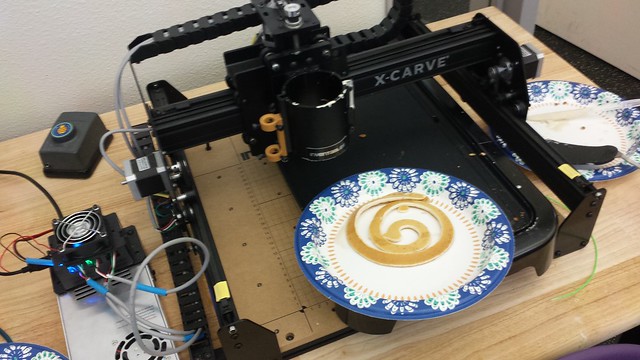
On Halloween this year, we hosted a potluck in the Innovation Center. Music, pumpkin carving, and a couple of experiments, including turning the X-Carve into a pancake machine. We went with a low tech approach, simply replacing the router with a squeeze bottle and relying on thin batter and gravity to keep things flowing.
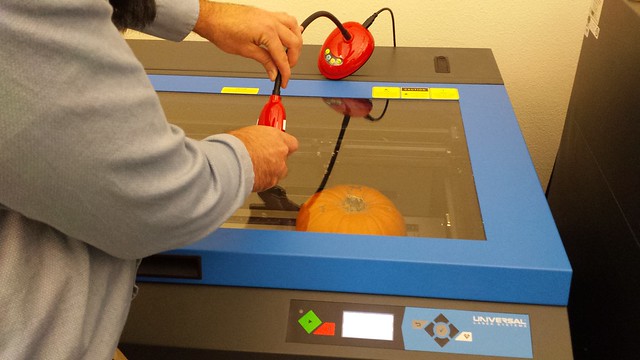
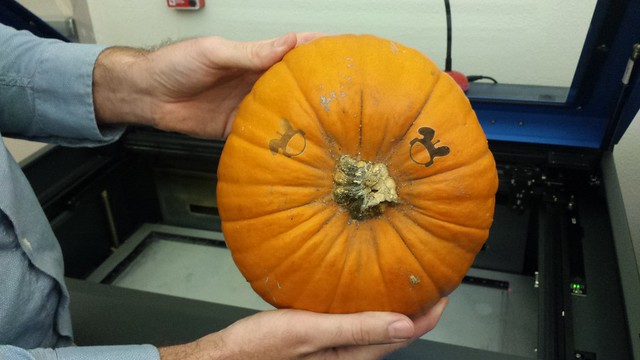
We also laser etched Nova (our space bunny mascot) onto a pumpkin, which turned out surprisingly well!
Had the opportunity this morning to share our Making Across the Curriculum efforts and statewide CCC Maker initiative with a whole bunch of high school counselors.
Too much coffee to take a steady photo, but you get the idea. Also, FLC’s counselors took turns embodying the greeter robot.
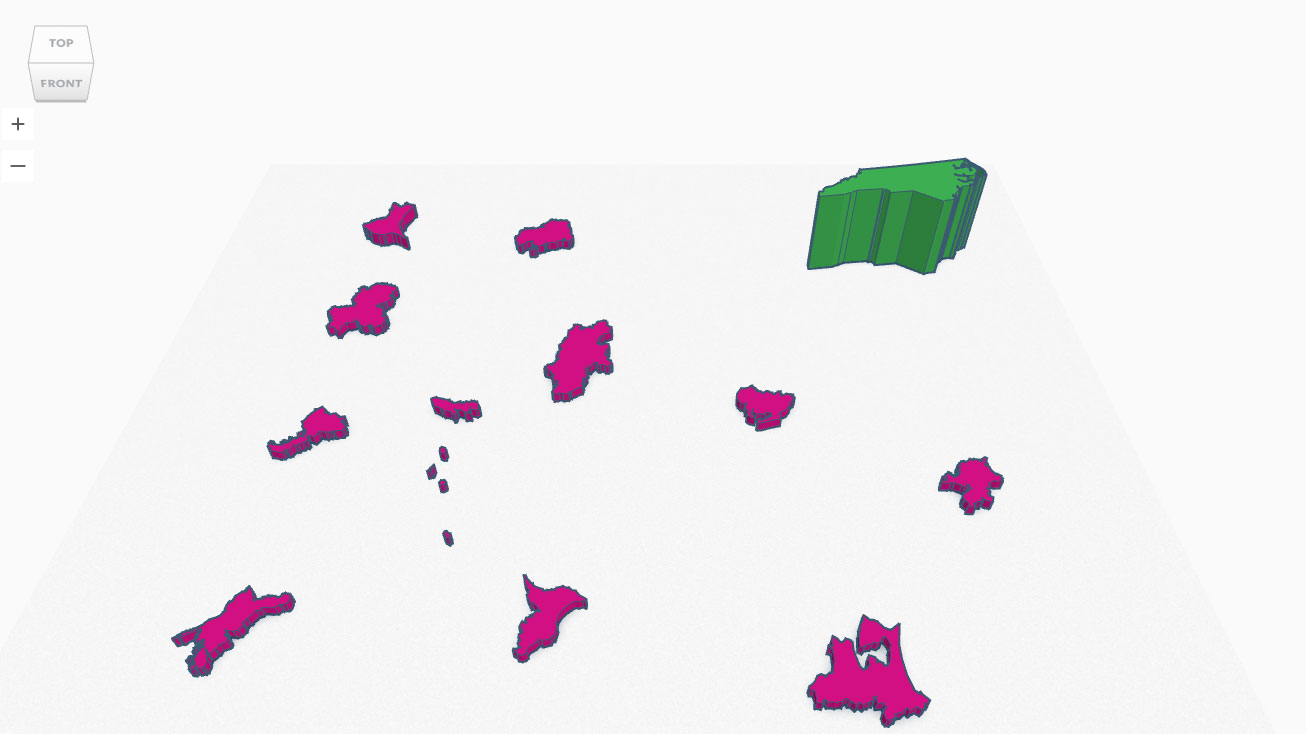
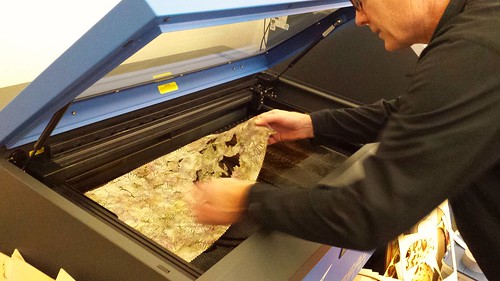
At the Rocklin Mini Maker Faire this past weekend, I spent a lot of time in the sewing lab, and was able to gain some confidence in working through the sewing process. Diane Carlson (Sociology) and I have been working to develop a collaborative quilting activity for our Making Social Change class, and one thing we’re really interested in is using the laser cutter to cut fabric. As it happens, I had an appointment yesterday morning with Mark Boguski (Ceramics and Ceramic Sculpture, Sacramento City College). Mark works in clay, and whenever he’s in the lab we end up brainstorming different ways to combine technology and other production processes traditionally associated with the studio arts; for instance, our recent experiment with multi-part stencils. I was sharing with Mark my interest in using the laser to cut fabric, and showing him Tinkercad, and in particular its *.svg export functionality. In the process of poking around, we found a Japanese prefecture generator, and decided to use that as the basis for our experiments.
Mark set up a few prefectures, after which we exported the file, opened it in Illustrator, made the tweaks required to prepare the file for the laser, then fired up the machine:
I’m not sure why, but I was surprised that it worked as flawlessly as it did. No scorching, no fuss, just crisp, clean, viciously accurate cuts.
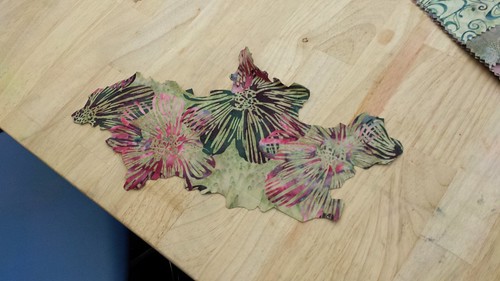
Here’s Nagano:
Not sure what Mark plans to do with them – we talked about collage, and about dipping various things in clay slip and then firing them – but we’ll certainly cut some fabric as part of Monday’s Making Social Change class.
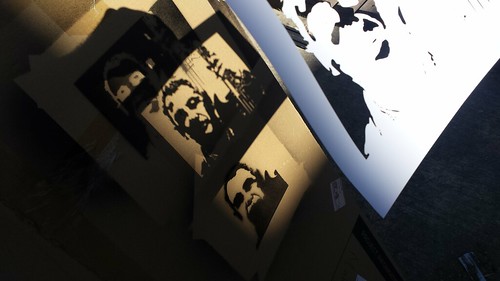
Over the years, I’ve had the opportunity to work with a few studio artists to help them incorporate digital fabrication processes into their work, and it’s always fascinating to gain some insight into how they map various concepts from “traditional” studio arts to things like laser cutting and 3D printing. This morning I had the opportunity to work with Mark Boguski (Professor of Ceramics and Ceramic Sculpture, Sacramento City College) on the laser cutter workflow. I showed Mark the gallery of stenciled images created by our Making Social Change students, and after talking about things like abstraction, legibility, resolution, and the minimum detail required to communicate a particular image, we set out to create a multi-layer stencil. Mark chose a famous image of Pete Townshend of The Who as his subject, and we used the stellar tools at stencilcreator.org to create the necessary *.svg files. I showed Mark how to prepare the files for laser cutting using Adobe Illustrator, which mostly involves setting the lines to be cut to pure red (RGB 255,0,0), and setting the strokes to .001 (which would be “hairline” in most other software programs).
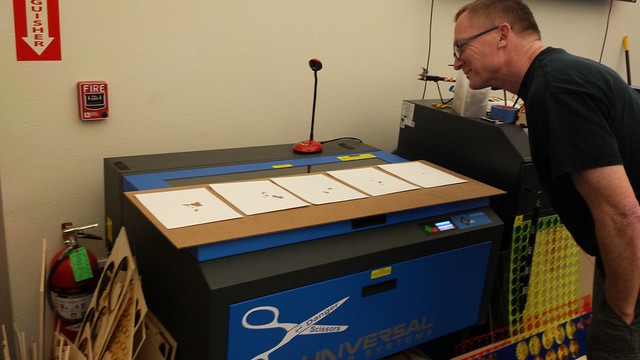
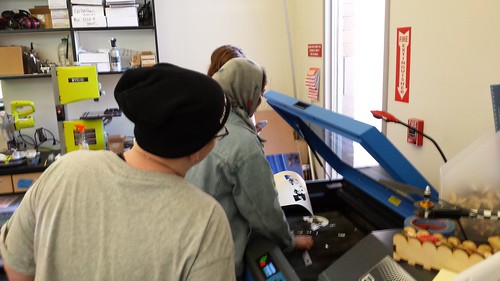
Some photos from our session…
All five images cut:
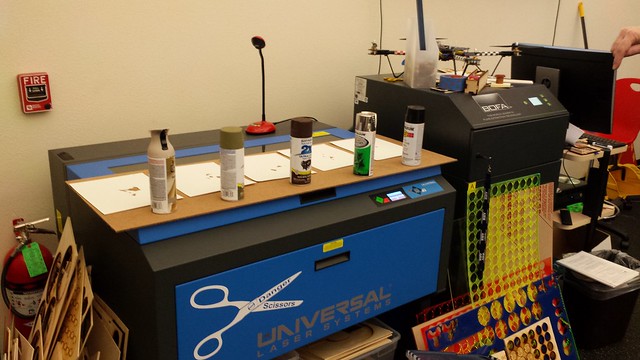
Spray paint colors chosen:
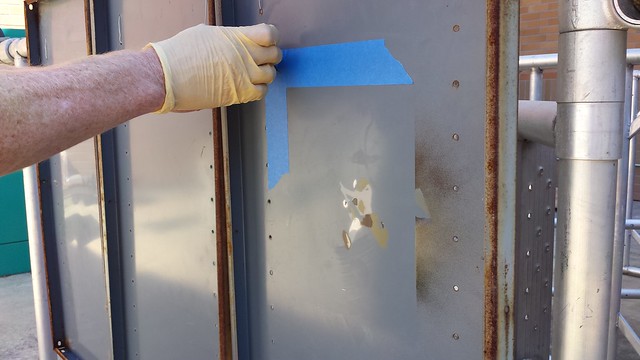
Establishing a reference point:
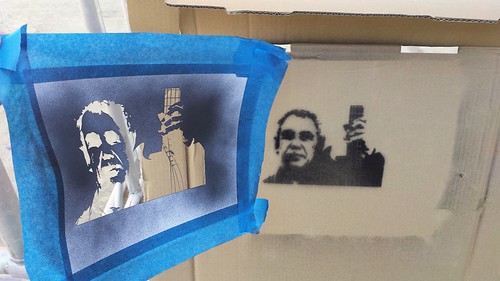
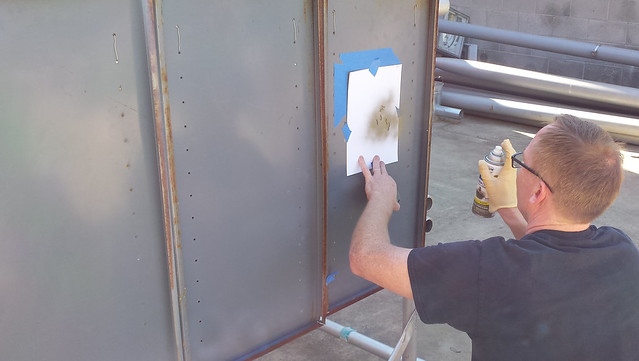
Spraying a layer:
Finished image:
Animated:
Mark and I learned a lot about the process, and there are some tweaks to be made, but it’s a great v1 prototype, and I’m eager to share it with our MSC students.
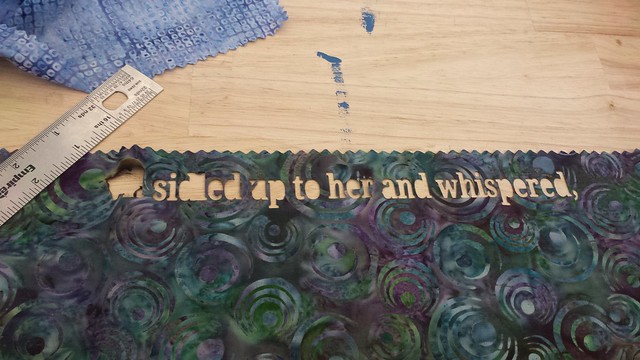
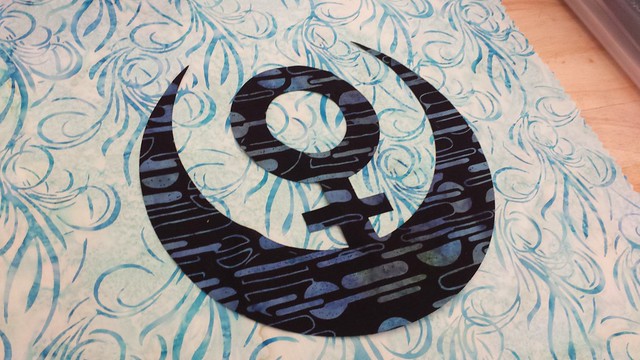
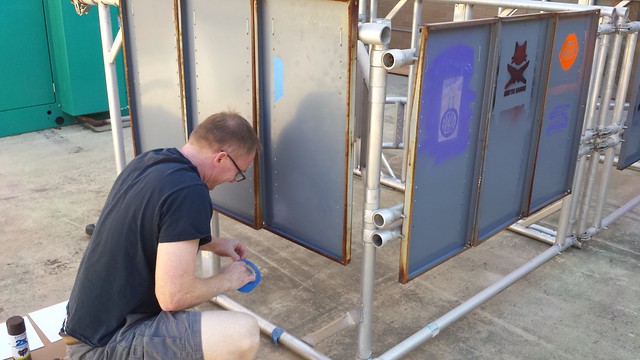
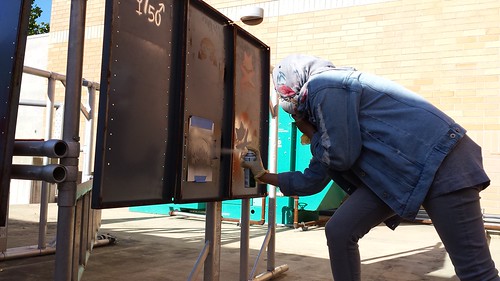
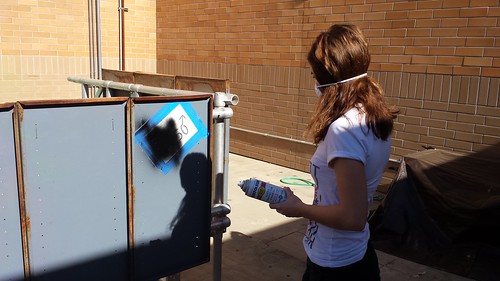
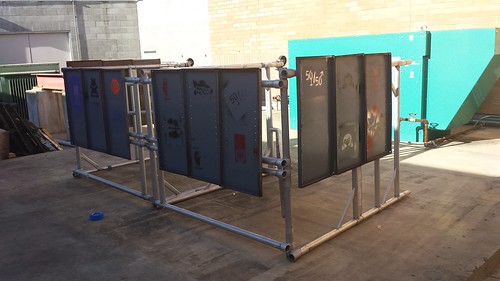
In Making Social Change today, we talked about Zapatistas and the Chiapas conflict, and the role of symbols and murals and art in political and social movements. Based on social justice issues important to them, students then created stencils using Stencil Creator and cut them out of card stock using the laser cutter. They spent the rest of the class spray painting their stencils on a makeshift gallery structure Diane Carlson (Sociology) and I created out of leftover metal shelves and an old scaffold that’s been out behind the Innovation Center for a decade or more.
This week in Making Social Change we’re looking at the Zapatista movement. One of the themes we’ll have some discussion around is political symbolism, and the use of imagery in social movements, including the various images of Subcomandante Marcos (in his ski mask and sometimes with his pipe) that came to symbolize the EZLN.
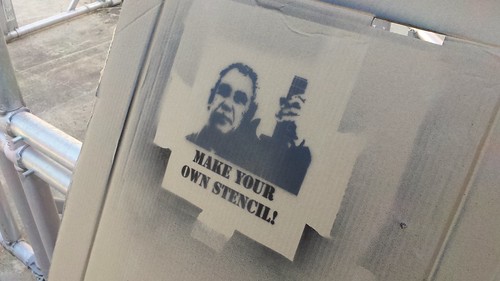
This morning I prototyped a class activity around using the laser cutter to create stencils. One of the challenges of the course is finding ways to make some of the prerequisite skills of digital fabrication – chiefly vector graphic creating and editing – more accessible to a group of students with varying levels of digital media creation skills. Enter Stencil Creator, a sophisticated web-based stencil maker. Upload an image to Stencil Creator, and the robust toolset enables some of the same sorts of functionality found in Illustrator’s Image Trace function. The system outputs files in *.svg format, and after just a few tweaks in Illustrator – haven’t yet found a way to take it out of the workflow entirely – the stencil can be sent to the laser cutter. Here’s one of the test cuts, featuring bass hero and DIY champion Mike Watt:
Watt closes his shows with a call to “Start your own band! Paint your own picture! Write your own book!” so I added “Make your own stencil!” I think D. Boon would be pleased.
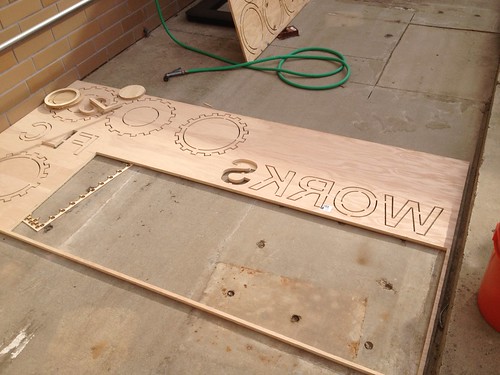
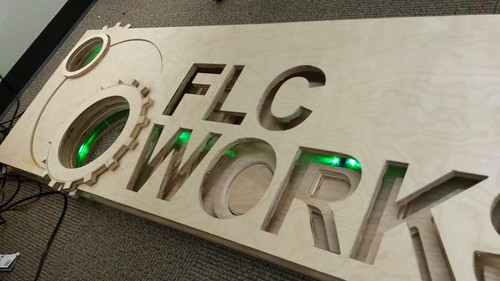
The Innovation Center has been collaborating with folks from FLC’s Career and Technical Education (CTE, soon to be just Career Education) department on a lobby sign, and after some conversations about possibilities, we were able to very quickly come up with a few scale conceptual models.
Brandon (student) has woodworking, mechanical engineering, and CAD skills, so he has taken responsibility for the project. One of the challenges Brandon is working through is scale. The largest stock the laser cutter can in our shop can cut is 18″ x 32″, but the final sign will be much larger than that. We’ve got something of a machine sharing arrangement with FLC’s Theater Arts department (the folks with whom we collaborated on the aquaponics project), and Brandon was able to get some time on their big ShopBot. Here’s some work in progress at scale…
…and here’s where the project stands now.
Brandon rigged up some temporary LEDs while we figure out a more permanent solution, and the whole thing will be polished up and stained before installation. It’s turning out to be a great example of the power of rapid prototyping, project-based learning, and of providing students with meaningful challenges related to materials, design, and fabrication.
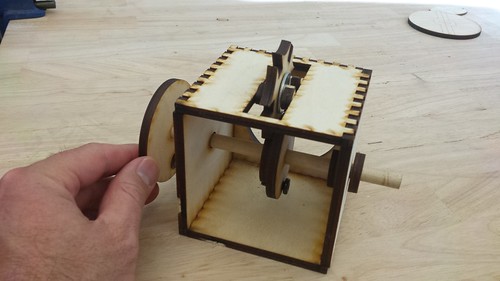
Max Mahoney (Chemistry) and I worked on a mechanical automata project this morning. Our long-term goal is to create laser cut wooden versions of the various mechanical mechanism building blocks in the beautiful book Karakuri: How to Make Mechanical Paper Models that Move by Keisuke Saka. To get a sense of what the design and development considerations might be, we decided to start with a Thingiverse search, and found Simple Machines – Geneva Stop (CC BY-NC-SA) by Zombie Cat. A few minor adjustments to the layout, and we cut the parts out of 1/4″(ish) hobby plywood. We ended up having to tweak a few of the parts to fit the dowels we had on hand, and we made a few slight modifications to the design based on the differences between the vector files and the thickness of our plywood, but overall it’s a great design and turned out pretty well for our first automata.
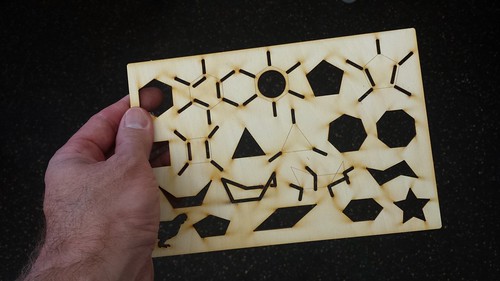
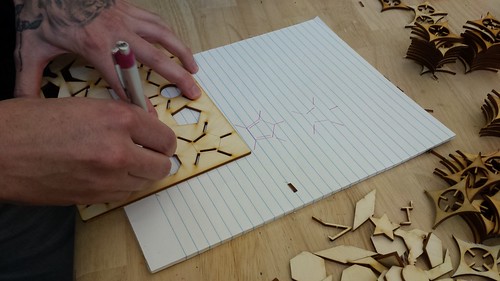
The rest of the afternoon was spent working with Nicole (student and Innovation Center staffer) on a stencil for organic chemistry. Max hung around finishing the automata, and answered a few technical questions as Nicole and I worked through the layout in Illustrator. We tested the first prototype, and decided that the various cut-outs representing the bonds needed to be scaled up a bit. Below is version 2, including Nicole’s beloved chicken in the lower left hand corner, and a fancy star on the right.
Test stenciling…
The design finished and tested, we cut the final version out of acrylic. Success!


.jpg)