mad_dash_flyer

Friday, December 2
9am – 4pm
Innovation Center (FL1-130)

A Canvas build day open house sort of thing:
Bring Your Own Device (there are a few computers in the IC that will be available for use)
Drop by any time & stay as long as you like
Build your Spring 2017 courses (or your Fall 17 ones)
Hang out and get some work done in a supportive atmosphere, surrounded by wonderful people

With the floors finished, things are finally getting a little bit closer to normal in the makerspace.  Moved the X-Carve from the clean lab to the dirty lab, and tested out cutting some HDPE in preparation for a mosaic tile project.

X-Carve Carving HDPE (Finally)

Lessons learned:

  • Slowest router speed is best – less fuzz.
  • Even at the slowest speed, there was plenty of fuzz that needed to be cleaned up with an X-Acto knife.
  • Pause at your own risk. I paused the cut out of courtesy to the Data Science club, and the job never recovered. When I tried to restart, the X-Carve ignored my pleas. After a while I gave up, and tried to re-run the job using the previously established zero.  Things went bad quickly. Easel didn’t seem to care about my prior zero setting, and charged forward, about 6 inches off the mark. I ruined the in-progress HDPE blank, and shaved a little bit off of the waste board besides.

Even with those minor hiccups, I’m loving the final result!

X-Carve Carving

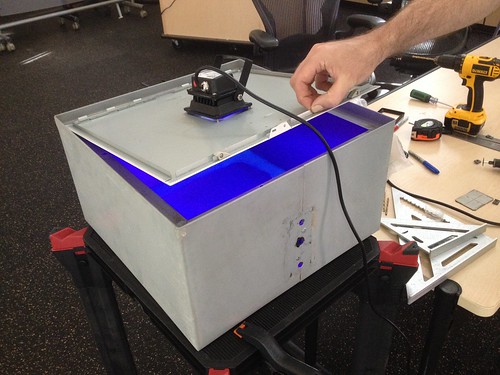
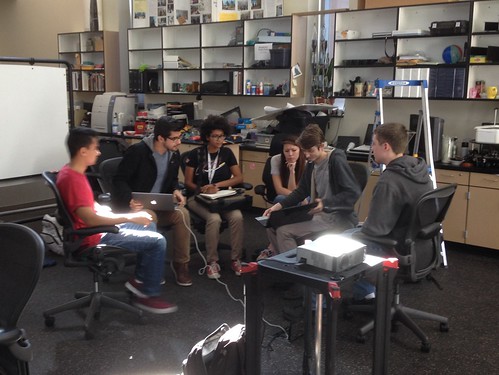
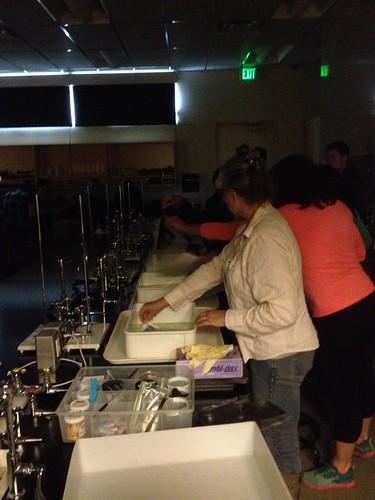
Finally got a chance to put the cyanotype UV boxes we worked on over the last couple of weeks into production! Max Mahoney (Chemistry), Christa Oberth (Chemistry), and Heike Schmid (Art) organized a Science Center activity working with students to produce cyanotypes.  Following Max’s explanation of the process and the chemistry involved, and Heike’s discussion of the art history side of the equation, everyone got to work, some preparing paper by painting it with the sensitizer solution, others drying the still wet paper with a hairdryer, and others arranging materials and printing negatives.

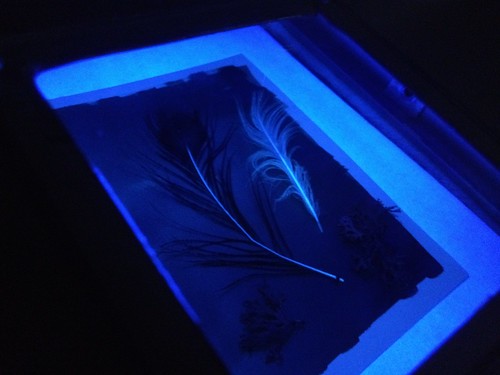
Some students used feathers, leaves, and other object to create beautiful photograms, seen here through the UV filtering viewing panels Max and I built into the boxes…

Feathers

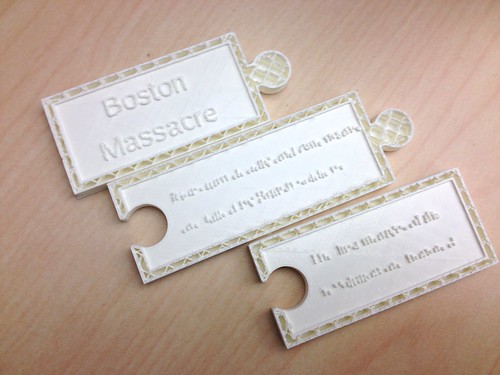
…while others printed negatives on transparency film and used those to expose the photosensitive solution-treated paper.

Tree Photo

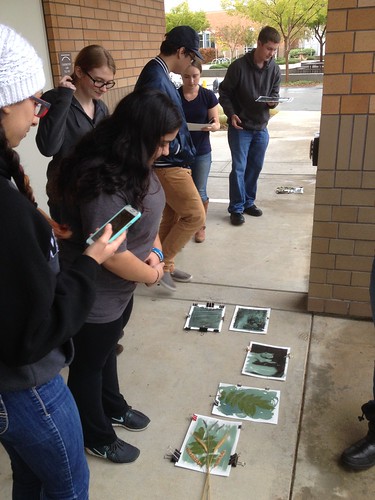
A lot of folks showed up, so some used the exposure boxes, and others used good old fashioned sunlight to expose their prints.

Letting the Sun Do the Work

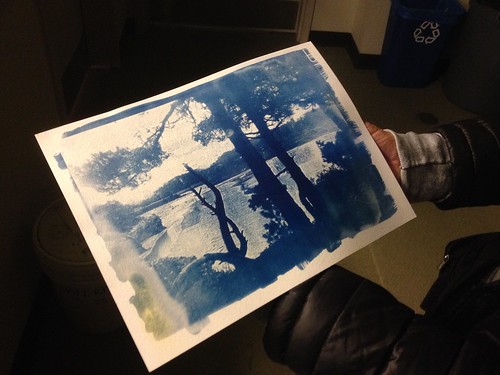
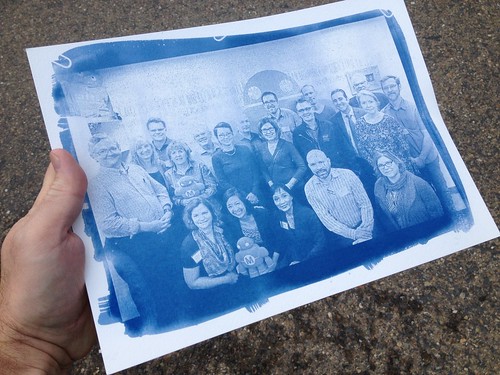
About 16 minutes in the boxes, or longer in the sun, and the prints were ready for a rinse, and some optional post-processing in a bath of hydrogen peroxide (which was supposed to enhance the prints, though students were divided on whether it really did much at all), or tea or coffee (for a sepia look).

Production

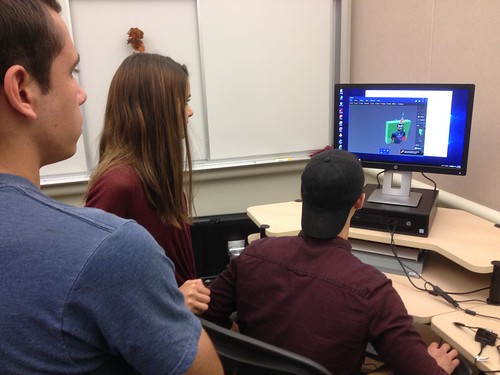
I took the opportunity to reproduce a group photo from yesterday’s CCC Maker Advisory Committee.

CCC Maker Advisory

Lots of ideas about how to improve the boxes – bigger, more LEDs, etc. – but very pleased with the version 1 results, and really pleased also to see faculty working on interdisciplinary projects!

Untitled

Chris (student) dropped by the IC today, and we spent a little time making improvements to the Kinect scanning process we first piloted earlier in the week.  Specifically, we put the Kinect on a tripod, and Chris sat on a rotating bar stool and spun himself around.  As expected, the result was a much more accurate and complete model.

Untitled

Brandon (student and Math & Engineering Club president) has some ideas about developing some motion systems for more accurate scanning, and I’m going to talk to Marisa Sayago (Art) about scanning and reproducing some student art.  This is turning into a fun project, and one that students definitely seem to enjoy!

Max Upcycling an Old Computer Case

Max Mahoney (Chemistry) and I spent much of today building out some cyanotype exposure boxes for an upcoming Science Center activity.  The boxes are re-purposed lighting fixtures. For the lids, we used the removable access panels from old Gateway desktop computers I had stored in the closet years ago, cutting them in various ways to mount two different styles of UV LED lights that will be used to expose the prints.

Max Cuts

Next steps include installing some handles in the lids, adding some kind of reflective treatment – foil or silver metallic spray paint? – to the inside surfaces, and creating viewing windows with UV filtering acrylic to allow students to monitor the progress of their prints.

Cyanotype Development Box

Had the opportunity to work with students from FLC’s Math & Engineering Club this afternoon. In a conversation some weeks back, Brandon (club president) and I discussed using the XBox Kinect sensor as a 3D scanner, something I’ve been wanting to do since last semester, but have not had the time to get going. I let Brandon know that I had two such sensors in the lab – the 360 version and the newer XBox One version – and so we arranged to meet today to go over the process. Brandon as it turned out brought the whole club.

Students from the Math and Engineering Club 3D Scanning

They set to work scanning one of their colleagues, along the way learning things about object placement, lighting, and the Skanect software. Meanwhile, the newly-formed Data Science Club met in the main lab to talk about an app they’re designing.

Untitled

While Brandon worked on cleaning up the scan of Chris, I walked the other students through changing filament on the Ultimaker and setting up a print job in Cura.

Students from the Math and Engineering Club 3D Scanning

Brandon ended up doing the Han Solo frozen in carbonite treatment to deal with some weirdness on the back of the scan, in the process adding a party hat.  I let Chris do the honors of starting the print, and then we set up OBS Studio to stream the print job to YouTube so that the M&E students could monitor progress remotely.

Chris, Scanned with the XBox Kinect Sensor

As it turns out, the model didn’t quite print correctly, so there’s some work to do there, but isn’t that why we prototype?

Untitled

This was the first of hopefully many chances for the M&E Club to work in the Innovation Center, and I’m looking forward to finding ways to plug students in to various projects, in the mold of the History game tiles project.

alex_greaseboard

Sat down the other day with student Alex Hartigan (he of the Calculus III models) to talk about designing an OpenSCAD version of Gena Estep’s (Professor of History) History game tiles. After talking it through, Alex went off and did an incredible job creating a very flexible version of the model that can be configured in lots of ways in the Thingiverse Customizer.  Alex is the kind of student who doesn’t do things half way, and so of course he created four different possible “Mate Types” for connecting the various pieces.

Alex's OpenSCAD Model

As with most things, version one needed a little tweaking.  Specifically, as is often the case in digital fabrication, size and scale needed to be worked out, and Alex was able to quickly adjust the default sizes of the text and other elements so that they were more likely to print successfully without a bunch of post processing.

History Game Prototype v2

This project is one model of the kind of faculty/student collaboration I’m trying to foster.  Too often good ideas never see the light of day because of assorted limitations, be they time or resources or skills.  In this example, Gena had a great idea, and Alex was able to bring that idea to life in a way that enables relatively easy production.  To close the loop, Gena has found a student who is interested in doing the work in Thingiverse to configure and download the various game pieces and print them.  It’s my hope that the relationships we’ve been building between the Innovation Center and especially interested students – from the Math & Engineering Club for instance, and the Data Science Club and Science Center – will lead to many more examples of these kinds of projects and partnerships.

Met today with Faith Caplan, who teaches in the Engineering Academy at Cordova High School, one of the college’s feeder high schools not far from our new Rancho Cordova Center.  Faith showed me around her lab, we talked about her courses and programs, and I shared with her the outline of our MAKR courses and certificates.  I also had the opportunity to talk to her Makers Club students about some of their projects.

Makers Club at Cordova High School

Looking forward to figuring out ways we might work together. Some ideas include sharing curriculum, creating opportunities for FLC’s Math and Engineering club to connect with their club, establishing a “sister lab” relationship like the one we’ve got with Georgetown Makerspace, and maybe working together on projects or events.

Makers Club at Cordova High School