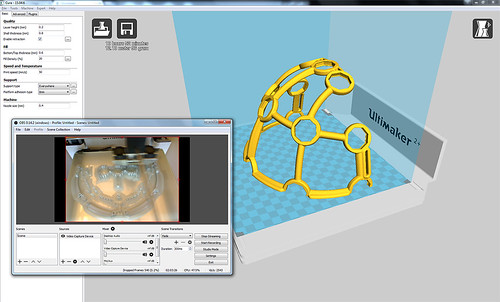
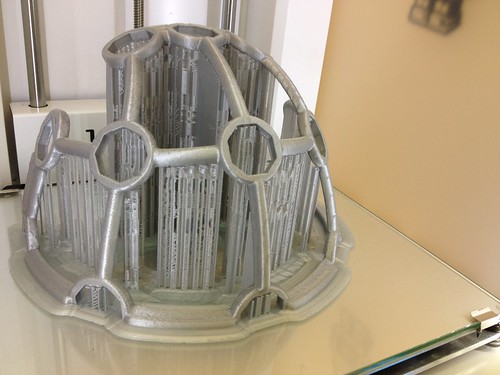
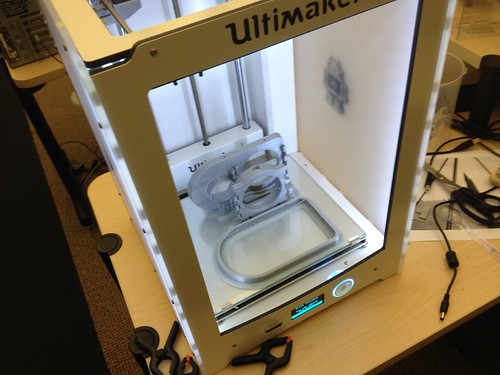
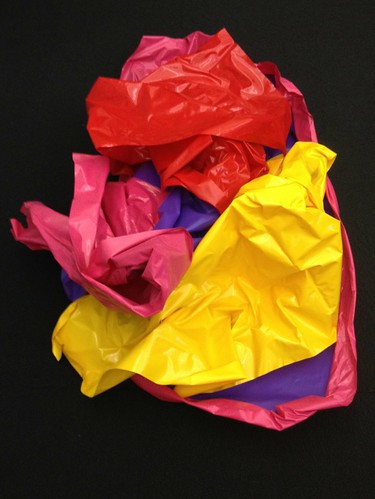
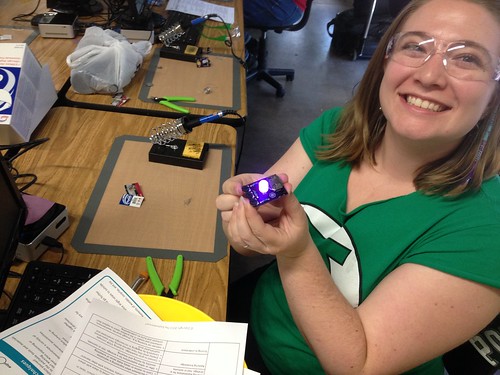
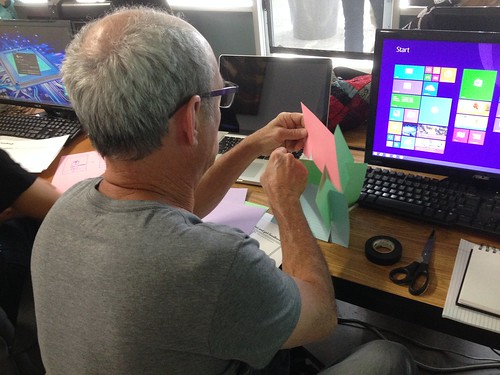
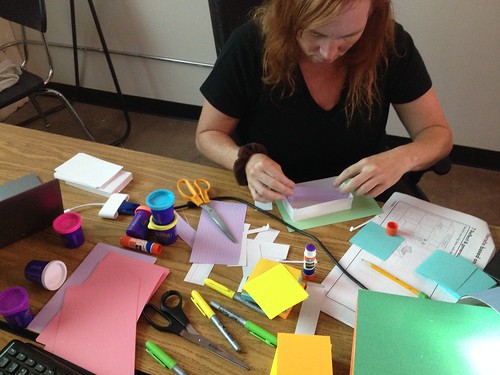
Just wrapped up the first three days of a six day Making Across the Curriculum faculty development experience I’m facilitating, and that I designed in partnership with Carol Pepper-Kittredge from the Sierra College Center for Applied Competitive Technologies (CACT) and the folks at Hacker Lab, a local workspace for startups and makers.  A small group of dedicated faculty from a variety of disciplines and representing five regional Community Colleges – Yuba, Sacramento City, American River, Cosumnes River, and Folsom Lake – has spent three days learning, making and collaborating, with guest demonstrations and hands-on activities, including design thinking, soldering, 3d printing, and laser cutting, plus a surprise candle making activity!

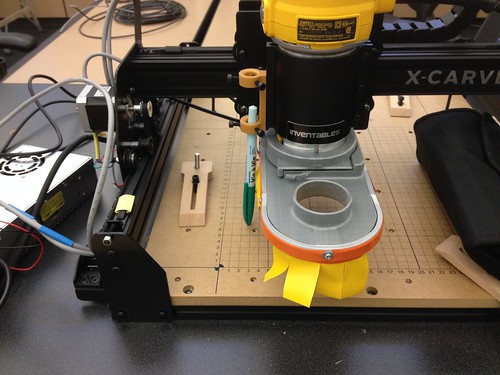
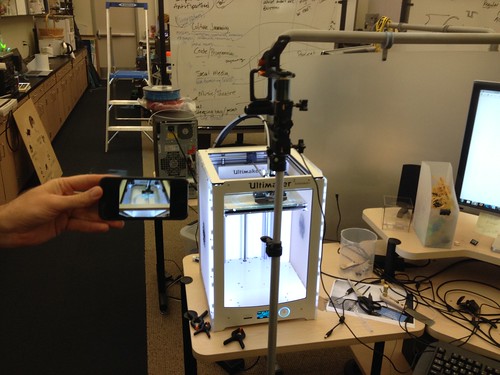
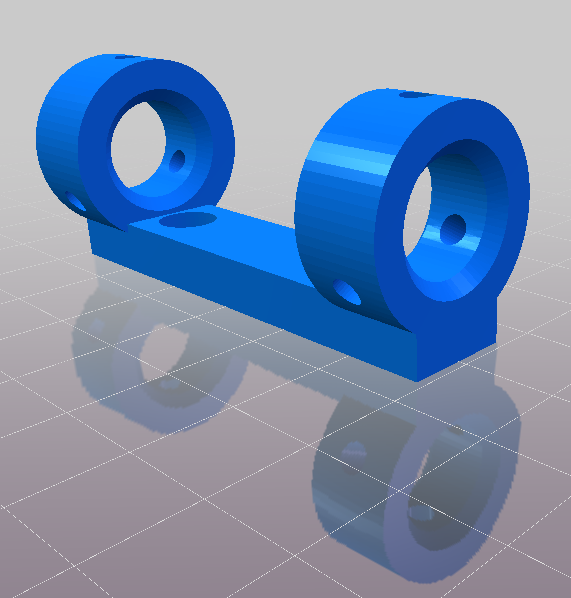
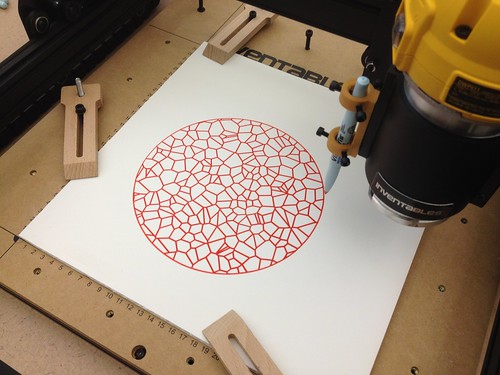
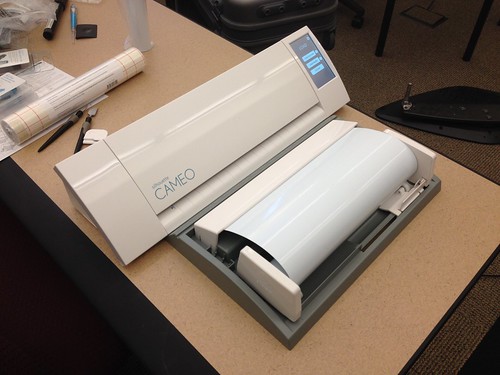
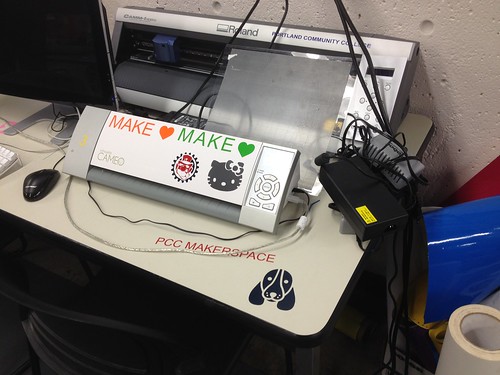
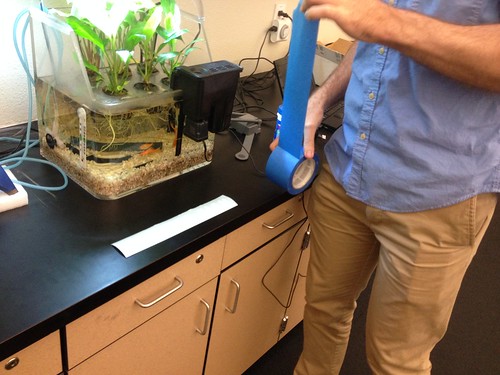
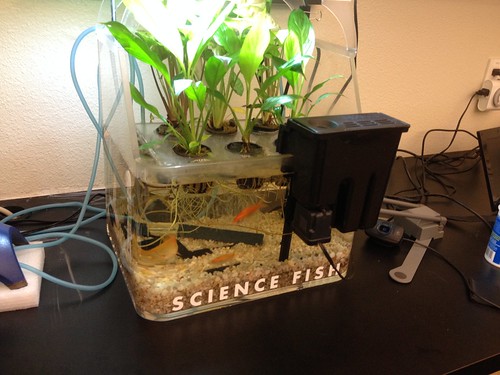
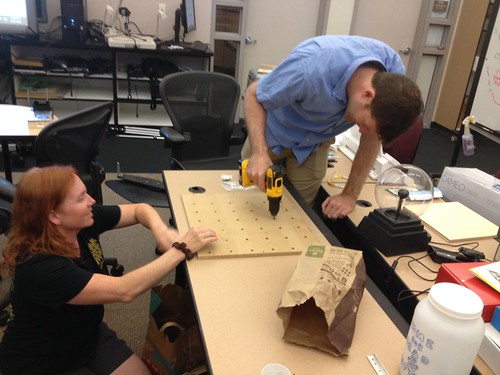
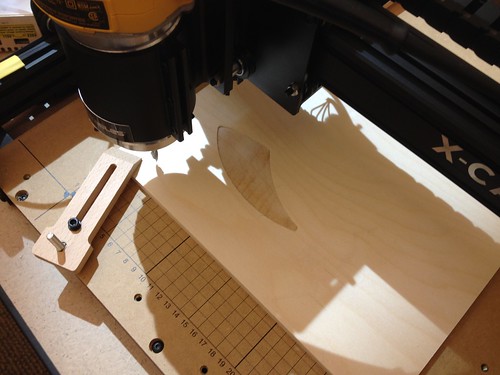
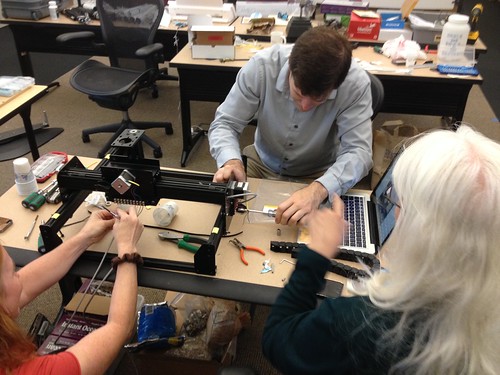
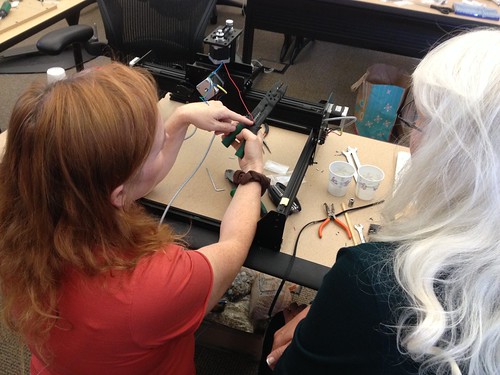
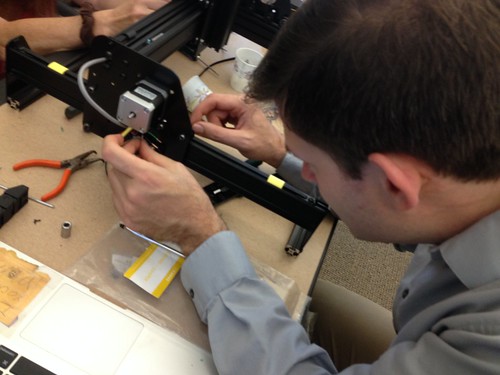
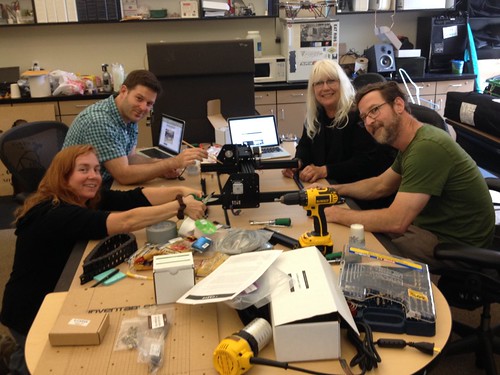
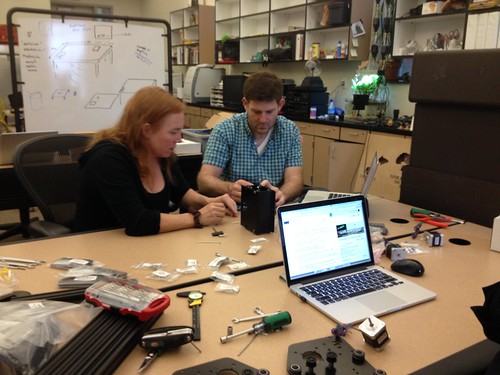
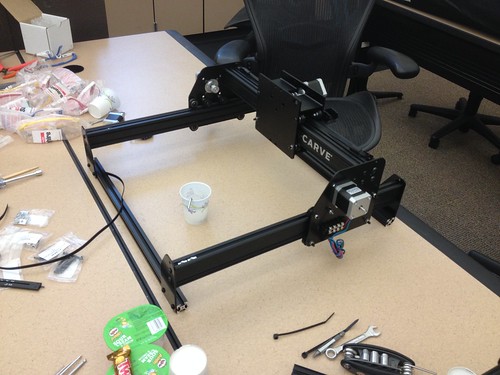
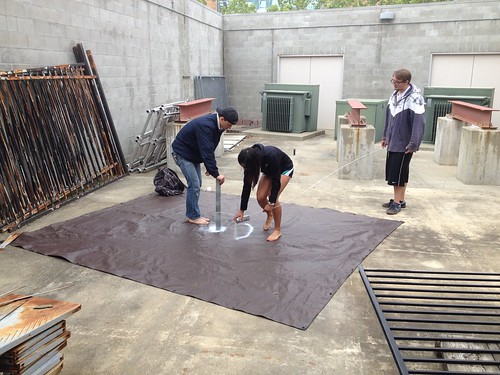
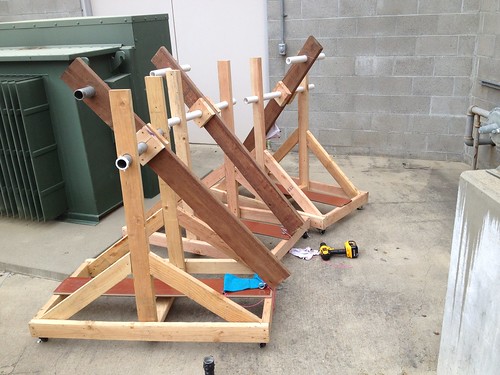
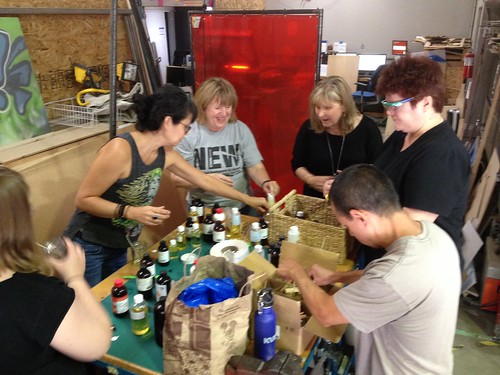
A few choice photos:

Kicking off National Week of Making by mixing scents and pouring candles.

Malena is stoked.

Untitled

Untitled

More to follow, when the dust settles…

Sean Fannon (Psychology) and I secured a small grant to get our hands on an OpenBCI, which is an open source brain-computer interface, complete with a headset that can be printed on a 3D printer.  Sean plans to use the device to enable students to do some fairly sophisticated brain research.  Fortunately, the new Ultimaker 2+ Extended has a sufficiently large build envelope, so I set it up to print half of the headset overnight, and watched it on YouTube in an obsessive way using the Open Broadcaster setup.

Printing OpenBCI Mark III

Came in this morning, and it all seems to have printed well. In what is a first, I think I might not have enough PLA on the spool to finish the job.  Unfortunately, the Ultimaker uses the fat stuff (2.85 mm), and the Printrbot uses 1.75 mm, which I’ve got a lot of. I read somewhere that the Ultimaker can be tweaked to run the smaller filament, so I might just have to give that a shot.  Some of the smaller bits I plan to use to test the Form 2 that should arrive some time in early July.

OpenBCI Ultracortex Mark III

The dust shoe I mentioned in a previous post for the X-Carve printed nicely over the weekend, and today I had some time to assemble it and get it installed.

Dust Shoe Printed

The instructions called for a strip of vinyl to use as the skirt for the shoe. It pays to be obsessive about hoarding things that might contribute to projects, and I remembered that I had squirreled away several feet of multicolored vinyl, from where I can’t remember. I fished around in the parts area, which is filled with old printers, pieces of foam and plastic, metal brackets, and the like, and found it. Though there’s nothing in the photo for scale, but suffice it to say that the crumpled pile below represents A LOT of vinyl – probably 8′ or 10′ x 4′ of it?

About 7 Feet of Colorful Vinyl (Nothing Whatever for Scale)

I cut a strip from the bright yellow scrap, and installed it on the shoe, then installed the shoe on the router. Tomorrow I hope to have time to actually turn the machine on (in router mode, rather than in plotter mode) and see how it works!

X-Carve Dust Shoe

Happiness is a full parts bin.

Max and I spent some time in the shop this afternoon, brainstorming Chemistry activities that will make use of the new X-Carve and vinyl cutter, and working on the new Ultimaker 2 Extended+ that arrived the other day.  After some tweaking, we got the printer running, and decided to print this Dewalt DWP611 Thread-On Dust Shoe from Thingiverse (CC BY Noah Mackes).  Up until now, we’ve been using the X-Carve as a plotter, but Marisa Sayago (Professor, Art) and I have been talking about some printmaking ideas that involved cutting and engraving, hence the need for the dust shoe.

The printer reported that the job was going to take 17 hours, so Max and I decided to set up a webcam and do some R&D on Open Broadcaster Studio, which I have been considering using for the live fishcam that will be part of the aquaponics project.  We installed the software, plugged in the camera, put in the YouTube live streaming information, and it all worked perfectly right out of the gate.

Streaming Video of Ultimaker 2 Extended+ Printing Parts for an Inventables X-Carve

By the time I got home, the camera had slipped or been knocked sideways, but the print is still visible!

Open Broadcaster Streaming Ultimaker 2 Extended+ Printing a Dust Shoe for an X-Carve to YouTube Live

I’ve been working with technology for many years, but the idea that I can relatively easily monitor from home a 3D print job of a part I need and was able to download for a CNC machine that can be used to support (among other things) hands-on student activities in Chemistry and Art, while simultaneously testing a software program and a streaming service for another project that combines Library, Chemistry, Biology, Theater Arts, fish, and plants is, frankly, pretty neat.

I almost forgot – I made a Voronoi Totoro on the X-Carve (in plotter mode):

Voronoi Totoro

We don’t have dust collection set up just yet, so running the router on the new X-Carve is a messy prospect.  Max Mahoney (Chemistry) has ideas about using the machine for some copper etching labs, so we set about adapting it for a pen.  We fairly quickly found a model of a 3D printable pen holder for the X-Carve (CC BY Duane Northcutt), and printed it out, tapping the holes for M4 screws. PLA surprisingly seems to hold a thread fairly well.

X-Carve Pen Holder

After several experiments with various pens, we were able to successfully draw a pleasing circular Voronoi tessellation using an orange Vis-a-Vis overhead transparency marker on 12″ x 12″ piece of foam core board.

X-Carve - Pen on Foam Core

The whole thing took about 36 minutes to complete.  Here’s a short, mesmerizing (to me anyway) video of the CNC hard at work.

A couple of days ago, in the midst of the x-carve build, a new vinyl cutter arrived.

Vinyl Cutter

I had seen a lab full of them at a recent visit to Portland Community College’s MakerSpace, and Gregg Meyer (coordinator of the space and all-around enthusiastic and generous person) mentioned that they were an inexpensive and useful bit of gear, and quite accessible to makers at all skill levels.

Cameo Vinyl Cutter

We needed a project to put the new machine through its paces, so we decided to label the experimental aquaponics system. The software that comes with the machine is pretty straightforward, and we were able to design and cut out some signage relatively quickly.  After cutting out the letters, we realized we didn’t have any transfer paper, so we made do with blue painter’s tape.

Preparing the Science Fish Sign

The transfer went off without a hitch!

Science Fish!

The build crew met again this morning for the third and final X-Carve build day.

Untitled

Finished up the work area, z-axis, drag chains and final wiring…

Untitled

After a few perplexing challenges, especially regarding the mounting of the y-axis drag chain, we were able to finish the build, fire the machine up, and make our first test cuts!

Very First Cut!

All in all, a very satisfying build, and we learned a lot. For anyone looking to build an X-Carve, I would advise double-checking the forums at Inventables if you run into inconsistencies in the instructions – there aren’t many, but there are one or two differences between the current shipping kit and the videos and build instructions online.  I would also advise using the GrabCAD models. We ignored these until the very end, but they proved very useful when figuring out the drag chain mounting, and I wish we had checked them sooner – we pretty much ignored them until the very end of the build.

Potato quality video – I was holding the vacuum in one hand and trying to shoot video with the other, and apparently the iPhone didn’t know upon what to focus):

In the next couple of days, I hope to get the dust extraction situation worked out, and to extend the XYZ wiring so that the power supply can live a little farther from the machine.

X-Carve Build Day, Part 1

X-Carve Build Day, Part 2

Build photos

X-Carve Build Day 2 - All Hands on Deck

Back to the build…  After a successful build day last week, we started Build Day 2 with some goodies, including Diane’s home-roasted coffee, egg and cheese sandwiches, homemade scones, muffins and pastries:

X-Carve Build Day 2 - A Light Brunch to Start the Day Right

Today didn’t go quite as smoothly as I’d hoped, mostly because I mistakenly believed that one of the rails had not been tapped, which triggered a mad dash to the local hardware store for a tap and die set that turned out to be unnecessary. My mistake transformed into a learning experience and some skill building, so it wasn’t all bad:

X-Carve Build Day 2 - Jennifer Drilling

We were able to get the Z-axis assembled:

X-Carve Build Day 2 - Jennifer Adjusts the Z-Axis Drive Screw

And all of the motors wired:

X-Carve Build Day 2 - Diane and Jennifer Wiring the Z-Axis

We’re planning on finishing up the project after the weekend, and then we’ll get to carving!

X-Carve Build Day 2 - Max Wiring

Additional photos…

X-Carve Build Day - Chopsticks and Scissors

Spent much of today with a few of my primary collaborators: Diane Carlson (bottom left – she of Making Social Change fame), Max Mahoney (top left – he of molecule making and molecular visualizer fame), Jennifer Kraemer (top right, she of various making in ECE projects like the building system interoperability activity) and me (bottom right) putting together the new X-Carve.

Jennifer fine-tuning a pulley for the Y axis:

X-Carve Build Day - Fine Tuning

Diane and Max strategizing:

X-Carve Build Day - Diane and Max, Getting it Done

We ended the day with most of the structure built, and will meet again next week to tackle the belts and electronics.

X-Carve Build Day - A Day's Work

More photos from the X-Carve build day…

Students from the Math and Engineering Club worked in the Innovation Center this morning to prepare for a “Soak a Professor” event.

Preparing the target:

String + Spray Paint

The siege engines, ready to siege:

Flingers Ready to Fling

I didn’t get any shots from the actual event, but suffice it to say that the professors involved were indeed soaked.