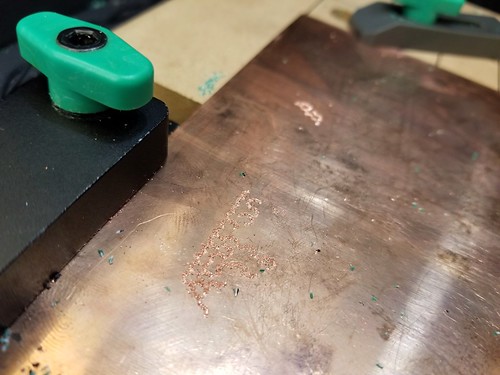
Marisa Sayago (Art), her student Clarity (late of our inaugural Making Social Change class) and I are prototyping a print making process using makerspace tools and techniques, with the goal of incorporating whatever we come up with – ideally intaglio using copper plates – into Marisa’s class this semester. I decided to do some experiments using the Carvey, as it’s a quick machine and almost unbelievably easy to learn, even for novices to both software and hardware. Unfortunately, early tests using engraving bits on copper were unsuccessful. Though copper is soft metal, the fine (and expensive!) engraving bits pretty quickly broke or wore down, even after many different adjustments to feed rate and pass depth, and though I love Easel (the browser-based software that runs the machine), it’s sometimes difficult to be as precise with it as a job like this requires, in terms of fixed line weights. Even doing the design work in Illustrator and importing *.svg files, I wasn’t quite able to get all of the variables to line up. All that said, I was able to confirm that a 1/16″ bit on linoleum works well for relief prints, so that’s another print making avenue to explore.
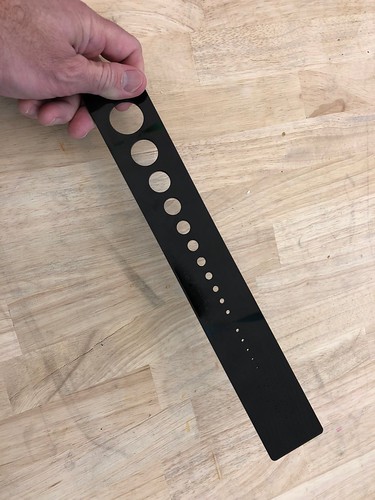
With the Carvey out of the running, we decided to see about the capabilities of the laser cutter, which offers the kind of line precision that seems to lend itself to intaglio. We set up a file in Illustrator to experiment with raster lines (pure RBG black: 0,0,0,) of varying weights (from .25 pt to 2 pt, in .25 pt increments) to see which produced the best results, and included our IC logo and Nova mascot as vector engraves (pure RGB blue: 0,0,255 with a line weight of .001 in Illustrator, hairline in CorelDRAW). Of course I realized after it was engraved that I had forgotten to mirror the line weight indicators, but isn’t that why we prototype in the first place?
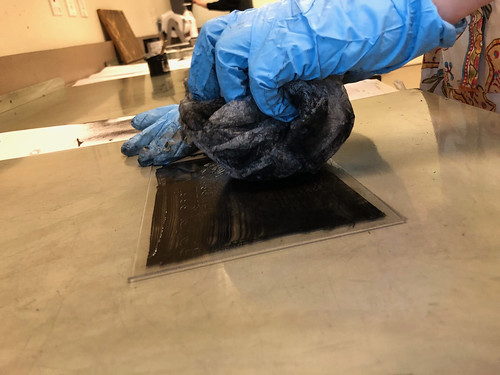
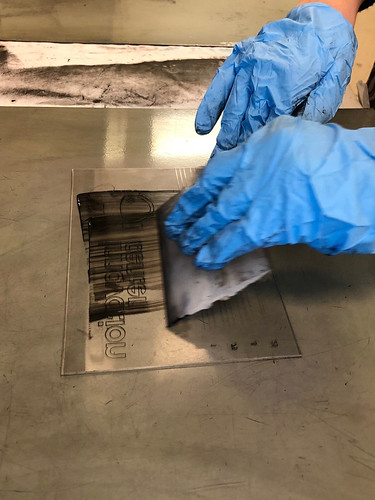
Using a sheet of PETG – as a novel material in the lab we first had to research its suitability for use with a laser, and it turns out it is indeed suitable – we ran the engraving job, handing the piece off to Clarity to complete the inking and other parts of the process.
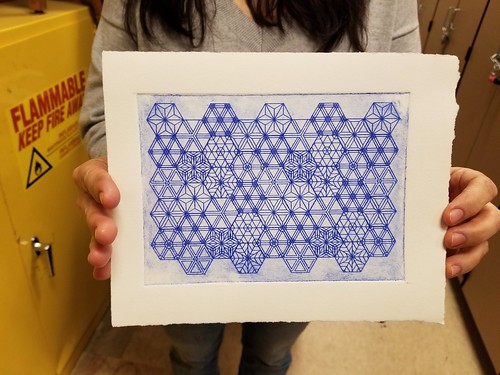
The result!
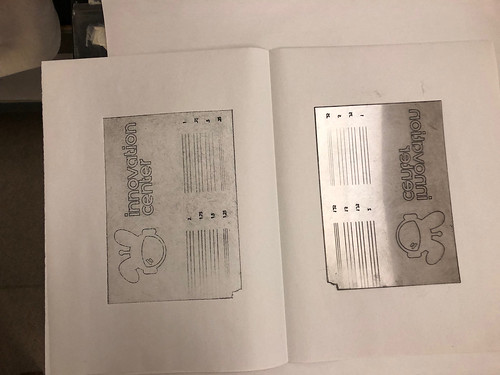
Turns out the vector engrave (which with a 2″ lens should produce a line of about .005″) works well, and the vector engrave at all sizes was too big to retain ink during the surface preparation step. This is actually a great learning, as a) vector engraves are super accurate, and b) they also take way less time than raster ones – throughput is an important consideration in any sort of lab activity that relies on makerspace machines. Now that we have narrowed down a general direction for the project, I’m going to work with Clarity to create a few more prototypes (testing things like line density) as we try to come up with a lab-ready process. Stay tuned!
Here’s a photo gallery of Clarity completing the inking and pressing over in the art lab:
