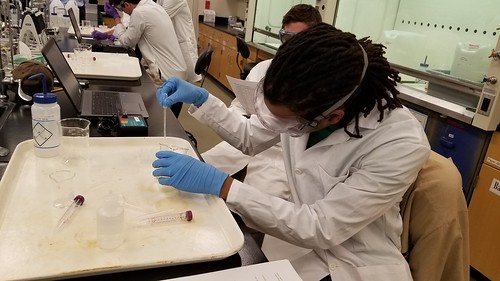
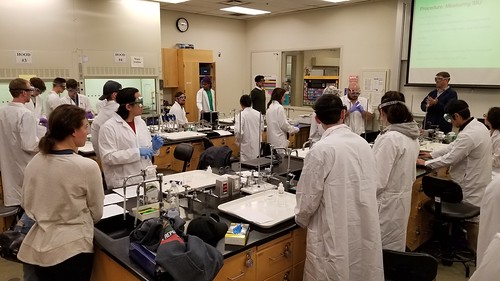
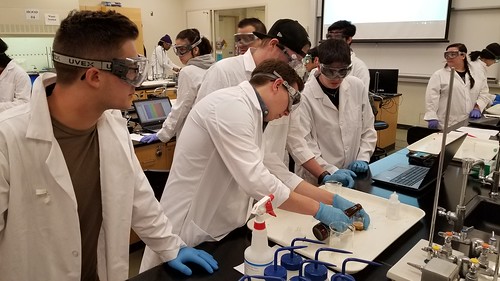
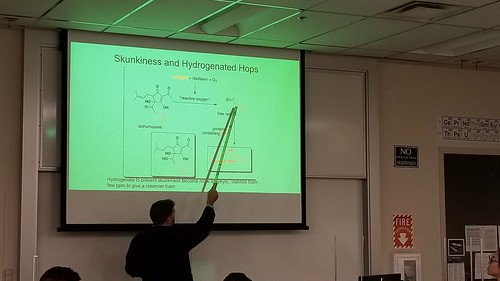
Toward the end of last semester – after lengthy and vigorous and unflinching hacking of red tape – we offered the first workshop – Beer Science: Measuring Beer Bitterness – as part of our ongoing Fermentation Science efforts. We started the day in the Chemistry lab, where Max Mahoney (Chemistry professor and makerspace faculty champion) described the chemistry of beer, and led students through a procedure for measuring beer bitterness.

20181109_122745

Here’s how Max describes it:

The goal of this workshop was to expose students to a quantitative and qualitative analysis of beer bitterness. The chemistry of hops and bittering compounds was presented along with a discussion of the chemical procedures involved in this analysis. The following procedure was used to quantitatively analyze beer bitterness. Three beers were selected containing different levels of the hop-derived bittering agents. Students sonicated the beer to expel carbon dioxide, performed a liquid-liquid extraction of the hop acids with iso-octane, and measured the UV and visible absorption spectrum for their sample. We used the visible absorption spectra to help classify the style of beer. The UV absorption was used to quantify the concentration of hop acids and thus the bitterness of the beer (measured in IBUs).

Chemistry students of all levels were able to learn advanced analytical methods used in the beverage industry to analyze beer bitterness. General and organic chemistry lab techniques were utilized including UV-Vis spectroscopy, usage of micropipettes, and liquid-liquid extraction of organic compounds.

20181109_130346

20181109_124717

20181109_125106

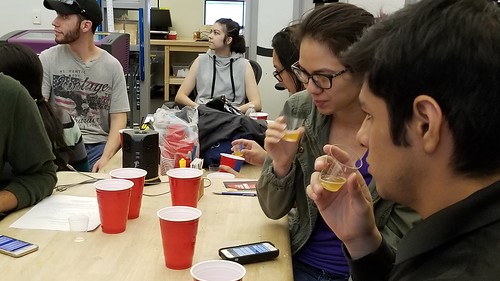
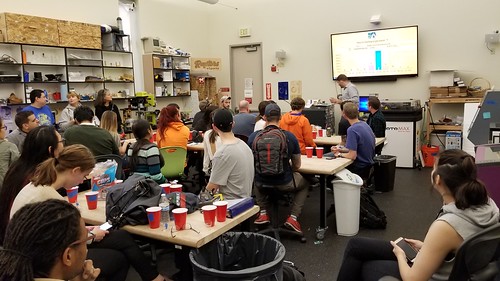
The Chemistry lab portion completed, we went over to the Innovation Center for some blind taste tests. Students sampled various beers, and then used PollEverywhere to report the perceived bitterness of the sample, the results of which we compared to the lab-derived values.

20181109_141610

20181109_143051

The event was a terrific success, and students were engaged and enthusiastic. We’ve got additional interdisciplinary FermSci workshops and projects planned for this semester, including more beer chemistry, sauerkraut making, curriculum development, and a partnership with a local employer for integrating IOT technology into kombucha fermentation.

I’ve been thinking about ways to connect with our sister labs in the CCC Maker community.  Inspired by Deborah and Salomon’s party favors from visits to the PCC space and related events…

Party Favors

…and by the excellent light created by the folks at Sierra College we received as a gift at the advisory board meeting…

CCC Maker Light

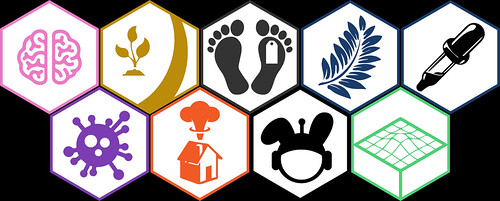
…and by a project that we worked on with FLC faculty last semester, creating stickers for our Science Center hands-on workshop series…

Stickers!

The hexagon is a fascinating shape, and I’ve spent a lot of time with them for various kumiko-inspired project(s).  It’s the shape I’d like to propose.

For the sticker project, we used a published hexagon laptop sticker standard, which states:

A hexagon sticker must be represented by a regular hexagon where the largest diagonals should measure 5.08 centimeters, and which must remain within 1 millimeter tolerance. The sticker must be oriented with a vertex positioned at the top.

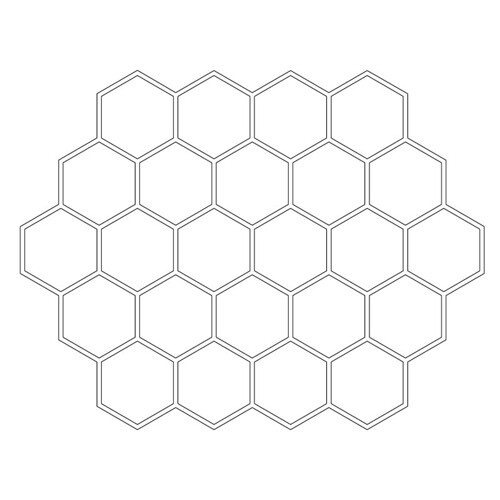
I developed an Illustrator file of 24 hexagons – 1 for each college in the network – and worked up a prototype this morning.

Laser Hexagons

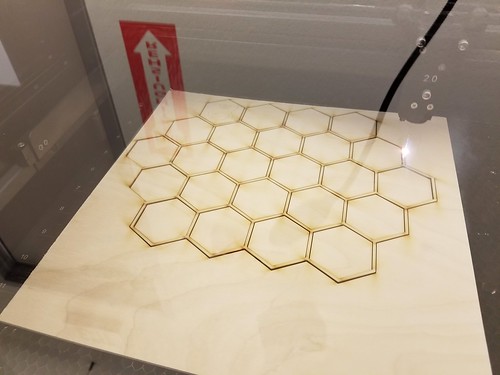
One nice things about the size of the hexagons and the number of colleges in the network is that all of the chips (and a little frame besides) fit on a standard 12″x12″ piece of hobby plywood, a common material used with a laser.

Hex Grid

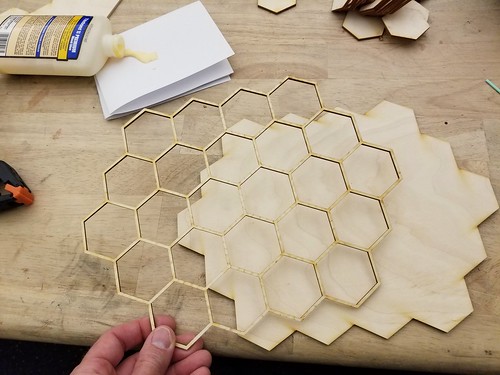
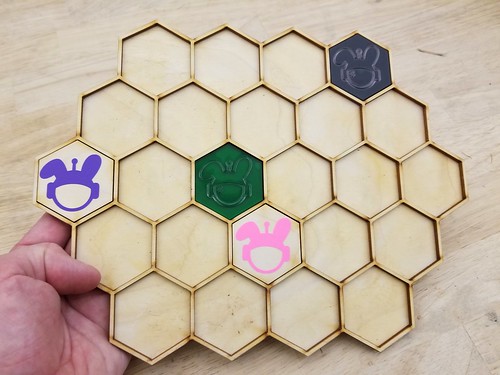
I cut a second outline on another piece of wood to act as a back, and glued the whole thing up, placing a few Nova (our space bunny mascot) hexagons to visualize how it might look.

2018-03-24_12-09-54

Here’s the PDF, which can be opened in Illustrator or Inkscape and tweaked to match the settings of your laser or whatever other machine you might want to use:  cccmaker_hexgrid_v1

CCC Maker Hex Grid v1.0

My dream would be that every makerspace in the CCC Maker network would have one of these on the wall, with chips from each of the participating colleges.  Any material – wood, metal, clay (Payson – I’m looking at you) – and more or less 3mm thick.  Who’s with me?

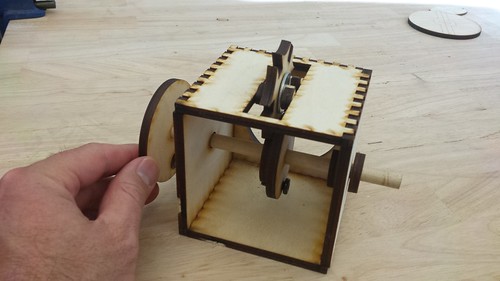
Max Mahoney (Chemistry) and I worked on a mechanical automata project this morning. Our long-term goal is to create laser cut wooden versions of the various mechanical mechanism building blocks in the beautiful book Karakuri: How to Make Mechanical Paper Models that Move by Keisuke Saka. To get a sense of what the design and development considerations might be, we decided to start with a Thingiverse search, and found Simple Machines – Geneva Stop (CC BY-NC-SA) by Zombie Cat. A few minor adjustments to the layout, and we cut the parts out of 1/4″(ish) hobby plywood. We ended up having to tweak a few of the parts to fit the dowels we had on hand, and we made a few slight modifications to the design based on the differences between the vector files and the thickness of our plywood, but overall it’s a great design and turned out pretty well for our first automata.

Geneva Drive

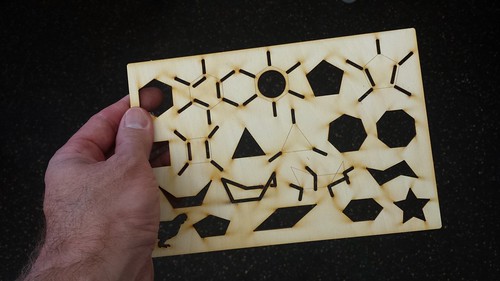
The rest of the afternoon was spent working with Nicole (student and Innovation Center staffer) on a stencil for organic chemistry.  Max hung around finishing the automata, and answered a few technical questions as Nicole and I worked through the layout in Illustrator.  We tested the first prototype, and decided that the various cut-outs representing the bonds needed to be scaled up a bit.  Below is version 2, including Nicole’s beloved chicken in the lower left hand corner, and a fancy star on the right.

Ochem Stencil

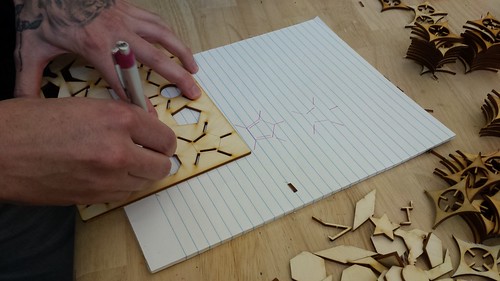
Test stenciling…

Nicole Testing the Stencil

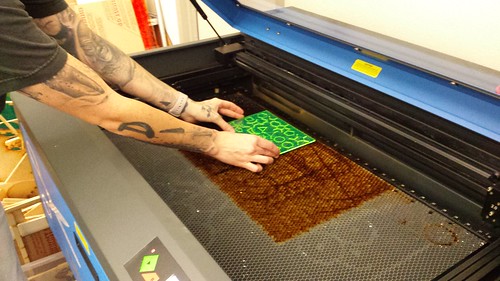
The design finished and tested, we cut the final version out of acrylic.  Success!

Final Version Leaves the Laser

The file is up on Thingiverse, or you can just grab the PDF if you’d like to cut your own.

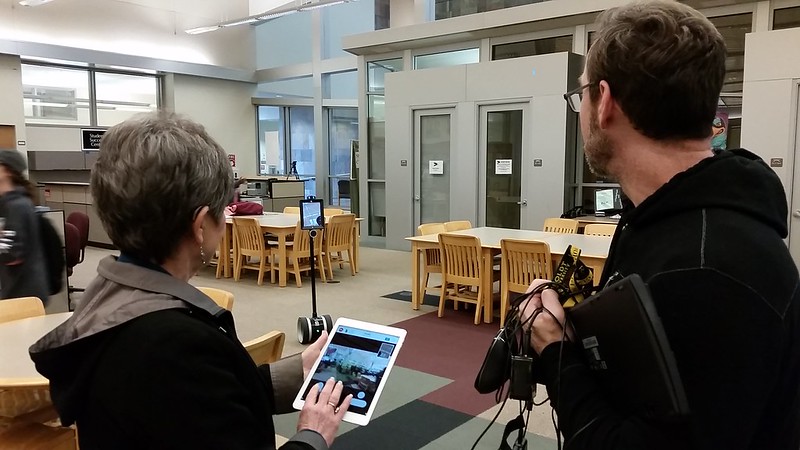
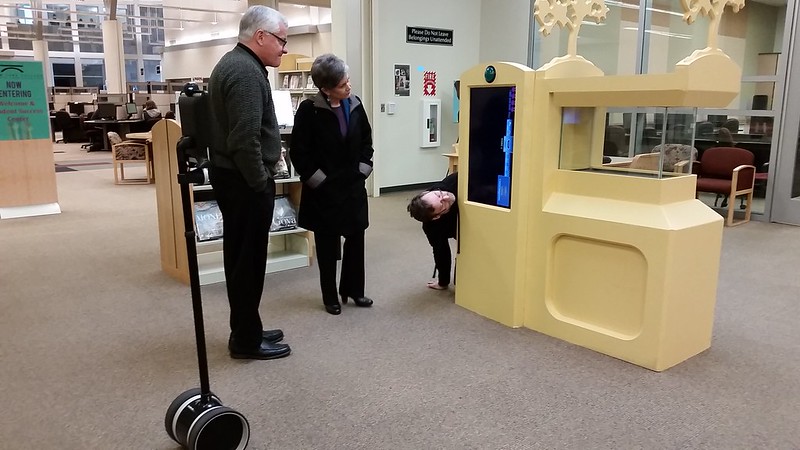
Kathleen Kirklin (FLC’s Interim President) took the robot for a spin in the library other day.

Kathleen Kirklin Drives Robot

I also had the chance to share with Kathleen and Gary Hartely (Dean) progress on the aquaponics project. The plan is to have the screen display some rolling information about the biological and chemical processes in play, interspersed with footage from the live fishcam that will be inside the tank. Pressing the big green arcade button will bring up charts and graphs of the in-tank (temp, pH, electroconductivity) and out-of-tank (temp, humidity, and perhaps one or two others) sensor data.

Robot Observation

Lots to do, but within the next couple of weeks there should be some serious development work on all parts of the project…

Photos courtesy of Tony Humphreys.

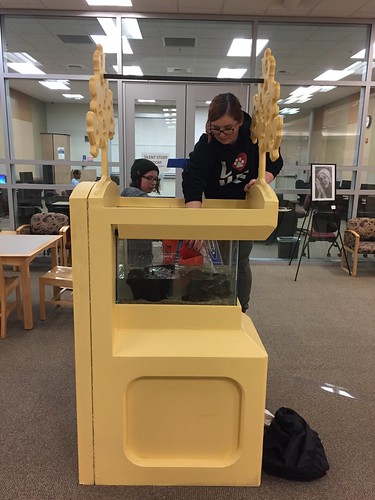
Fantastic progress this week on the aquaponics project.  The Theater Arts department finished the display, and FLC Maintenance drilled the holes in the raised floor under the unit, pulled the power and Ethernet, and bolted the whole thing to the floor to make it topple-proof.  FLC’s Data Science club, spearheaded by Nathaniel Adams (student) and Rebekah Keeley (student) have taken responsibility for the technical implementation, including visual and interaction design, front- and back-end Web development, database work, and getting the Raspberry Pi configured and working with the Arduino, which is doing the data gathering.

Meanwhile Taylor Zenobia (student) and Katie Stackhouse (student) have taken charge of the biological systems, selecting the fish species, and arranging the in-tank decor.

Adding Water

They washed and added the sand, rocks, and plants, then carried the water quite a distance from the Innovation Center to the Library. We’ve got inoculated filter media from the Science Fish (they’re currently living in the IC), which should speed up the tank start-up process. Taylor has been regularly monitoring the water, and once the water chemistry is stable, we’ll look at adding the fish, a few at a time.

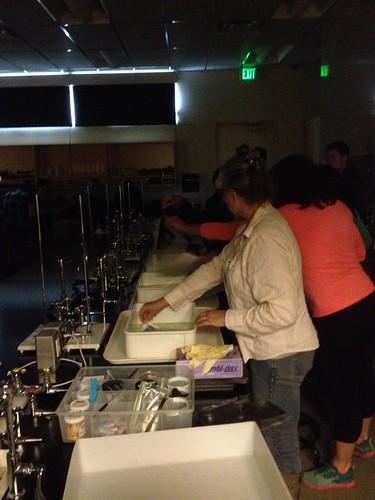
Finally got a chance to put the cyanotype UV boxes we worked on over the last couple of weeks into production! Max Mahoney (Chemistry), Christa Oberth (Chemistry), and Heike Schmid (Art) organized a Science Center activity working with students to produce cyanotypes.  Following Max’s explanation of the process and the chemistry involved, and Heike’s discussion of the art history side of the equation, everyone got to work, some preparing paper by painting it with the sensitizer solution, others drying the still wet paper with a hairdryer, and others arranging materials and printing negatives.

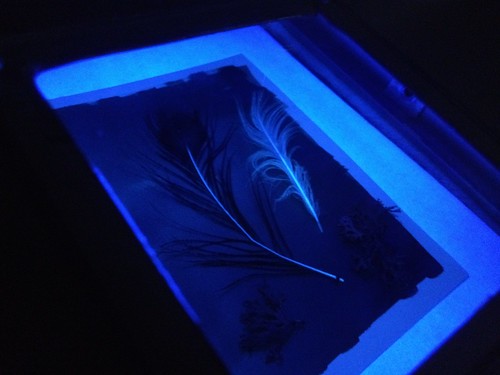
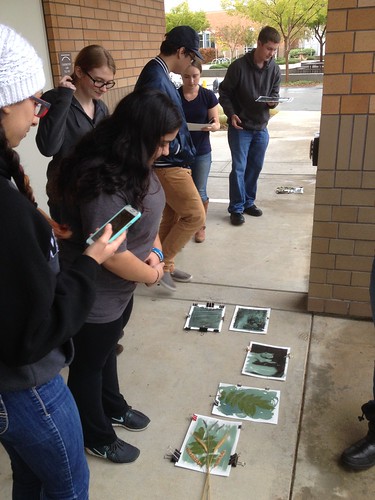
Some students used feathers, leaves, and other object to create beautiful photograms, seen here through the UV filtering viewing panels Max and I built into the boxes…

Feathers

…while others printed negatives on transparency film and used those to expose the photosensitive solution-treated paper.

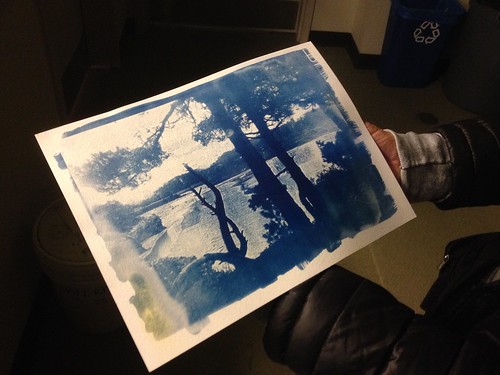
Tree Photo

A lot of folks showed up, so some used the exposure boxes, and others used good old fashioned sunlight to expose their prints.

Letting the Sun Do the Work

About 16 minutes in the boxes, or longer in the sun, and the prints were ready for a rinse, and some optional post-processing in a bath of hydrogen peroxide (which was supposed to enhance the prints, though students were divided on whether it really did much at all), or tea or coffee (for a sepia look).

Production

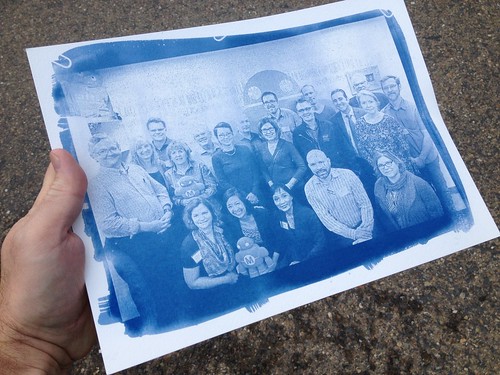
I took the opportunity to reproduce a group photo from yesterday’s CCC Maker Advisory Committee.

CCC Maker Advisory

Lots of ideas about how to improve the boxes – bigger, more LEDs, etc. – but very pleased with the version 1 results, and really pleased also to see faculty working on interdisciplinary projects!

After a rather lengthy pause in the project, owing mostly to institutional rhythms, Cameron Hoyt (formerly a student, now an employee of the college in the Theater Arts Department) and his crew began work on the structural skeleton of the aquaponics display.

Aquaponics Project

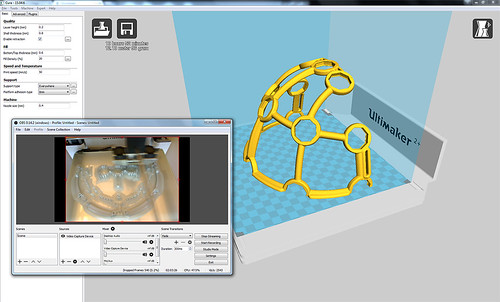
Sean Fannon (Psychology) and I secured a small grant to get our hands on an OpenBCI, which is an open source brain-computer interface, complete with a headset that can be printed on a 3D printer.  Sean plans to use the device to enable students to do some fairly sophisticated brain research.  Fortunately, the new Ultimaker 2+ Extended has a sufficiently large build envelope, so I set it up to print half of the headset overnight, and watched it on YouTube in an obsessive way using the Open Broadcaster setup.

Printing OpenBCI Mark III

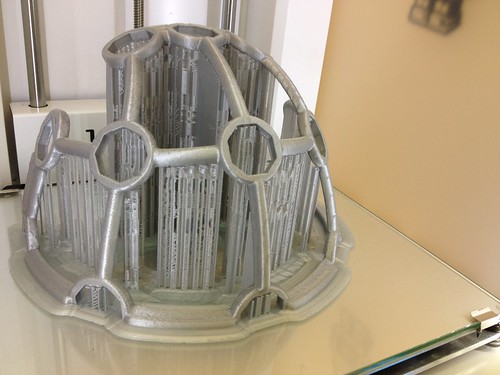
Came in this morning, and it all seems to have printed well. In what is a first, I think I might not have enough PLA on the spool to finish the job.  Unfortunately, the Ultimaker uses the fat stuff (2.85 mm), and the Printrbot uses 1.75 mm, which I’ve got a lot of. I read somewhere that the Ultimaker can be tweaked to run the smaller filament, so I might just have to give that a shot.  Some of the smaller bits I plan to use to test the Form 2 that should arrive some time in early July.

OpenBCI Ultracortex Mark III

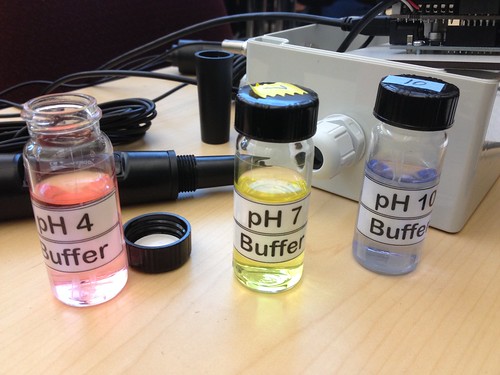
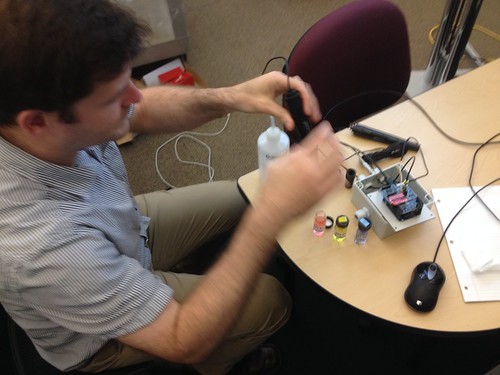
Max Mahoney (Chemistry) and I met today to do some preliminary sensor calibration for the aquaponics system.  Max brought over various solutions of known pH and µS/cm.

Solutions of known pH for aquaponics sensor calibration

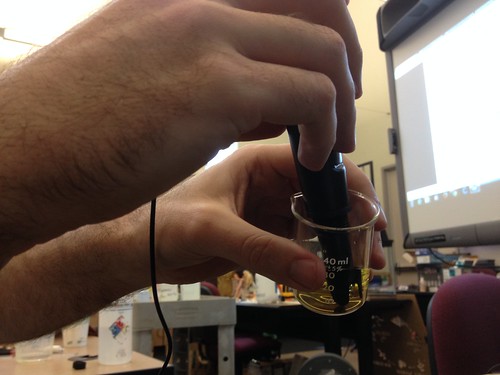
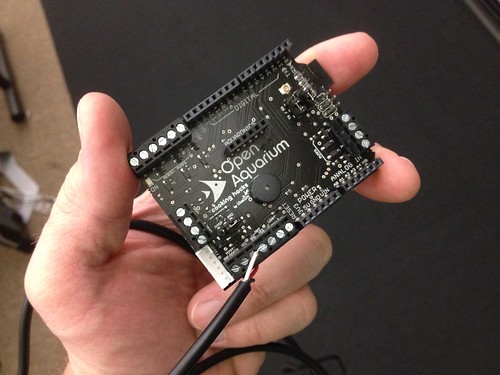
We connected the pH sensor to the Cooking Hacks Open Aquarium shield, and went through the procedure of calibrating the sensor, which involved basically sticking the sensor into a beaker of various solutions, recording the values, and tweaking some variables in the Arduino sketch.

pH calibration for aquaponics sensor

The process for the electroconductivity sensor was much the same. Both worked without a hitch, and once the calibration procedure was complete, we tested the water from the experimental system – 7.54 ph/298.24 µS/cm – and from the quarantine tank – 7.07 pH/176.83 µS/cm. There’s something up with the temperature sensor, which gives a zero value no matter what, so we’ll need to get that sorted, but overall a very successful work day. To top it of, the power and Ethernet should be installed out in the library tomorrow!

Max calibrating pH sensor for the aquaponics build

The gear is beginning to roll in! As with any reasonably complex endeavor at any reasonably complex institution, procuring the “stuff” to make a project work takes a great deal of time and energy – lots of rules and forms and budget strings and signatures and hoops to be jumped through. For this particular project, the electronics – chiefly Arduino shields and associated sensors – are sourced from a Spanish company called Cooking Hacks.  We chose this particular system because a) the parts seem to be well integrated and seemingly well thought out, and b) Cooking Hacks seems to have the code worked out, not just for the shields and sensor interfaces, but for the server-side bits that make the web integration work.  In short, the goal is to get a prototype up and working with a minimum of coding and fuss, and the Cooking Hacks gear seems to fit the bill.

Making Across the Curriculum - Aquaponics Project Hardware

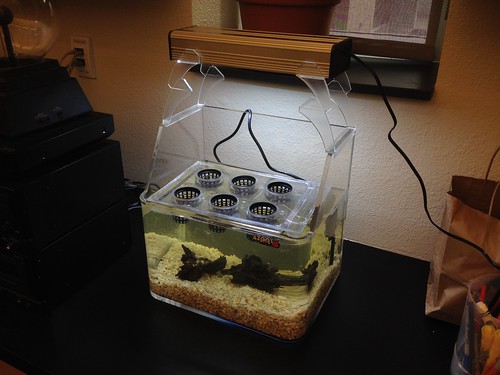
I was able to get most of the sensors working in relatively short order, so I’m feeling good about the progress.  Still waiting on the purchase order for the tank itself, and the ECO-Cycle Aquaponics Kit for the top, but we were able to get a small test tank up and running, thanks to some spare parts the Biology Department was able to scrounge, and some help from Max Mahoney (Chemistry).

Making Across the Curriculum - Aquaponics Project Test Tank

In addition to the little aquaponics setup above, we gathered up another unused 23-gallon tank, complete with filtration and gravel and all the parts necessary to bring up a complete “development instance” of the project in the Innovation Center, which we’ll use to test the electronics, and to get the water and filtration and fish and procedures sorted out.  Progress!