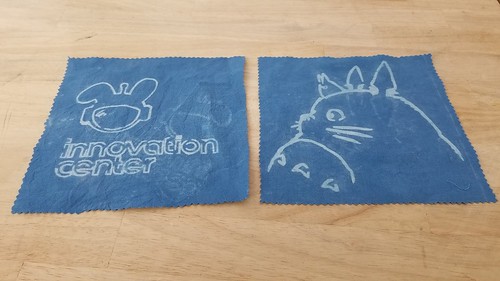
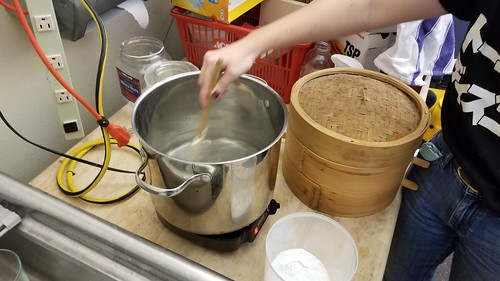
Katia (student and President of the Asian Pacific Islander Club) collaborated with Innovation Center on a katazome activity for her club. Katazome is a Japanese fabric dyeing process that uses a resist paste applied to fabric through a stencil, and we more or less followed the procedure detailed in Workshop no. 21: Natural Selections: Hands-on Katazome and Indigo with Graham Keegan.

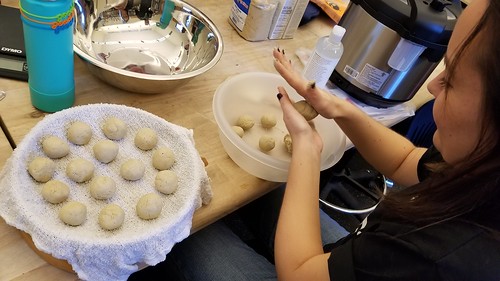
Early this morning, Katia made the dough using rice flour and rice bran…

20190315_101505

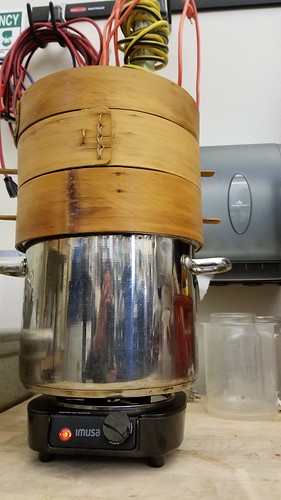
…which we then steamed for an hour and half.

20190315_111426

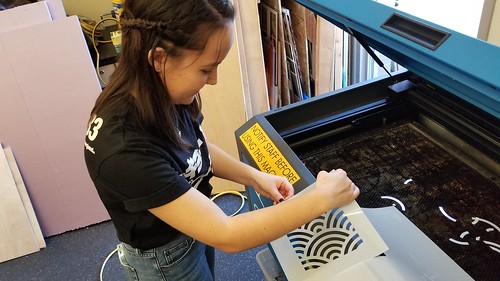
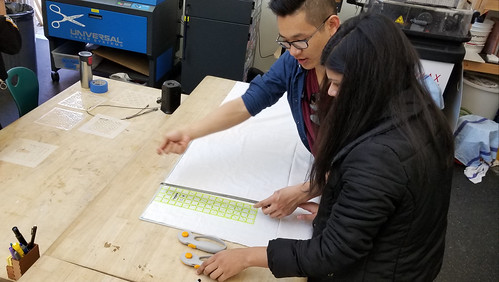
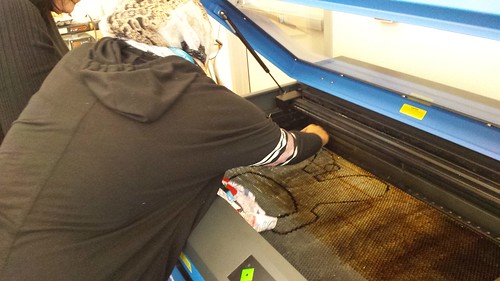
Meanwhile, we used the laser cutter to cut out some stencils, based on traditional Japanese designs.

20190315_111607

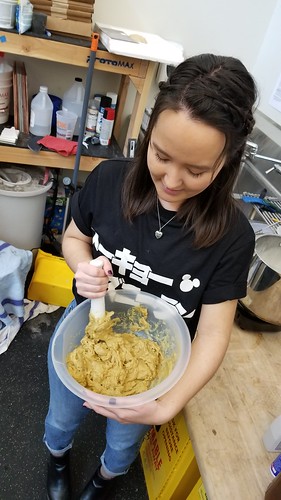
While Katia smashed up the now cooked dough balls, adding glycerine and water with hydrated lime to make a paste…

20190315_122234

…other members of the club arrived, and set to work cutting cotton fabric into 8″x8″ squares…

20190315_122207

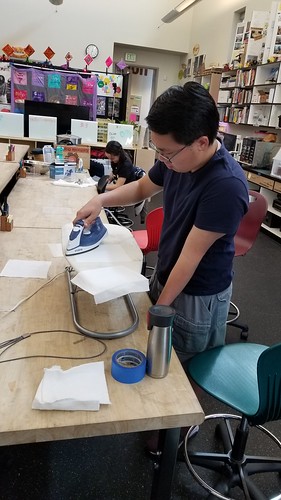
…and ironing the fabric to make it nice and flat for stenciling.

20190315_123351

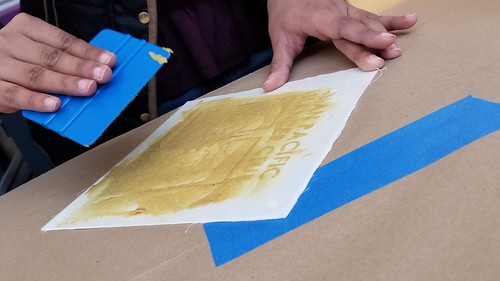
The paste ready, students set to work applying it to the fabric…

20190315_130004

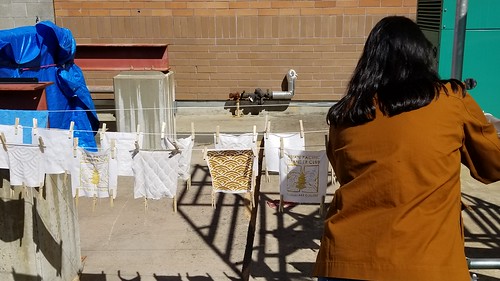
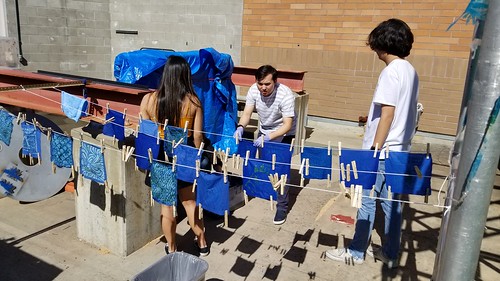
…and hanging the squares up to dry.

20190315_135025

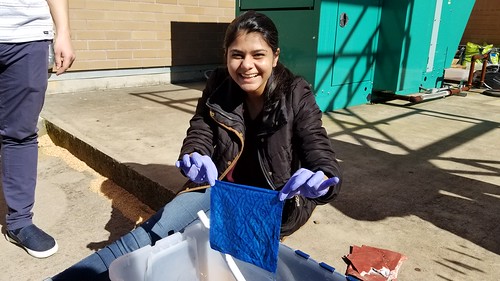
Once the squares were dry, it was into the dye for 20 minutes…
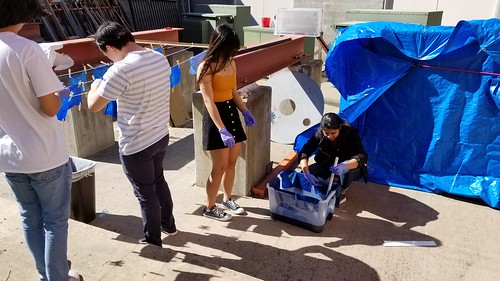
20190315_145350
..then back on the line to dry again…

20190315_145342

…before being rinsed.

20190315_152611

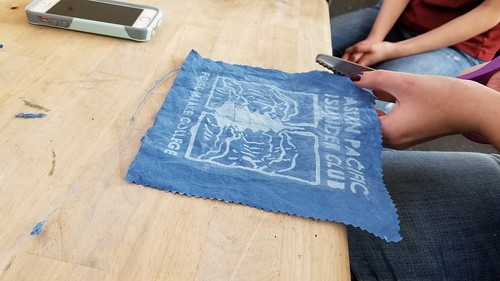
The rinsed pieces now dry, Katia trimmed the edges with pinking shears…

20190315_162005

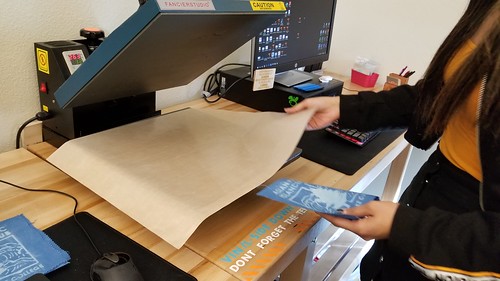
…while other students pressed the finished squares using the t-shirt press in the Clean Lab.

20190315_162439

The result!

20190315_165401

It’s exciting to find ways to combine traditional arts – katazome – with digital fabrication – the laser cutter – and we’ll incorporate what learned (a lot!) about the process and timing into v2.0 of the activity in a couple of weeks.

More photos from the activity:

Katazome in the Makerspace

But just a little bit.

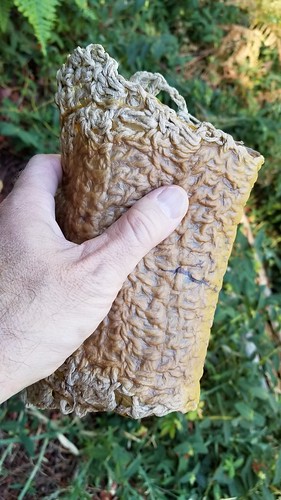
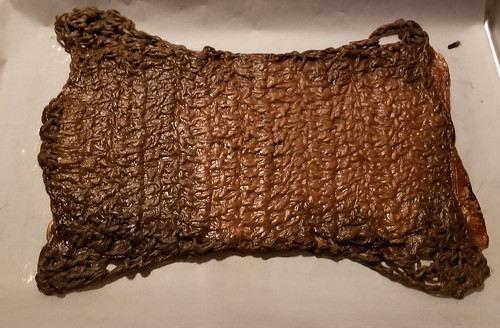
Took the crocheted SCOBY mat home to dry it out, and kept it overnight in a 120° F oven on parchment paper to dry it out.

SCOBY Mat

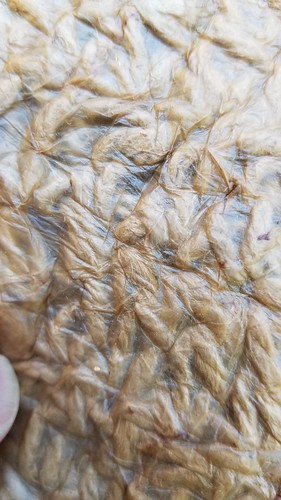
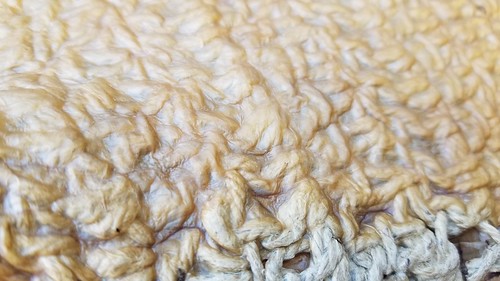
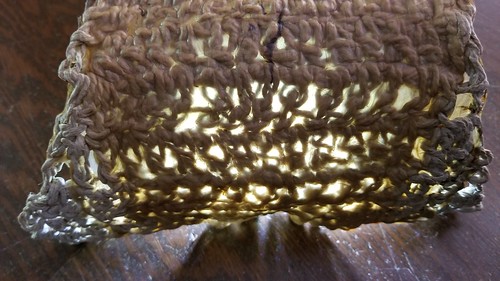
The thicker side didn’t quite incorporate itself with the hemp fiber, owing I think to the fact that the crocheted piece was suspended slightly below the high tea/sugar mark.

Microcellulose and Cellulose

In some places though, it seems as though the SCOBY really integrated with the mat.

Texture

The finished piece has an interesting flexibility because of the crocheted core.

Light Emitting

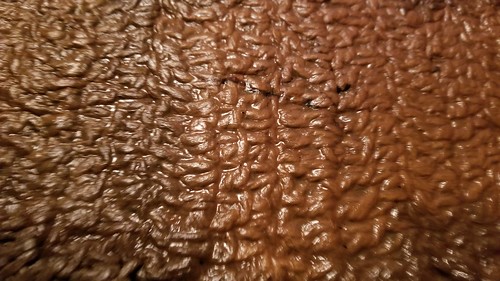
I decided to try using SNO-SEAL, which is beeswax and some sort of solvent, to waterproof the mat. I melted some in an old pan on an outdoor stove, and plunged the SCOBY mat into it.

Structure

As I was turning off the flame, the pan caught fire, which was no big deal, and I extinguished it by putting a piece of metal over it. I didn’t realize, however that the mat itself was on fire, but was able to put it out quickly. I then placed the whole business on parchment paper and into the oven at 120° again for about 20 minutes, then buffed it out with some paper towels.

Beeswaxed

It definitely sheds water.

Our next experiments include creating magnetic SCOBY by incorporating iron filings into some fruit leather mush, and creating “leather” bracers for an upcoming fashion show.

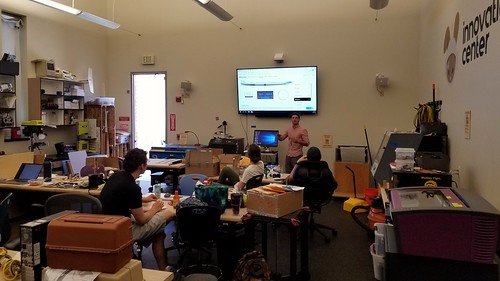
With the semester over, we’ve had some time to regroup and plan for the fall. One of our main goals this summer is to make sure that each staff member is comfortable on each fabrication process and machine. To accomplish this goal, the person most fluent in a particular process – 3D printing, or woodworking and power tools, for instance – is responsible for cross training all of the other staff.

2018-06-06_06-30-31

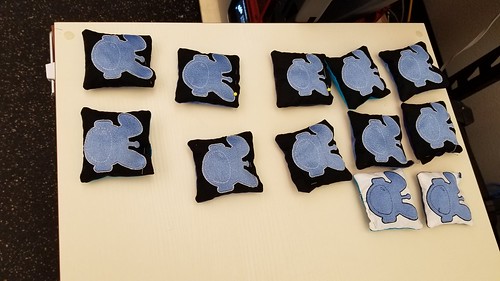
Clarity (student and makerspace staff) is an accomplished fiber artist, and she’s been the point person for sewing in the Innovation Center since the Making Social Change class last fall. Her group created the A-Z of Planned Parenthood quilt for their final project, and she has become quite skilled at using our Baby Lock embroidery machine, most recently using it to create the embroidered bean bags…

Beanbags

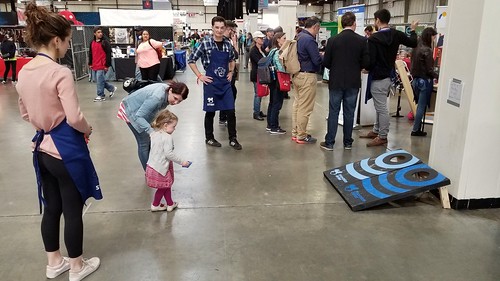
…for the cornhole game we brought to Maker Faire.

2018-05-18_06-35-54

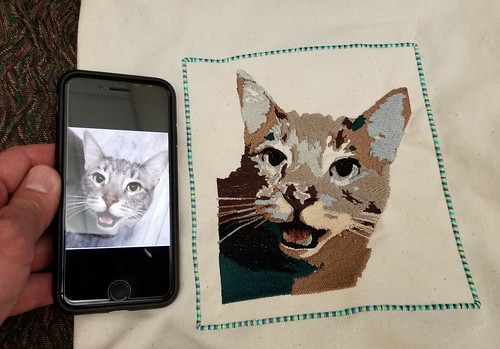
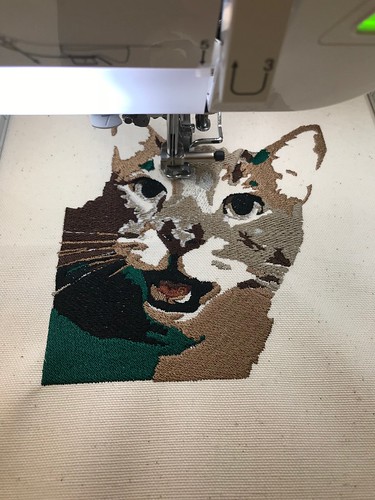
As the resident expert, she’s been training up the other staff, and today, she spent the day working with Nicole (student and makerspace staff) to create a really amazing canvas tote with an image of Nicole’s Mom’s cat on it. Requiring multiple thread changes and lots of tweaking in the embroidery software, it took quite a while, and Nicole now feels confident in helping makerspace visitors through the embroidery process. The resulting artifact is truly magnificent!

12 Color Embroidered Cat

flickr gallery of work-in-progress photos:

Cat Embroidery

Brie Lindsey (from CCST) was out at the college the other day scouting rooms for the upcoming CCC Maker symposium, and dropped by the Innovation Center.  Brie is an accomplished maker, with a lot of experience with sewing and other fiber arts, and she offered to help get the embroidery machine (which has a place to live, now that the fiber arts work table is built) up and running.

Threading the Needle

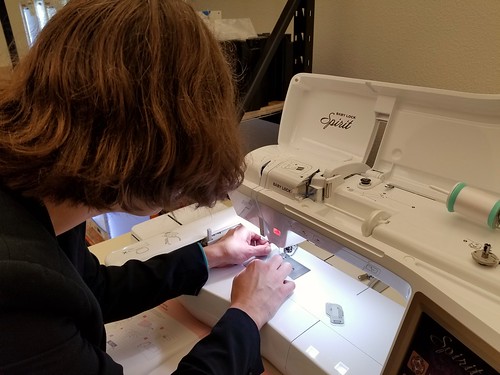
Brie showed me how to wind the bobbins and thread the needle, and after backing the fabric with stabilizer and mounting it to the smaller of the two embroidery frames, we let the machine do its work.

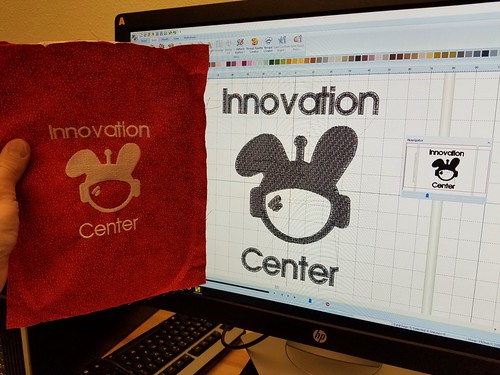
Here’s the view of the finished piece, analog and digital…

Software to Finished Piece

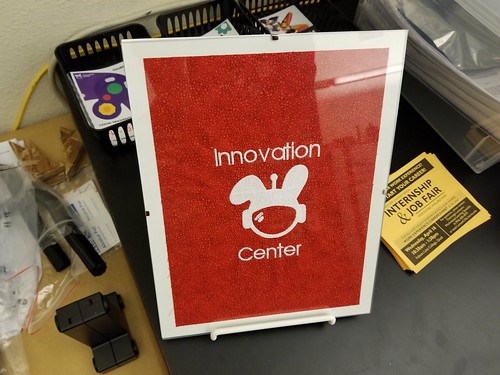
…and here it is framed up in the entrance to the space.

Finished!

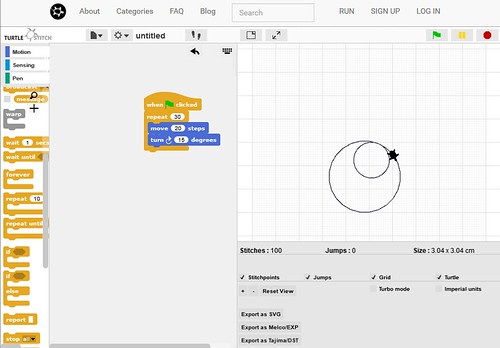
In parallel, I’ve been experimenting with TurtleStitch, essentially a mashup of Snap! (itself inspired by Scratch) and Logo that seems to be a perfect jumping off point for combining basic programming and automated embroidery.  From the website:

Turtlestitch is based on a browser-based educational programming language (Snap!) to generate patterns for embroidery machines. It is easy to use, requiring no prior knowledge in programming, yet powerful in creating novel patterns for embroidery. It is useful for designers to experiment with generative aesthetics and precision embroidery as well as tool for innovative workshops combining an introduction to programing with haptic output.

Turtlestitch

Now that the machine is up and running, my plan is to work with faculty collaborators from Math, CIS, and ECE to develop activities and workshops using the software so that students can both program and sew.  Software to stitches.

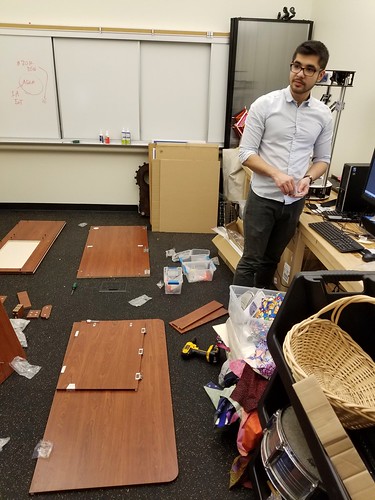
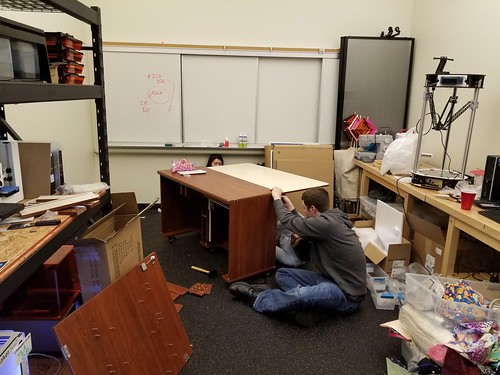
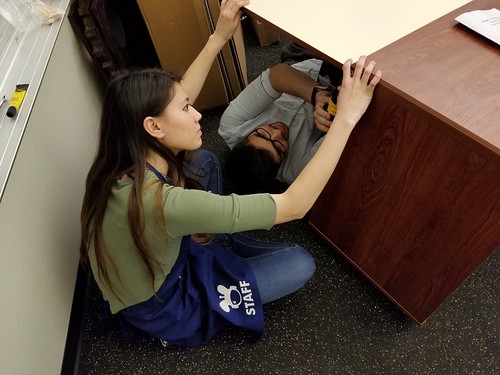
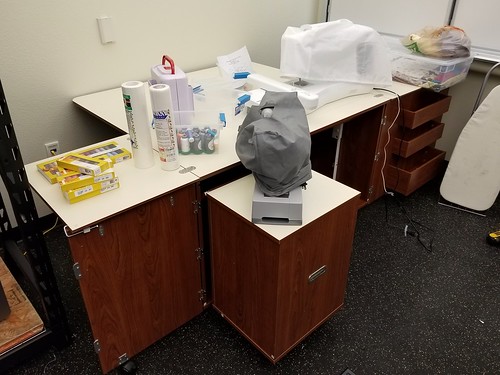
We recently finished building the furniture for our fiber arts area, which is in the Clean Lab and which houses our sewing machine, embroidery machine, and Lilypad Arduino gear. After gathering input from interested members of the college community, we chose the Kangaroo Kabinets Aussie II, which arrived in boxes and needed building. Nathaniel, Nathan, Rebekah and I unpacked and set to work.

H Stands for Hinge, Nathaniel

What Are They Building In There?

The Most Difficult Part

The finished workstation is huge, but fits perfectly in the space. With this anchor piece of furniture, the Clean Lab is nearly complete!

Sewing Surfaces

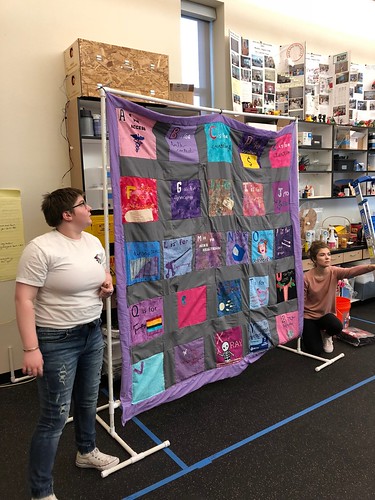
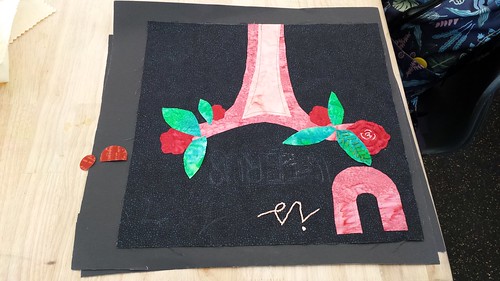
Fired up by the sewing lab from a few weeks back, one of our Making Social Change groups ran with the quilt theme, creating an A-Z of Planned Parenthood quilt as their final group project. They used the laser cutter to cut various shapes and letters, and employed a variety of techniques, including embroidery and applique, to create their squares, and PVC pipe to assemble the frame.  Here they are putting the finishing touches on their project.

Preparing for Visit from Planned Parenthood

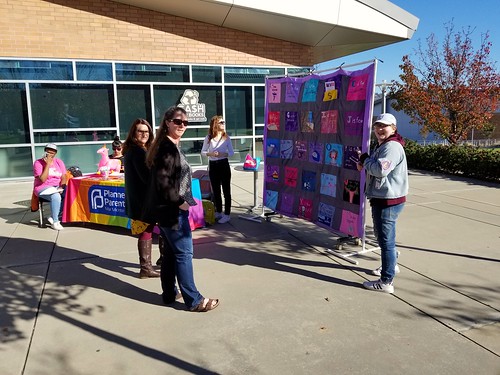
On Thursday, December 7, representatives from Planned Parenthood tabled outside the Falcon’s Roost, and our students staffed the booth and displayed their quilt. They got a lot of foot traffic, answered a lot of questions, and distributed lots of literature, including some from built-in pockets on the quilt.

Planned Parenthood!

It’s great to see our students using their skills and passion to take a project from idea to application, and this project is a perfect example of exactly what we hoped would be the outcomes of this course when it was just some ideas on a whiteboard back in 2015.

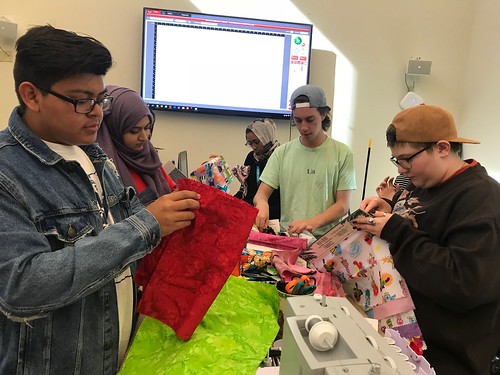
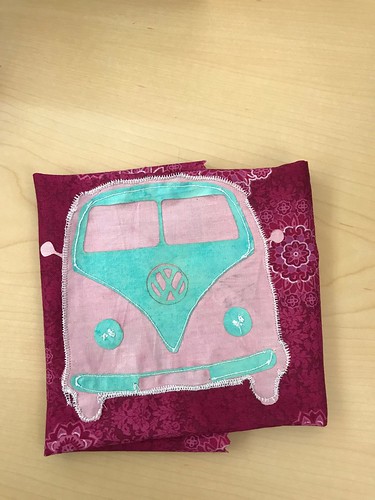
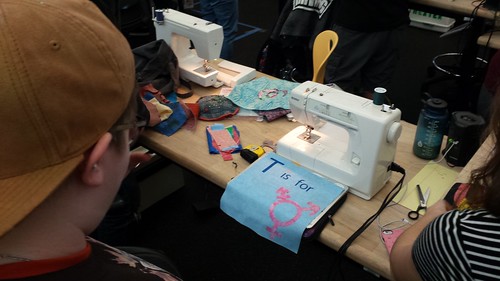
Inspired by our class visit to the Rocklin Mini Maker Faire, where the bulk of our time was spent in the open sewing lab, we spent a recent session of Making Social Change creating applique quilt squares for a collective class quilt.  The Theater Arts Department loaned us seven machines to add to the one we have in the Innovation Center, and were able to borrow a few others from students and faculty so that each student would have one to work with.  Students started by selecting fabric from a beautiful trove of fabric samples (generously provided by our faculty researcher Jill Bradshaw) and used the laser cutter to cut out 12″ background pieces.

Sewing for Social Justice

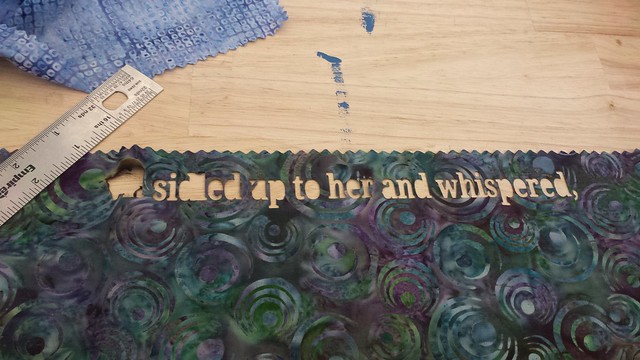
We set up two ironing stations so that students could apply Mistyfuse backing, after which they cut applique shapes and words using the laser cutter (and sometimes good old fashioned scissors).

20171023_152937

T is for Transgender

We had a few folks with sewing experience, and some with none, but students helped each other, and Diane was around to provide guidance and pointers.

U Is For Uterus

Overall a very empowering and dynamic class session! Here’s a gallery of Diane Carlson’s (Sociology) photos from the day:
MSC Soc379 10.23.17

A couple of additional laser + fabric experiments…

Our first fire! 🙂  Here we were cutting very fine letters, and it was a little too much for the fabric to handle.

Burnt

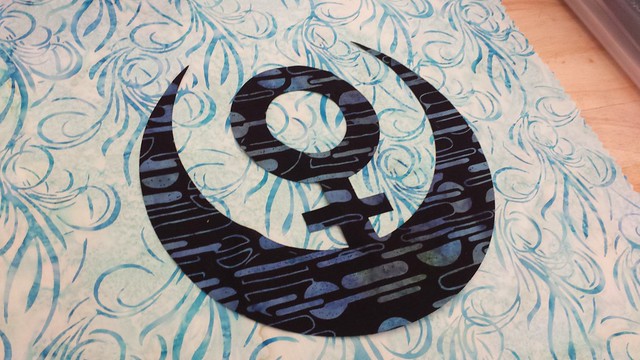
Here’s FLC’s Feminist Alliance logo on some contrasting fabric.

Feminist Alliance in Fabric

Our next step will be to try the process with fusible appliqué paper.

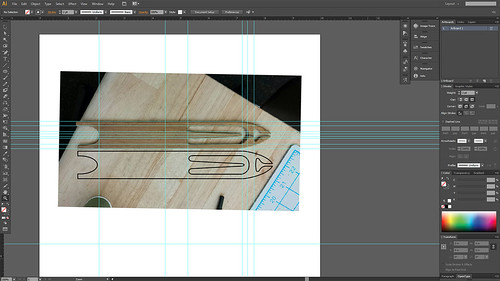
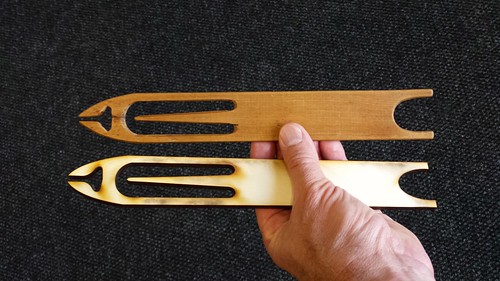
Having recently had students spinning yarn, I decided to make another shuttle for our community loom, as the one we’ve got has a crack in it. I snapped a photo of it, brought it into Illustrator, added a few guides, and was able to pretty quickly create a fairly similar copy.

Making a New Shuttle

I cut the shuttle out of 1/4 birch plywood using our laser cutter. It needs a bit of sanding and filing, but I think it will make a pretty decent replacement.

2017-09-12_02-57-47

The files (Illustrator *.ai and PDF) and instructions are up on Thingiverse, or you can just grab the pdf here: simple_shuttle
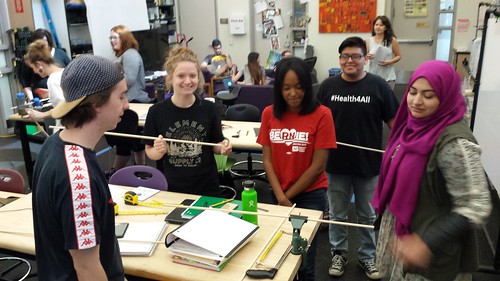
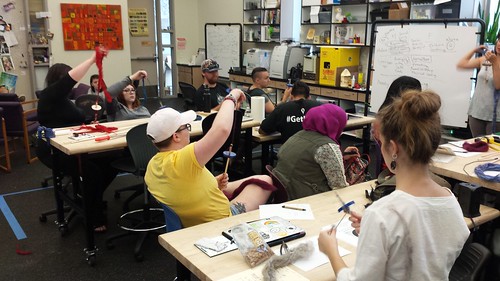
In week 4 of Making Social Change, we talked about Indian independence, and about the emblematic role of khadi – handspun and hand-woven cloth – in the movement. Building upon the prototype Erica Tyler (Anthropology) developed as part of the Making Across the Curriculum faculty maker academy of summer 2016, and on our preview event from spring 2017, students created drop spindles using dowels, hooks, and laser cut whorls.

20170911_150541

Erica made herself available to talk about “women’s work” in the Archeological record, and showed students how to spin roving into yarn.

20170911_154401

With any luck, the community loom will soon have a bit more handspun yarn added to it.