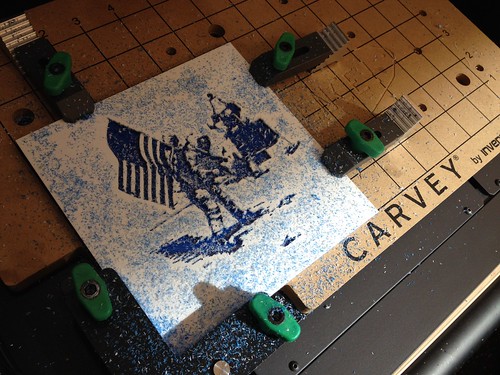
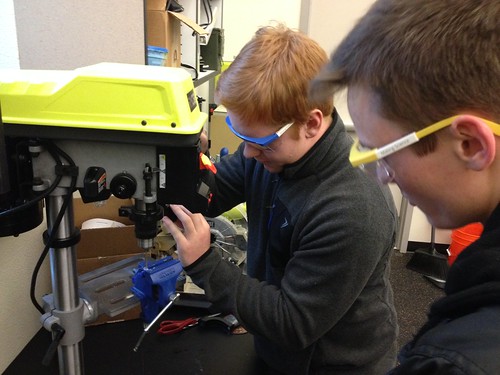
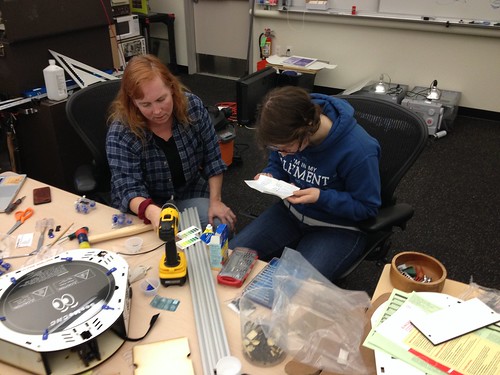
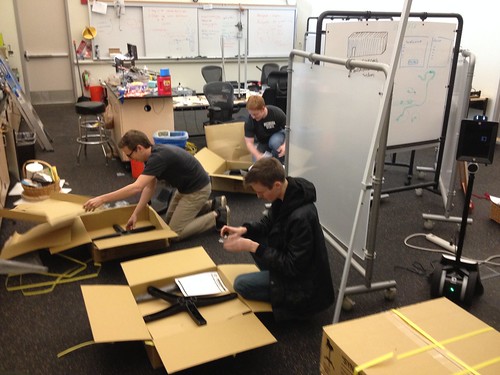
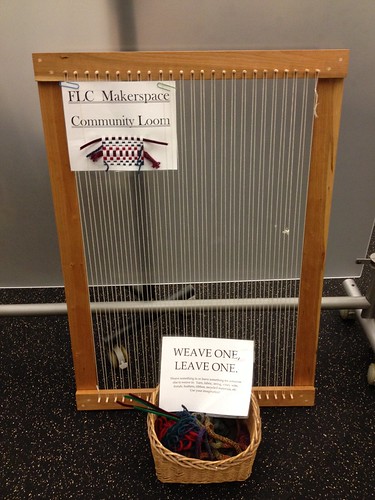
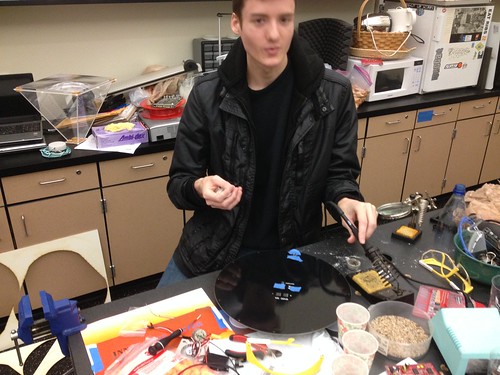
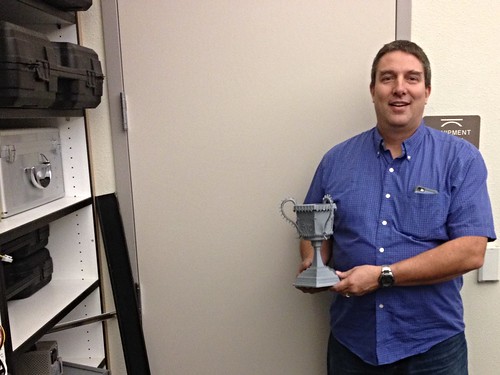
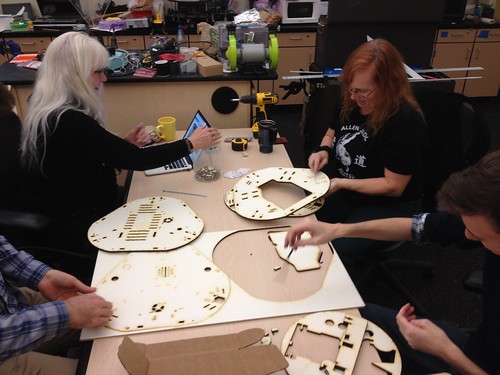
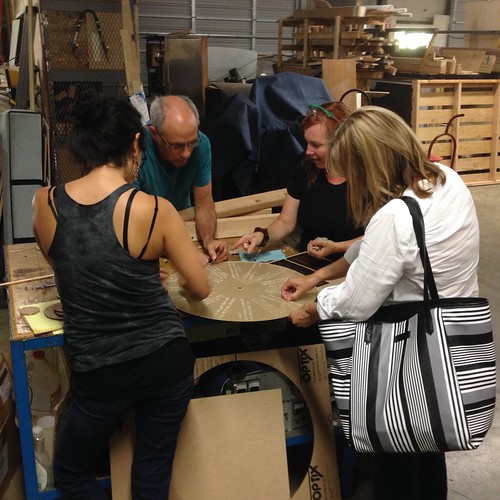
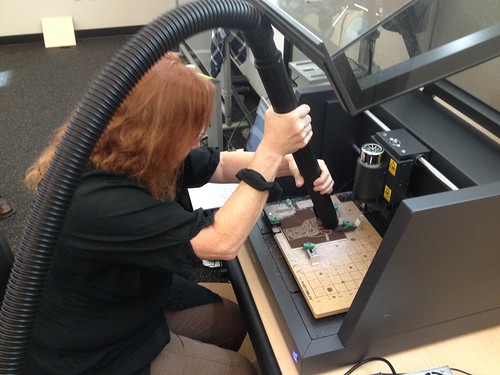
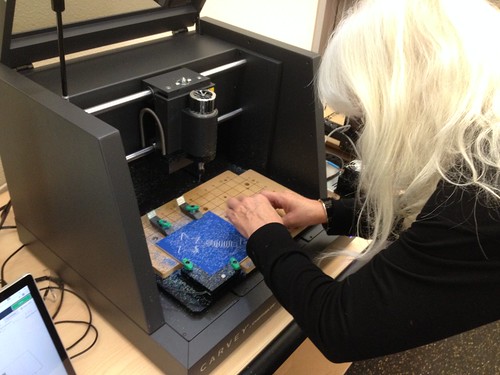
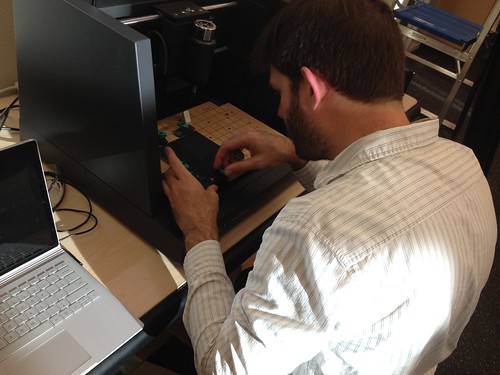
I’ve been working a lot lately with members of Folsom Lake College’s Peer Mentors, a group helmed by the the great Juan Flores (fellow faculty member and father of my lab helper from the other day).  The Peer Mentors are working on developing tiles for the mosaic tile project, with the goal that they will in turn help their assigned mentees to develop tiles.  It’s our hope that involving new college students in a technical and very accessible project will give them a connection to the makerspace early in their college career, and that having a physical artifact on the wall will help them feel connected to the college. Jess (student, Peer Mentor, and astrobiology enthusiast) was the first student from the group to have her design ready.

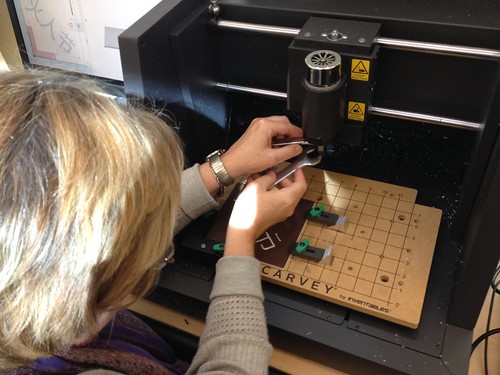
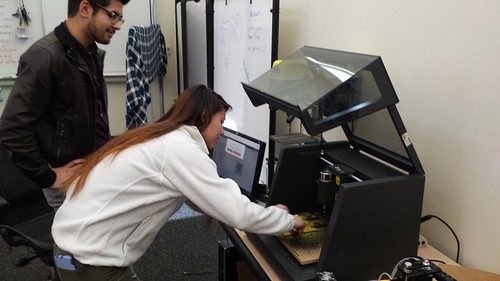
Jess Changing Bits

The new rough/fine pass feature of Easel is a good one, and should help to preserve the tremendously delicate 1/32″ bits.  We actually ended up doing three passes with successively smaller bits,  and Jess quickly mastered the process, producing this really nice design.

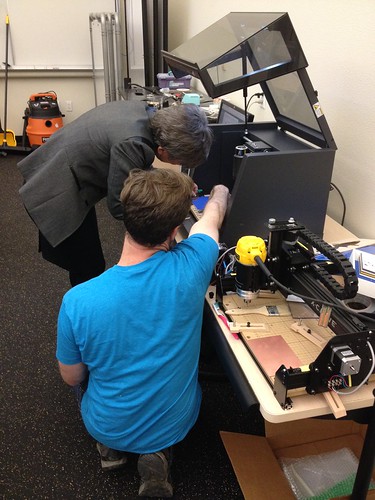
KC Boylan (Communication and Media Studies) stopped by later in the day to cut her tile…

KC Changing Bits

and Kathleen Kirklin (Interim President) did hers a couple of weeks ago…

Kathleen Securing her Tile

The project is turning out to be a great way to foster community as we continue to develop the space, and it’s a maker skills confidence builder besides.  With nearly a dozen tiles finished, I need to work with Ian Wallace (Theater Arts) to get some time on the big ShopBot to route out the waffle frame so we can get these up on the wall!

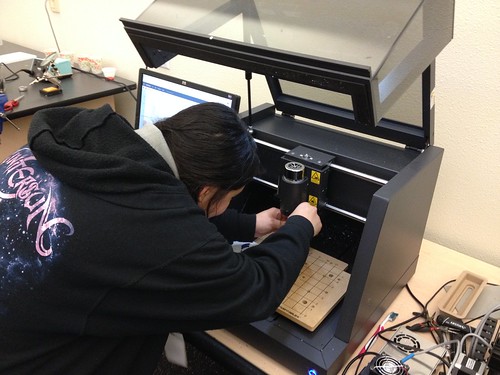
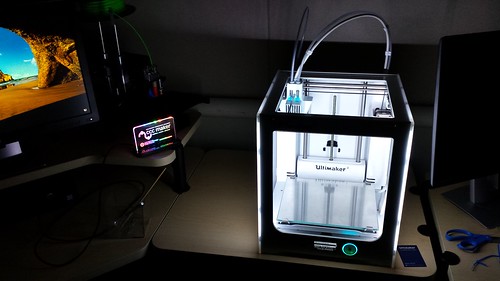
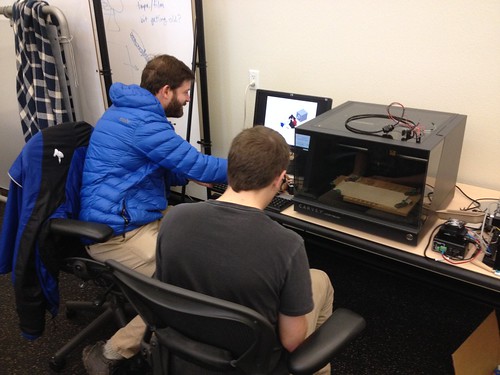
Ultimaker 3

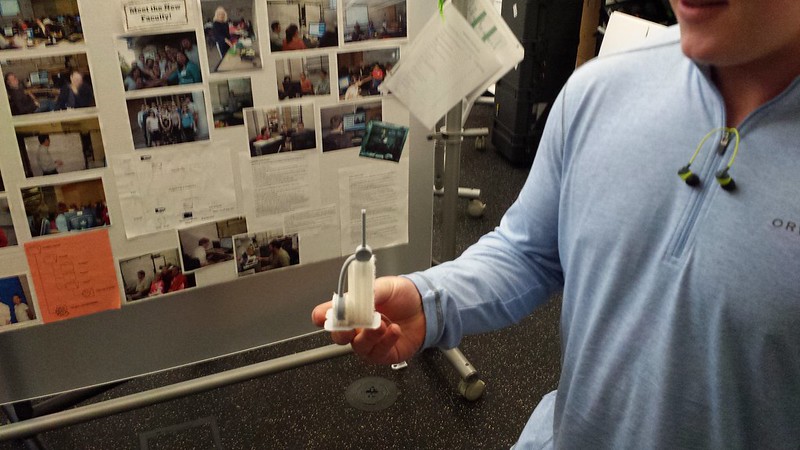
The new Ultimaker 3 arrived the other day, and Thomas Schmitt (student) unboxed it and got it set up and calibrated. Thomas has been designing a bobbin for fly fishing fly tying, and some of the project parameters, including a threaded rod and a hollow tube that serves as a thread guide, seemed to provide a good test case for a first print on the U3. The machine comes standard with dual extruders, and ships with a roll of PVA, a water-soluble filament.

Thomas Prints the First U3 Print

The first print came out really nice, and the water-soluble support material is a game changer, especially for printing certain fine details and hollow areas.  Some of the tricky biology models that faculty want to print are finally going to be within reach.

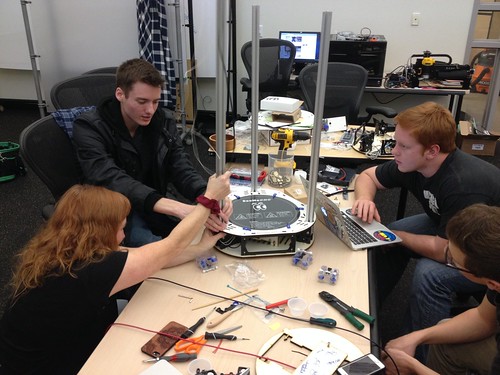
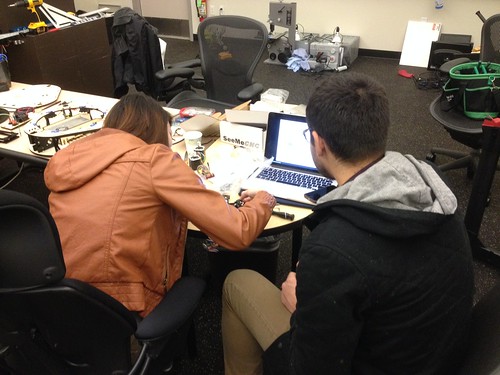
Assembled a team of faculty and students to continue work on the Rostock Max v3 (part 1, part 2). As before, the project is nicely modular, so while Max (Chemistry) and CJ (student) worked on the electronics…

Max and CJ Back At It

…Diane (Sociology), Alex Hartigan (student), and Thomas Schmitt (student) focused on the main assembly.

Untitled

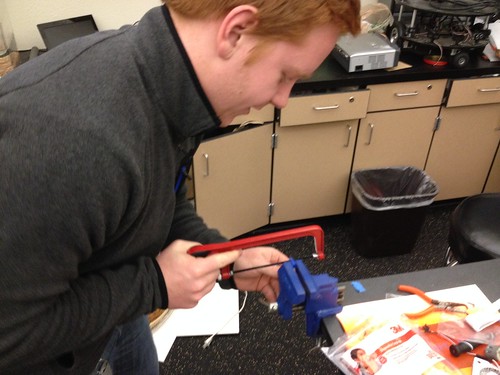
As it turns out, instead of three each of the inner and outer bits that hold the bearings for the carriage, the kit included four and two.  We talked about some options, and the crew decided to mod one of the errant parts to make it work, which involved sawing off a bit of it…

Thomas Monifying a Rostock Max v3 Part

…and drilling a couple of holes…

Thomas and Alex Modifying a 3D Printer Part

…while I contacted the vendor about sending a replacement. We think our modified part will work, but I’m working on getting the right part sent, just in case.

Meanwhile, Taylor (student) dropped by to test the water chemistry of the in-progress aquaponics installation.

Diane and Taylor Talk About Ammonia

We’ve probably got at least another day of work before the printer is finished, and as folks began drifting away, Levi (receiving) delivered 12 new lab stools.  CJ, Alex and Thomas hung around and helped assemble them.

The Crew Gets to Work Assembling the Lab Stools

Still waiting on the workbenches, which should be here in the next couple of weeks.  Lots of energy, and lots of making!

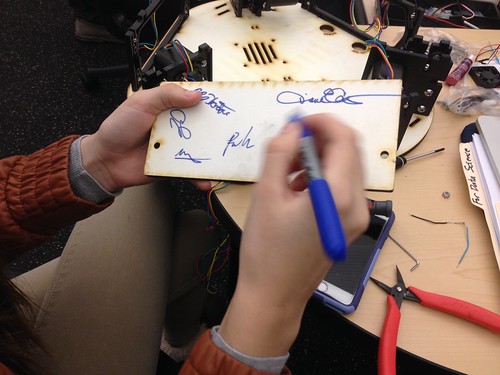
Hosted the second Rostock Max build day today. The crew – mostly the same folks from the first build day – put in a good day of work, and we got much of the hot end done, finished up the base, and made good progress on the top assembly.  We decided to adapt the topping out tradition, aka “signing the beam,” though we aren’t actually finished with the build.

Untitled

More photos from today’s build…

Max Working on the Hot End

Nathaniel and Rebekah Building

Nathaniel Heat Shrinking

Alex Soldering

Spent the better part of today building – or starting, anyway – the Rostock Max v3.  There’s tremendous cultural and social value in having folks take ownership of their tools.  We ordered this 3d printer in DIY kit form specifically so that we could build it together, following our successful building/bonding experience putting together the X-Carve (part 1, part 2, part 3).  Champion maker educators Diane Carlson (Sociology), Jennifer Kraemer (Early Childhood Education), and Max Mahoney (Chemistry) were were joined by students Nathaniel Adams, CJ Costa, and Alex Hartigan.

It sometimes takes a while to get rolling on a complicated build.  I’ve learned that one of the best ways to kick things off is to get all the participants doing something communal and simple, so we started by collectively picking out all the little bits left over from the laser cutting process.  A low risk/high reward opportunity for the group to gel, visit, socialize, and quickly develop a common purpose.

Rostock Max v3 Build Day

This kind of social busywork seems to scratch some shared primate itch, and reminded me of my favorite moment from last summer’s Making Across the Curriculum workshop, during which folks gathered around to chat and pick the protective paper off of Diane’s Wheel of Voting Rights project.

Collective Grooming - Picking the Sticker Residue off a Laser Cut Piece of Acrylic

That finished, we loosely divided up the work and got to building.  With this particular build, there are a lot of steps that can be completed independently and in no particular order – in other words, not a lot of serial dependencies – so folks were able to dive in and work in pairs and trios without (usually) having to wait for others to finish.  Despite a few missing parts (which turned out not to be missing after all), we made a good start, and will continue building later in the week.

Build day album on Flickr…

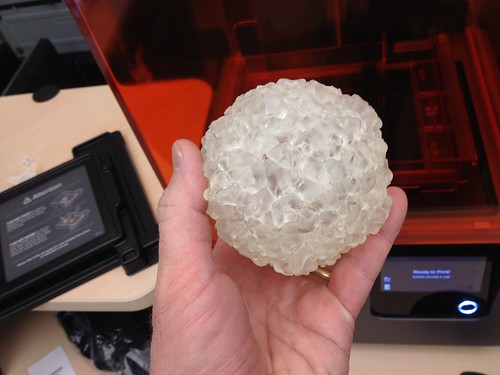
Some significant failures recently in the 3D printing department. Inspired by Steve Holzberg’s (Biology) cancer prints, Linda Abraham (Biology) found a model of a rhinovirus for printing. Given the complexity of the model, and the intricately folded surface detail, we decided the Form 2 was the printer to use. Loaded up the clear resin and let it print.  The result:

Rhinovirus in Clear Resin

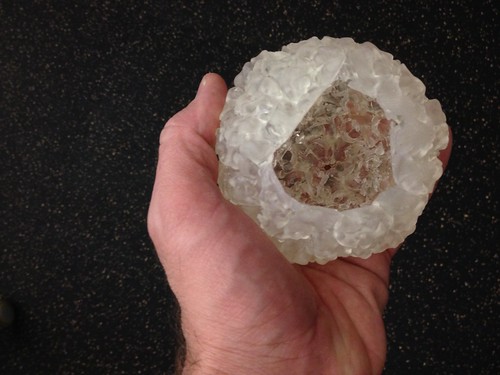
Mostly it worked fine, but the top of the model had problems. A strange rupture appeared in the sphere:

Failed Print

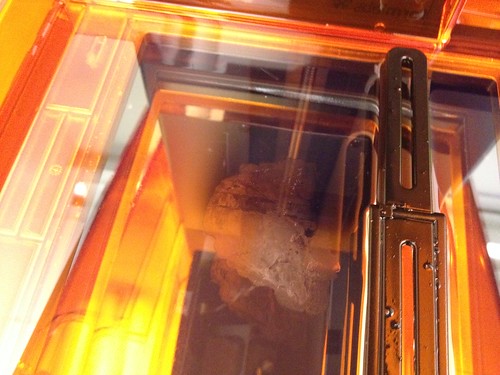
The anomaly coincided with, was caused by – or maybe left? – this cloudy residue in the tray:

Form 2 Fail

The tray was fresh out of the wrapper, and it was the very first run of clear, so I’m not sure exactly what caused the failure. In any case, the model is still perfectly usable, after a little filing to smooth out the jagged edges of the rip.

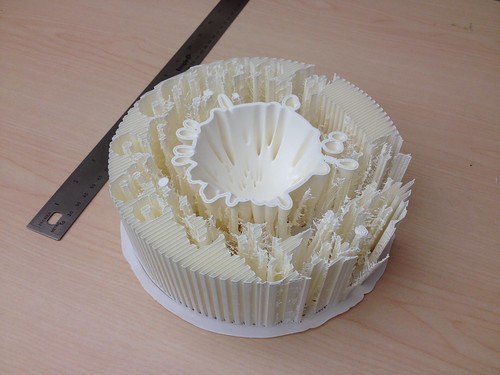
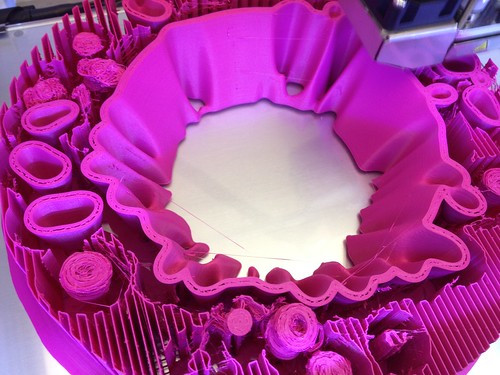
Meanwhile Max Mahoney (Chemistry) and Alex Hartigan (Student) continue to work on their 3D printed free energy surfaces project.  After something like 84 hours, the intricate nested conical structure, our largest print to date, began failing, and we pulled the plug on it to regroup (with 105 hours left on the print).

Ultimaker Fail

The center part of the model printed beautifully, and after some careful calculations to determine where things went wrong, Max set out to print the remainder of the model – in pink, since we ran out of white filament – with the idea of gluing them together somehow.

Untitled

This one too is failing out on the margins. Support material configured as a tower seems to be the common failure point. Stay tuned…

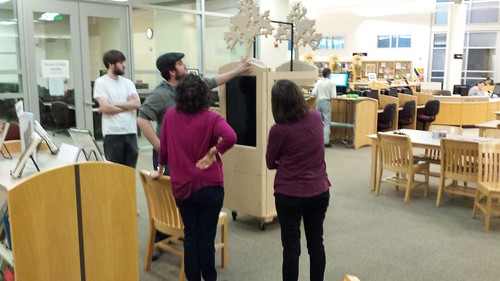
With the fall show winding down, Cameron and the Theater Arts crew are trying to get the aquaponics system wrapped up, and brought the near-finished display up to the library for a dry-fitting.

20161115_150458

I’m told they’ll have it buttoned up within a week, after which all the other work – getting the tank established, setting up and calibrating all the sensors, connecting all that to the network, figuring out the display and the giant “get tank vitals” arcade button – can continue in earnest.

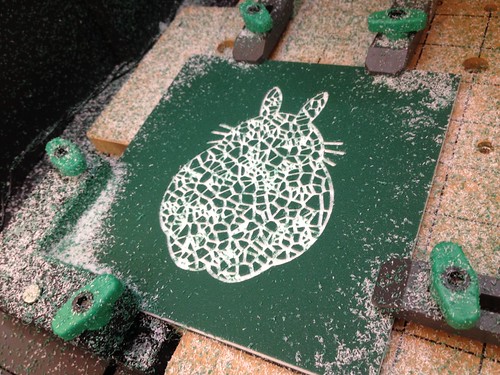
We’re also close to getting the nine tiles for the first pane of the Carvey project finished, inspired by Jeff Solin’s Mosaic Tile project. Nathaniel and Rebekah of FLC’s Data Science Club carved up a version of their club logo to add to the other faculty and student tiles we’ve got so far.

Removing the carved tile.

The plan then is to mill (on the big ShopBot down in Theater Arts) a 3×3 tile “waffle” frame, with recessed wells for each of nine tiles. That will comprise the first of hopefully many such 9-tile collections, as additional faculty, staff and students create their own tiles, and all that work will be on display, either outside or inside of the Innovation Center.

Carvey Totoro

Untitled

Carving Done

Untitled

Untitled

Chris (student) dropped by the IC today, and we spent a little time making improvements to the Kinect scanning process we first piloted earlier in the week.  Specifically, we put the Kinect on a tripod, and Chris sat on a rotating bar stool and spun himself around.  As expected, the result was a much more accurate and complete model.

Untitled

Brandon (student and Math & Engineering Club president) has some ideas about developing some motion systems for more accurate scanning, and I’m going to talk to Marisa Sayago (Art) about scanning and reproducing some student art.  This is turning into a fun project, and one that students definitely seem to enjoy!