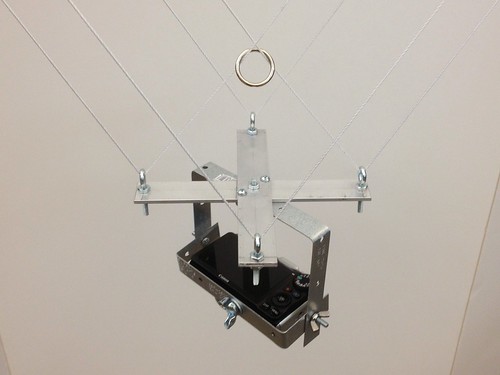
Modified the original design a bit, moving up to 2″ aluminum bar stock for the cross, to allow for the camera to hang on the same plane as the balloon string.

Untitled

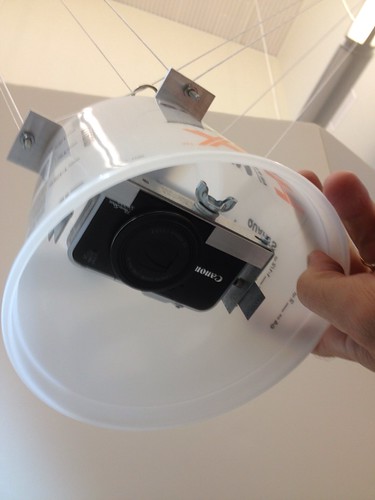
I also added a bucket, which I’ll foam up in an attempt to protect the camera in a bombs away scenario. 2 and a half quarts of security theater!

Update: I walked over to Printing Services and weighed the picavet rig with camera in place. 1 lb, 3.2 ounces. Given the helium shortage, we’re looking into kites as an alternative, and the rig weight will inform the kite selection process.

In preparation for some weather balloon flights, we’re working on building up a picavet, which will keep the camera level and steady regardless of the angle of the string – you can read all about them here:  http://www.kaper.us/basics/BASICS_picavet.html

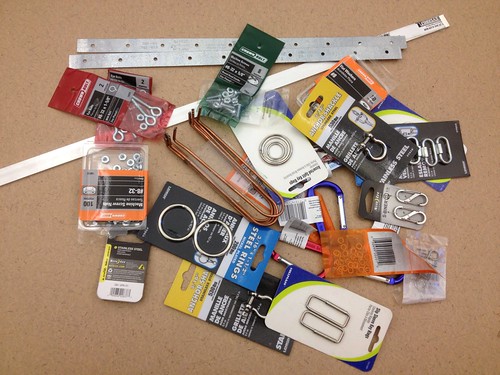
After a couple of hours at the local hardware store, I ended up with a big pile of little parts.

Picavet Parts

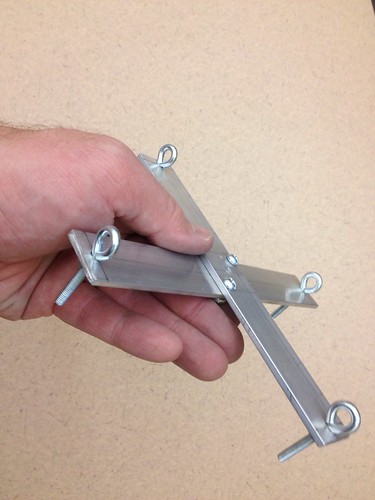
I set to work this morning, and was able to knock out the basic framework for the part that attaches to the kite/balloon string:

Basic Picavet Frame

Lots of guidance on the web – I drew inspiration from http://www.arch.ced.berkeley.edu/kap/equip/picavet.html#no3.

Next is the camera mount, which attaches to the suspension frame pictured above.  We hope to test it out next week, and to tweak and adapt in advance of a project that will see students doing some aerial and ground surveying of a local nature area.