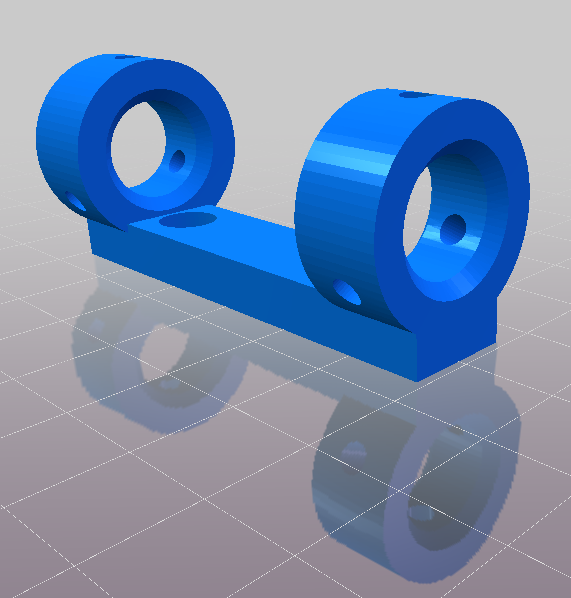
We don’t have dust collection set up just yet, so running the router on the new X-Carve is a messy prospect.  Max Mahoney (Chemistry) has ideas about using the machine for some copper etching labs, so we set about adapting it for a pen.  We fairly quickly found a model of a 3D printable pen holder for the X-Carve (CC BY Duane Northcutt), and printed it out, tapping the holes for M4 screws. PLA surprisingly seems to hold a thread fairly well.

X-Carve Pen Holder

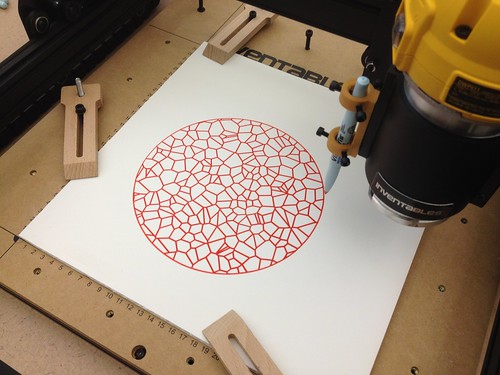
After several experiments with various pens, we were able to successfully draw a pleasing circular Voronoi tessellation using an orange Vis-a-Vis overhead transparency marker on 12″ x 12″ piece of foam core board.

X-Carve - Pen on Foam Core

The whole thing took about 36 minutes to complete.  Here’s a short, mesmerizing (to me anyway) video of the CNC hard at work.

The build crew met again this morning for the third and final X-Carve build day.

Untitled

Finished up the work area, z-axis, drag chains and final wiring…

Untitled

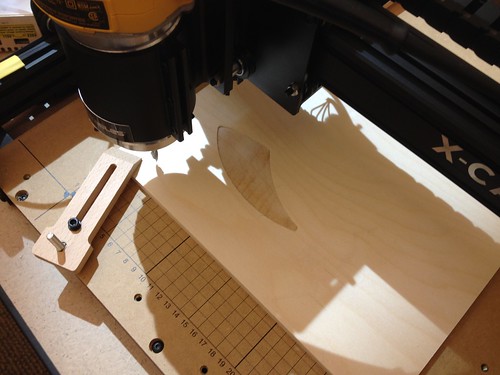
After a few perplexing challenges, especially regarding the mounting of the y-axis drag chain, we were able to finish the build, fire the machine up, and make our first test cuts!

Very First Cut!

All in all, a very satisfying build, and we learned a lot. For anyone looking to build an X-Carve, I would advise double-checking the forums at Inventables if you run into inconsistencies in the instructions – there aren’t many, but there are one or two differences between the current shipping kit and the videos and build instructions online.  I would also advise using the GrabCAD models. We ignored these until the very end, but they proved very useful when figuring out the drag chain mounting, and I wish we had checked them sooner – we pretty much ignored them until the very end of the build.

Potato quality video – I was holding the vacuum in one hand and trying to shoot video with the other, and apparently the iPhone didn’t know upon what to focus):

In the next couple of days, I hope to get the dust extraction situation worked out, and to extend the XYZ wiring so that the power supply can live a little farther from the machine.

X-Carve Build Day, Part 1

X-Carve Build Day, Part 2

Build photos

X-Carve Build Day 2 - All Hands on Deck

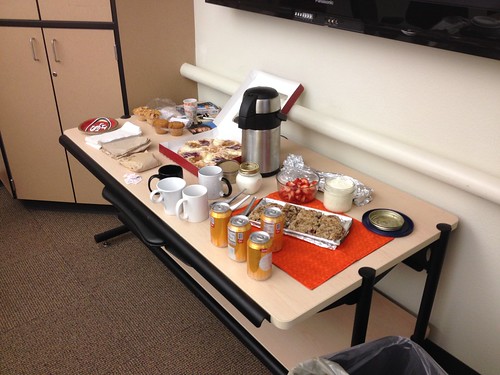
Back to the build…  After a successful build day last week, we started Build Day 2 with some goodies, including Diane’s home-roasted coffee, egg and cheese sandwiches, homemade scones, muffins and pastries:

X-Carve Build Day 2 - A Light Brunch to Start the Day Right

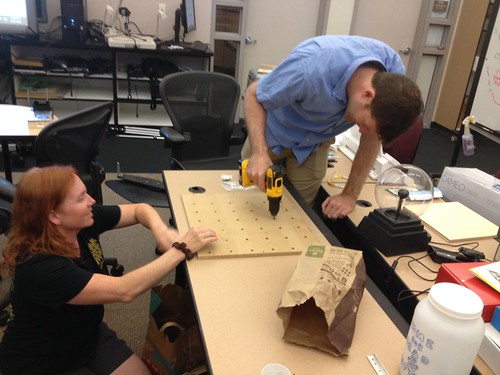
Today didn’t go quite as smoothly as I’d hoped, mostly because I mistakenly believed that one of the rails had not been tapped, which triggered a mad dash to the local hardware store for a tap and die set that turned out to be unnecessary. My mistake transformed into a learning experience and some skill building, so it wasn’t all bad:

X-Carve Build Day 2 - Jennifer Drilling

We were able to get the Z-axis assembled:

X-Carve Build Day 2 - Jennifer Adjusts the Z-Axis Drive Screw

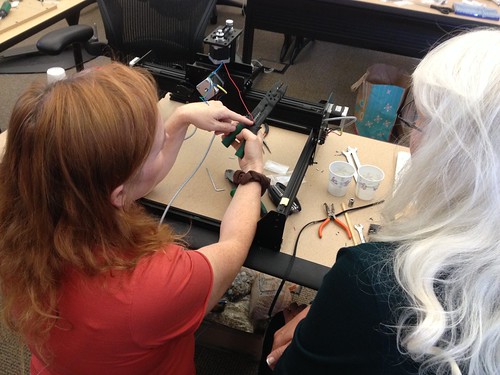
And all of the motors wired:

X-Carve Build Day 2 - Diane and Jennifer Wiring the Z-Axis

We’re planning on finishing up the project after the weekend, and then we’ll get to carving!

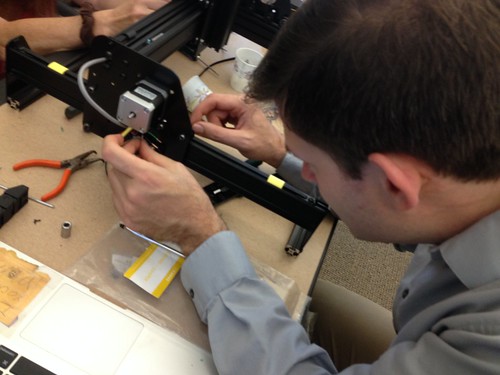
X-Carve Build Day 2 - Max Wiring

Additional photos…

X-Carve Build Day - Chopsticks and Scissors

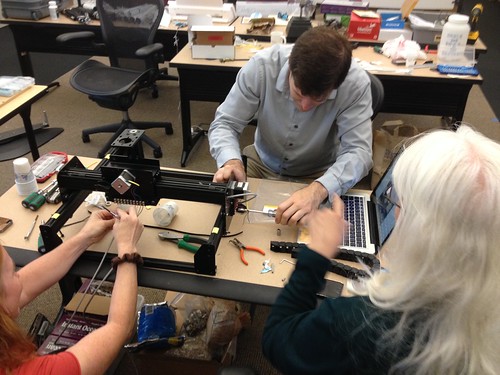
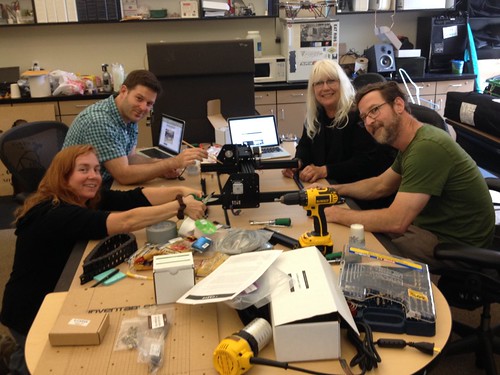
Spent much of today with a few of my primary collaborators: Diane Carlson (bottom left – she of Making Social Change fame), Max Mahoney (top left – he of molecule making and molecular visualizer fame), Jennifer Kraemer (top right, she of various making in ECE projects like the building system interoperability activity) and me (bottom right) putting together the new X-Carve.

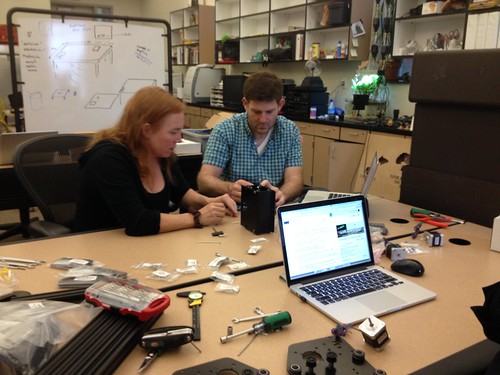
Jennifer fine-tuning a pulley for the Y axis:

X-Carve Build Day - Fine Tuning

Diane and Max strategizing:

X-Carve Build Day - Diane and Max, Getting it Done

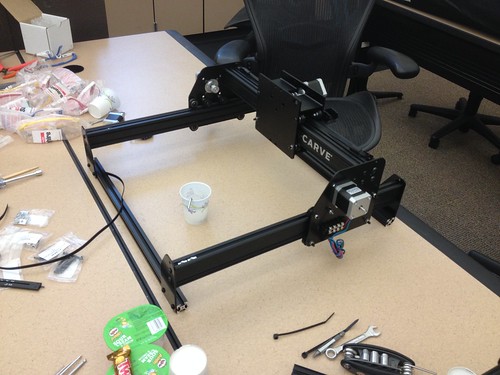
We ended the day with most of the structure built, and will meet again next week to tackle the belts and electronics.

X-Carve Build Day - A Day's Work

More photos from the X-Carve build day…

Made some spectacular progress on the aquaponics project, producing a prototype of what will eventually be the light-up infographic built into the base. The team collaborated on a design for a diagram of the nitrogen cycle, and with the help of Ian Wallace (Professor, Theater Arts) and Cameron Hoyt (student and designer of the tank stand), we were able to get the design cut out on the big ShopBot in the scene shop.

Tools have their own logic, and CNC is no different. Balancing legibility of the design with the properties of the materials and the constraints of router bit size was a learning experience. The initial design was text heavy, but the 1/8″ bit introduces some size constraints. That is, the text has to be large enough for the machine to cut. After consulting with Ian, I scaled up many of the lines, adjusted the font, and created a little 1/8″ dot to drag around the image as a simulated router bit.  The original is on the left, with the revised version on the right (below).
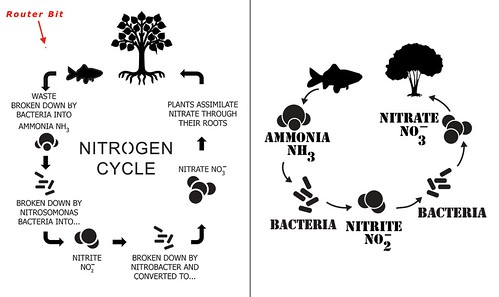
Aquaponics Project: Nitrogen Diagram Before and After

Ian took the draft diagram and ran it through software to create the tool path. Some scale work still to be done, especially on the text, but we decided to run a test cut anyhow.
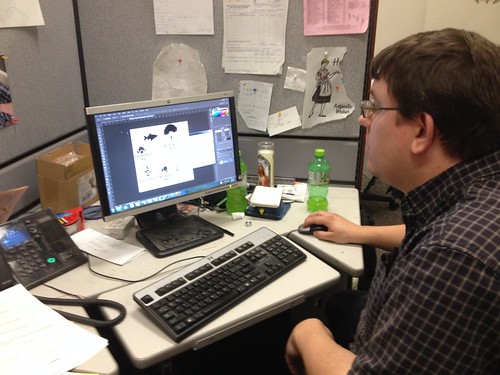
Aquaponics Project: Ian Checking the Nitrogen Cycle Diagram

I watched and learned as Cameron and Ian set up the ShopBot and got things ready to carve…
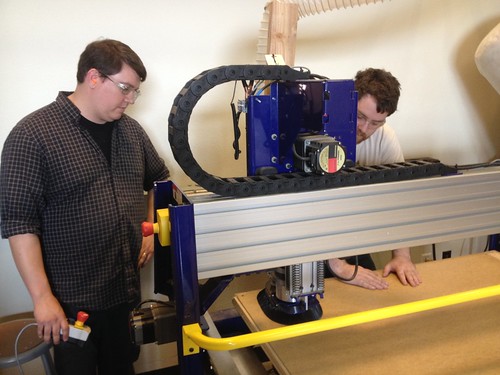
Aquaponics Project: Ian and Cameron Helping to Set up the CNC Job

…after which I babysat the machine, which took about 30 minutes to cut out the prototype.
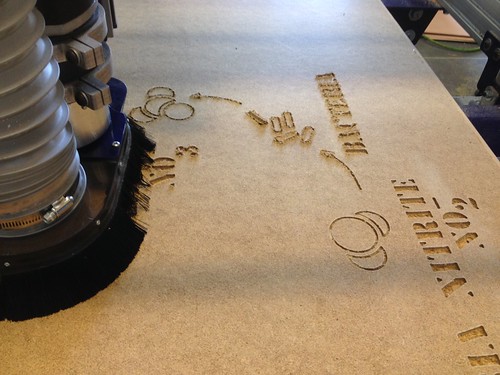
Aquaponics Project: Nitrogen Cycle CNC

Below is the prototype, after a little cleanup with a knife, sandpaper and a file.
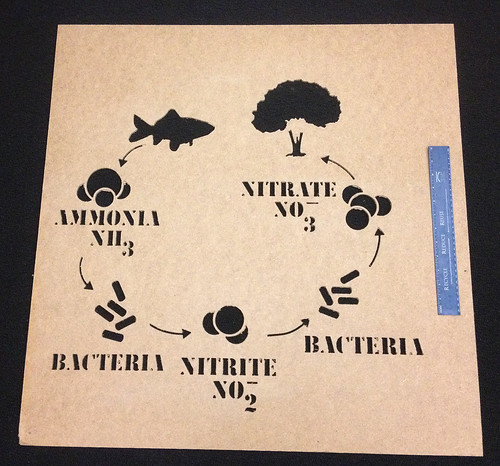
Aquapics Project: Nitrogen Cycle CNC Prototype

There’s still some design work to be done, and some tightening and scaling to make the diagram legible, but we were very pleased with this rough version. Always be prototyping!