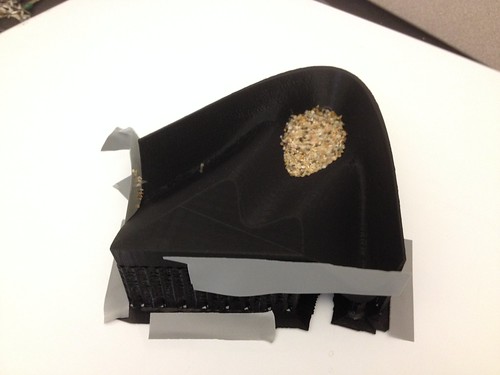
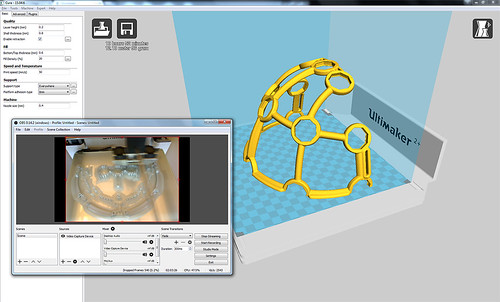
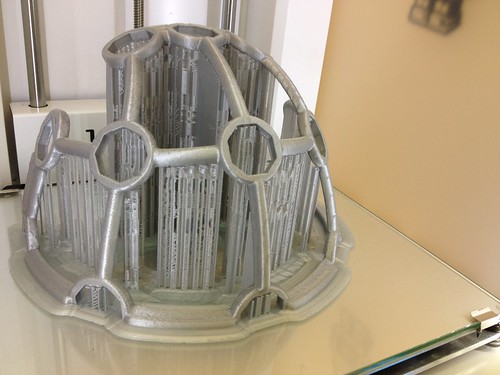
Working on a new prototype, combining the models from 3D Printed Potential and Free Energy Surfaces for Teaching Fundamental Concepts in Physical Chemistry (Kaliakin, Zaari, and Varganov) and something like this:

Max Mahoney (Chemistry) printed one of the models from the aforementioned paper, and we got to discussing how we might fill it with sand and inject some energy in the system to motivate the sand to shift around to demonstrate concepts of chemical reaction kinetics and dynamics.

Untitled

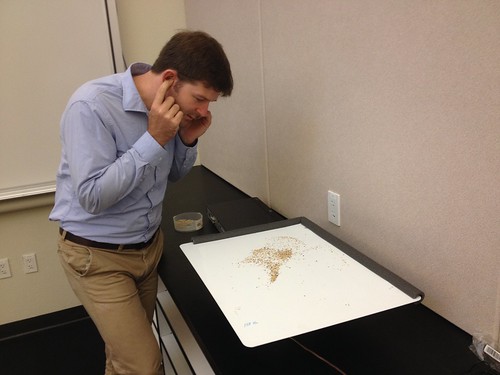
I found a Sonic Ghost VX-GH72 Electro-Mechanical Audio Transducer in the workshop. I purchased it some years ago hoping to replicate a sweet project I once saw at Maker Faire, developed by Sasha Leitman and involving 50 gallon metal drums with contact mics attached, with the drums acting as…well…drums, but also acting as speakers.  Anyhow, we hooked the transducer up to a piece of metal and threw some sand from the aquaponics project on there, and played around with different frequencies.

Untitled

We ended up breaking the transducer, and substituting a speaker, upon which we place the metal sign, with the model taped to the top.

Untitled

We were able to get the sand to bounce out of the lowest spot and into one of the higher ones, so the rough prototype is showing promise…

The recent EpiPen controversy led to lots of good conversations this week with various faculty about “medical making,” either as a new class in our upcoming MAKR certificate, a semester-long sort of focus, similar to things like One Book, or as some focus within the larger construct of Making + Doing, which is an idea we’ve been kicking around as a way to intertwine making and service learning.  One of the projects that emerged from those conversation is Enabling the Future, an “amazing group of individuals from all over the world who are using their 3D printers to create free 3D printed hands and arms for those in need of an upper limb assistive device.”

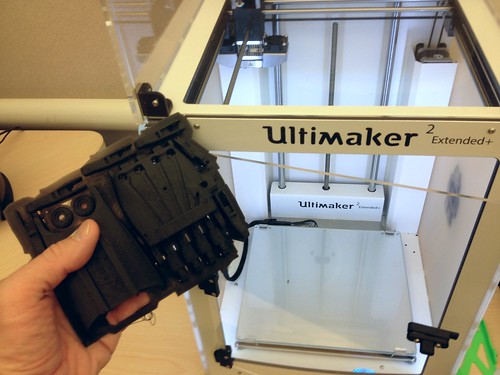
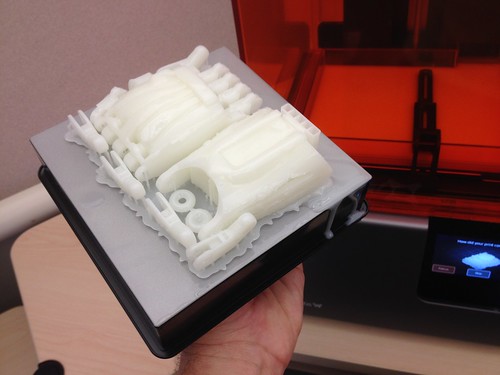
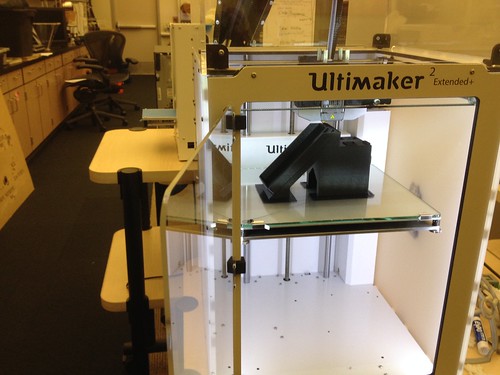
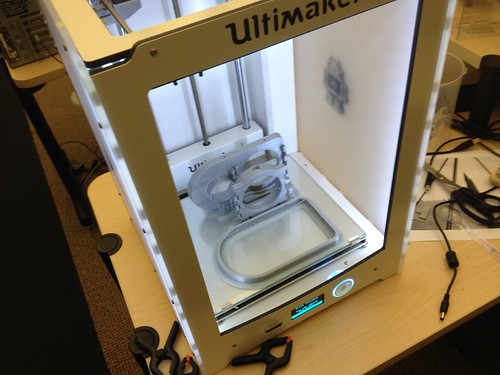
Jennifer Kraemer (ECE) is interested in working such a project into the Making in ECE course she’s developing, so we decided to print up one of the hand systems, specifically the Raptor Reloaded. We set up a job on both the Ultimaker 2 Extended+ and the Form 2, so as to compare time and print quality.

A Tale of Two Printers

11ish hours later for the Ultimaker…

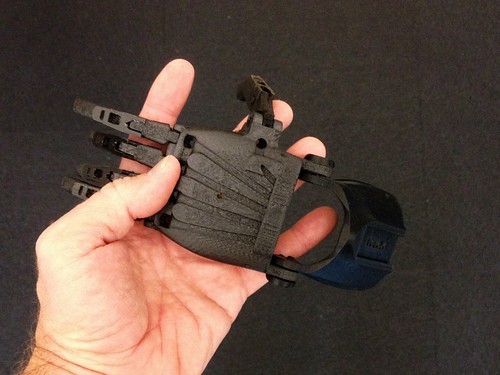
Raptor Reloaded on the Ultimaker

8ish hours later for the Form 2…

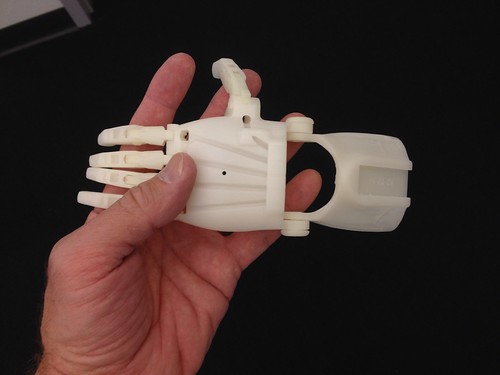
Raptor Reloaded on the Form 2

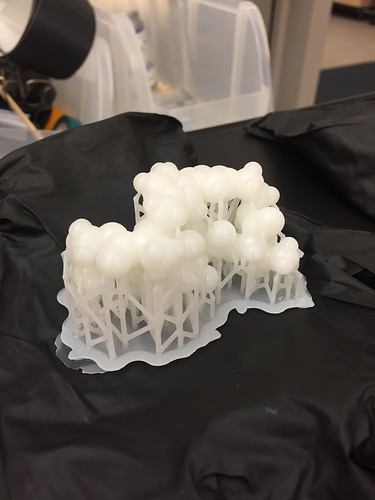
Here’s the initial build of the Form 2 version. The Form 2 resin creates a really nice finished product that takes well to fine tuning with a file.

Initial Assembly

Here’s the initial build of the Ultimaker version.

Initial Assembly - Ultimaker

I still need to get the screws and wire for the “tendons” to finish them up, but the initial results are promising.

Max Mahoney (Chemistry) is working on printing SpecPhone, a 3D-printed smartphone spectrophotometer develop by Dr. Adam W. Smith’s lab at the University of Akron.  From the developer:

The SpecPhone is a 3D-Printed smartphone spectrophotometer for research and education. The device can make analytically accurate measurements of concentration and can be used for teaching analytical chemistry and DIY science projects.

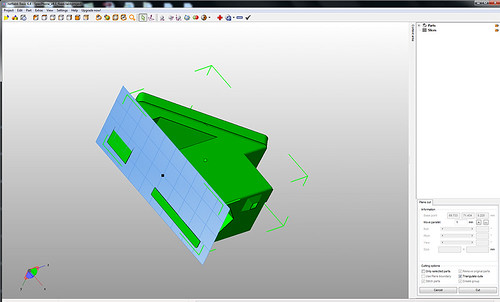
After some sketchy results and strange print decisions by the Ultimaker, it seems that the model doesn’t quite sit flat.  That is, the legs don’t seem to be the same height.  Using Netfabb Basic, I dropped in a Z plane to visualize:

NetFabb Basic Z Cut #1

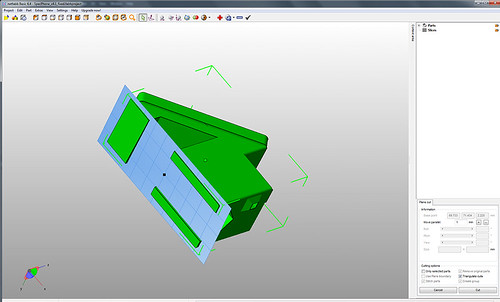
Taking that plane up, it seems that it’s not just the bottom of the model, but that the skew continues all the way to the top:

NetFabb Basic Z Cut #2

With support structure enabled in Cura, we were able to print it after a few botched attempts, so it’s not a deal-killer, just a bit awkward.  Now we just need to find an iPhone 5s…

Printing a SpecPhone

Links and presentation materials for my reMAKE presentation on 08.04.16

Making Across the Curriculum Presentation Slides
https://docs.google.com/presentation/d/1cfvyZ2MD5iVAAL2fp8a6LYEJ-SFTppNqN48ex93uq6I/edit?usp=sharing

INNOVATIONMAKER 3
http://extranet.cccco.edu/Divisions/WorkforceandEconDev/WEDDRFAs/RFAInnovationmaker.aspx

The Tinkering Studio Learning and Facilitation Frameworks
http://tinkering.exploratorium.edu/learning-and-facilitation-frameworks

Sierra College Center for Applied Competitive Technologies
http://sierracollegetraining.com/

Sacramento Hacker Lab
http://hackerlab.org/

DoLookDown.org
http://dolookdown.org

Free Universal Construction Kit
http://fffff.at/free-universal-construction-kit/

OpenBCI
http://openbci.com

Learn to Solder Kits/Rocket Department
http://learntosolderkit.com/about/

LibraryLyna
http://www.librarylyna.com/

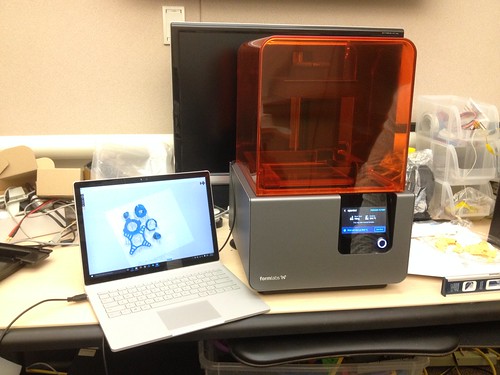
Finally had the chance to set up the new Form 2 and give it a go.  Met Max Mahoney (Chemistry) in the Innovation Center and we walked through the quick start guide.
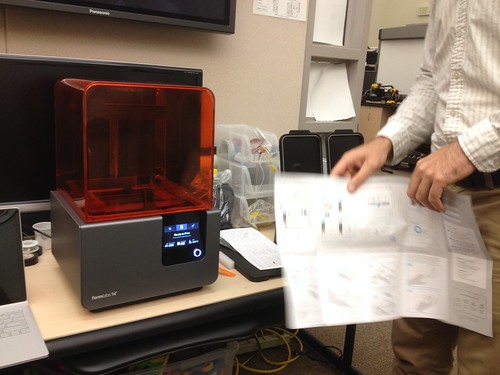
Untitled

Once we got our head around the setup and leveling, we set up a print job. Originally, we planned to print Max’s molecule, but decided instead to try a set of some small parts from the OpenBCI headset.  The software complained about some problems with the STL files, and then offered to automatically fix them, so we allowed it to.
Untitled

The Form 2 has an interesting way of laying out objects, placing them all at a jaunty angle and adding a bunch of lattice-like scaffolding for support.  There was a slight hiccup with the firmware update, but that was solved after a message to the Form 2 support folks.  The solution was to download the new firmware and then select it, rather than letting the software automatically do that.  Suggestion to FormLabs: Put a link to download the latest firmware on your support site, which would save calls/emails to support personnel.

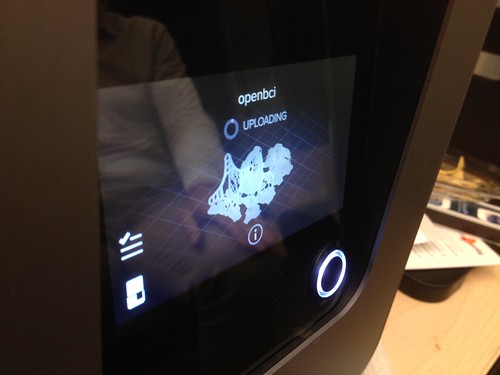
Anyhow, the printer has a nice touchscreen interface, and navigating various functions is generally intuitive, though the network information – the printer can connect via Wi-Fi (admittedly in Beta) and Ethernet – is spotty and could use some work.  Specifically, there don’t seem to be any diagnostics or deeper information about network connectivity, or a way really to know that the machine is able to get out to the Internet.  In our college network environment, those kinds of diagnostic tools are crucial, as it is essentially a nightmare to get any device connected to the network.  After connecting an Ethernet cable, the only information available was that the Form 2 received an IP lease.  On the Wi-Fi side, I was not able to manually enter the name of the one hidden network available at the college that uses authentication simple enough to allow connection of strange devices.  Finally, there doesn’t seem to be a way to trigger the leveling process except to wait for the machine to squawk about being out of level.  It would be nice to be able to just trigger that process from the menu system.  I hope those issues can be addressed at some point, but we were able to work around them and get the first print job uploaded.
Untitled

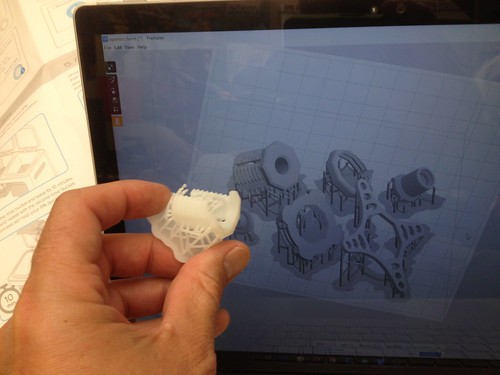
The printer ran the job, taking about 2.5 hours, and I streamed it live via the OpenBroadcaster setup.  Post processing takes some getting used to, and involves nitrile gloves and bathing the parts in isopropyl alcohol at the finishing station.  The print was a mixed success – some parts printed fine, and others were less than complete.  My suspicion as that the “automatically fix the files?” part of the process didn’t actually work properly.
Untitled

I do quite like that the printer sent me an email when the job was completed.  My plan is to fix the files prior to importing them into PreForm, and then run the job again to try and get a better result. All in all, not bad for a first go, and we learned a lot about the process. Always be prototyping!

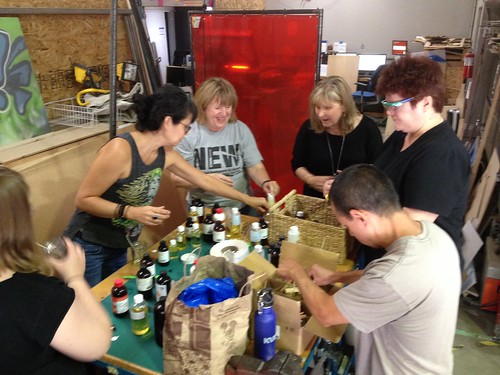
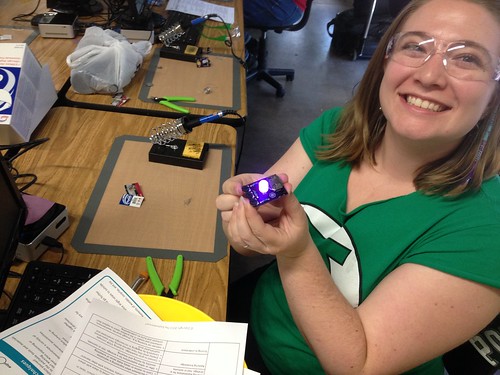
Just wrapped up the first three days of a six day Making Across the Curriculum faculty development experience I’m facilitating, and that I designed in partnership with Carol Pepper-Kittredge from the Sierra College Center for Applied Competitive Technologies (CACT) and the folks at Hacker Lab, a local workspace for startups and makers.  A small group of dedicated faculty from a variety of disciplines and representing five regional Community Colleges – Yuba, Sacramento City, American River, Cosumnes River, and Folsom Lake – has spent three days learning, making and collaborating, with guest demonstrations and hands-on activities, including design thinking, soldering, 3d printing, and laser cutting, plus a surprise candle making activity!

A few choice photos:

Kicking off National Week of Making by mixing scents and pouring candles.

Malena is stoked.

Untitled

Untitled

More to follow, when the dust settles…

Sean Fannon (Psychology) and I secured a small grant to get our hands on an OpenBCI, which is an open source brain-computer interface, complete with a headset that can be printed on a 3D printer.  Sean plans to use the device to enable students to do some fairly sophisticated brain research.  Fortunately, the new Ultimaker 2+ Extended has a sufficiently large build envelope, so I set it up to print half of the headset overnight, and watched it on YouTube in an obsessive way using the Open Broadcaster setup.

Printing OpenBCI Mark III

Came in this morning, and it all seems to have printed well. In what is a first, I think I might not have enough PLA on the spool to finish the job.  Unfortunately, the Ultimaker uses the fat stuff (2.85 mm), and the Printrbot uses 1.75 mm, which I’ve got a lot of. I read somewhere that the Ultimaker can be tweaked to run the smaller filament, so I might just have to give that a shot.  Some of the smaller bits I plan to use to test the Form 2 that should arrive some time in early July.

OpenBCI Ultracortex Mark III

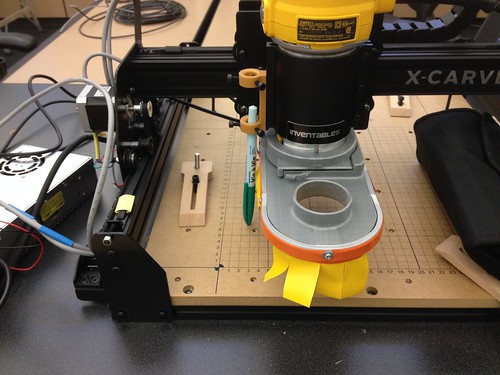
The dust shoe I mentioned in a previous post for the X-Carve printed nicely over the weekend, and today I had some time to assemble it and get it installed.

Dust Shoe Printed

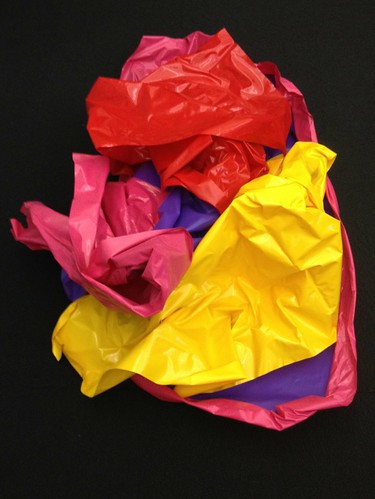
The instructions called for a strip of vinyl to use as the skirt for the shoe. It pays to be obsessive about hoarding things that might contribute to projects, and I remembered that I had squirreled away several feet of multicolored vinyl, from where I can’t remember. I fished around in the parts area, which is filled with old printers, pieces of foam and plastic, metal brackets, and the like, and found it. Though there’s nothing in the photo for scale, but suffice it to say that the crumpled pile below represents A LOT of vinyl – probably 8′ or 10′ x 4′ of it?

About 7 Feet of Colorful Vinyl (Nothing Whatever for Scale)

I cut a strip from the bright yellow scrap, and installed it on the shoe, then installed the shoe on the router. Tomorrow I hope to have time to actually turn the machine on (in router mode, rather than in plotter mode) and see how it works!

X-Carve Dust Shoe

Happiness is a full parts bin.