Max (Chemistry) recently completed an astronomy project, a laser-cut wall hanging display of the night sky.  I had the chance to help with some early prototyping for the project, and we first set out to just get a sense of how light would interact with acrylic.  We created a ruler of sorts, with different holes of known size…

Max's Star Projector

…and took it into a dark room with a flashlight for testing…

Testing...Testing...Testing...

Max used In-The-Sky.org Planetarium to generate a star map of the sky in a particular location on a particular date at a particular time, and then exported that map as an SVG file for post processing in Illustrator to generate the cut file needed by the laser.  He cut the map out of opaque black acrylic, and we got back in the Clean Lab to try it out.

Prototyping a Star Map

Beautiful.

Stars

Here’s the finished product, housed and ready to hang:

Star Map

Diane Carlson (Sociology professor, and co-creator of Making Social Change) and I finally got around to building out version 2.0 of the Wheel of Voter Fortune Diane created as part of the Making Across the Curriculum faculty professional development academy from summer of 2016.  Diane uses the wheel with her students to help them develop an understanding of voter suppression.  Building upon Diane’s original prototype, we added a mask so that only one segment of the wheel would be revealed.

How Many Bubbles?

We also created a control panel to hold a switch and batteries…

Wheel of Voter Fortune control plate

…and used a piece of copper wire and an LED to create a flexible lamp.

Wheel of Voter Fortune v2

Ideas for version 3 include interchangeable question wheels, and maybe some elaborate game show lights and sounds!

Rebekah Keely (student and Innovation Center staff) and Marc Olsen (Math) collaborated on a laser cut version of Napier’s Bones, a manual mathematical multiplication manipulative for Marc to use with his Math students.

Math Manipulatives

It takes a minute to get the hang of it, but it’s a quick and hands-on way to do multiplication.

Napier's Bones

Rebekah has mad Illustrator skills, and designed and perfected the file.  It’s up on Thingiverse, if you’d like to grab one and make it.

Marisa Sayago (Art), her student Clarity (late of our inaugural Making Social Change class) and I are prototyping a print making process using makerspace tools and techniques, with the goal of incorporating whatever we come up with – ideally intaglio using copper plates – into Marisa’s class this semester.  I decided to do some experiments using the Carvey, as it’s a quick machine and almost unbelievably easy to learn, even for novices to both software and hardware.  Unfortunately, early tests using engraving bits on copper were unsuccessful.  Though copper is soft metal, the fine (and expensive!) engraving bits pretty quickly broke or wore down, even after many different adjustments to feed rate and pass depth, and though I love Easel (the browser-based software that runs the machine), it’s sometimes difficult to be as precise with it as a job like this requires, in terms of fixed line weights.  Even doing the design work in Illustrator and importing *.svg files, I wasn’t quite able to get all of the variables to line up.  All that said, I was able to confirm that a 1/16″ bit on linoleum works well for relief prints, so that’s another print making avenue to explore.

Intaglio Test

With the Carvey out of the running, we decided to see about the capabilities of the laser cutter, which offers the kind of line precision that seems to lend itself to intaglio.  We set up a file in Illustrator to experiment with raster lines (pure RBG black:  0,0,0,) of varying weights (from .25 pt to 2 pt, in .25 pt increments) to see which produced the best results, and included our IC logo and Nova mascot as vector engraves (pure RGB blue:  0,0,255 with a line weight of .001 in Illustrator, hairline in CorelDRAW).  Of course I realized after it was engraved that I had forgotten to mirror the line weight indicators, but isn’t that why we prototype in the first place?

Using a sheet of PETG – as a novel material in the lab we first had to research its suitability for use with a laser, and it turns out it is indeed suitable – we ran the engraving job, handing the piece off to Clarity to complete the inking and other parts of the process.

deep inking

The result!

test pressing

Turns out the vector engrave (which with a 2″ lens should produce a line of about .005″) works well, and the vector engrave at all sizes was too big to retain ink during the surface preparation step. This is actually a great learning, as a) vector engraves are super accurate, and b) they also take way less time than raster ones – throughput is an important consideration in any sort of lab activity that relies on makerspace machines.  Now that we have narrowed down a general direction for the project, I’m going to work with Clarity to create a few more prototypes (testing things like line density) as we try to come up with a lab-ready process.  Stay tuned!

Here’s a photo gallery of Clarity completing the inking and pressing over in the art lab:

Laser Intaglio

Brandon (student and Innovation Center staff member) 3D printed this sweet Falcon Heavy model (CC BY Doctorwatson)…

Falcon

…complete with Arduino-controlled multi-color lighting display embedded in the exhaust plume.

Falcon Heavier

Brandon modified the top of exhaust plume to make it accept any number of other space vehicle models.  Pretty sweet.

Professor Jennifer Kraemer (ECE), longtime faculty makerspace champion and creative maker, brought her ECE 342 – Constructive Math and Science in Early Childhood Education class to the Innovation Center this week to work through the design thinking process.  After a general makerspace tour, students enthusiastically worked through the d.gift design challenge…

20180123_203909

…and produced some interesting prototypes…

20180123_204142

…after which we had a really robust discussion about the ways in which they use (or might apply concepts of) human centered design in their own practice, developing activities and environments and lesson plans for children. We spent some time talking about the parallels between design thinking and the scientific method as problem-solving paradigms for children, using this video of Pre-K children creating solutions to prevent Humpty Dumpty from cracking as a leaping off point.

In addition to learning another methodology to use in designing lessons and activities, the class left with some ideas about how Innovation Center resources might help them in their work with children.  A great group of students!

Fired up by the sewing lab from a few weeks back, one of our Making Social Change groups ran with the quilt theme, creating an A-Z of Planned Parenthood quilt as their final group project. They used the laser cutter to cut various shapes and letters, and employed a variety of techniques, including embroidery and applique, to create their squares, and PVC pipe to assemble the frame.  Here they are putting the finishing touches on their project.

Preparing for Visit from Planned Parenthood

On Thursday, December 7, representatives from Planned Parenthood tabled outside the Falcon’s Roost, and our students staffed the booth and displayed their quilt. They got a lot of foot traffic, answered a lot of questions, and distributed lots of literature, including some from built-in pockets on the quilt.

Planned Parenthood!

It’s great to see our students using their skills and passion to take a project from idea to application, and this project is a perfect example of exactly what we hoped would be the outcomes of this course when it was just some ideas on a whiteboard back in 2015.

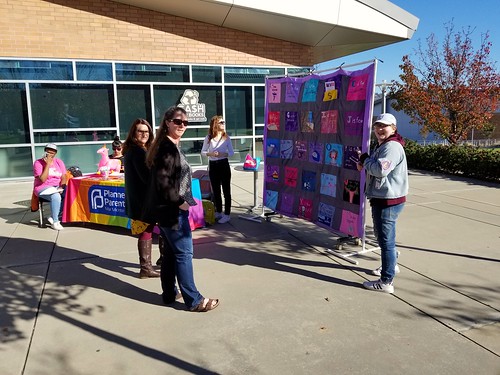
The theme for week eight of Sociology 379: Making Social Change was “memory” and its role in social movements.  We used timely news coverage of the controversy surrounding Confederate statues as a leaping off point for a discussion about monuments, using James W. Loewen’s “Ten Questions To Ask At A Historic Site” to frame the conversation.

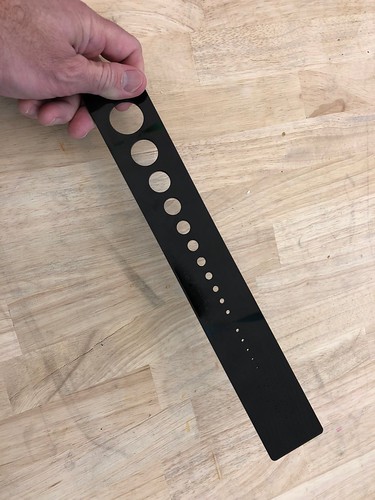
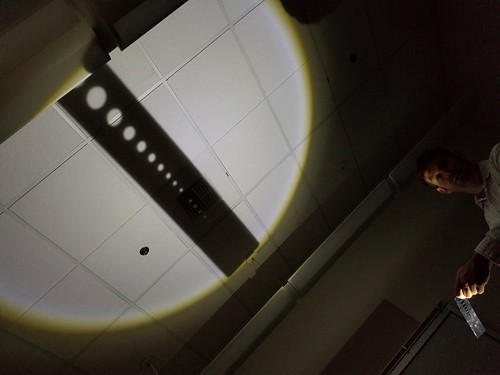
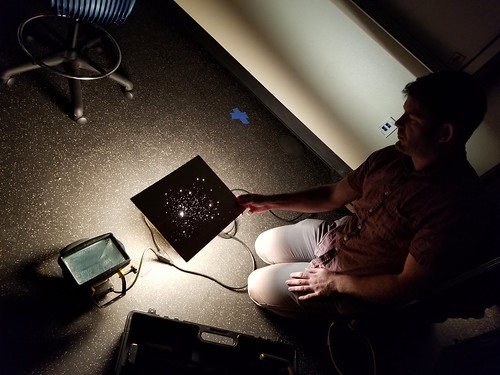
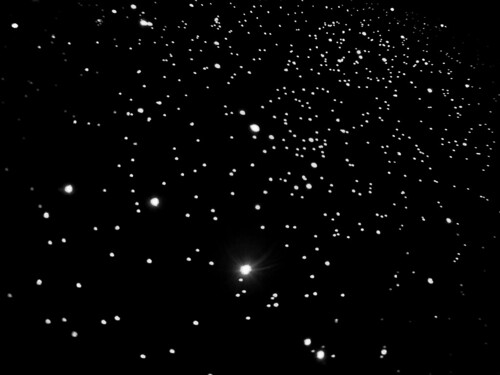
We talked about a variety of examples, including EJI’s Community Remembrance Project, the Bussa Emancipation Statue, many from the San Antonio peaceCENTER’s gallery of Peace & Justice Monuments, and the relocation of Negro Hill Cemetery, an example from our very own backyard.  We also spent some time on the aesthetics and the design of monuments, including the role of light and shadow, scale, and subject matter.

Students were then presented with a mock RFP:

The Carlson Dowell Social Justice Foundation is seeking proposals for a monument – a permanent public art piece – to be installed at Folsom Lake College in spring 2018.  The monument will occupy a 50’x 85’ footprint adjacent to the Falcon’s Roost.  Whether your goal is to memorialize or celebrate an important social justice issue, your proposed monument must also educate, in keeping with the college’s mission.  The installation must also be interactive, encouraging students and the public to actively participate and interact with the work.

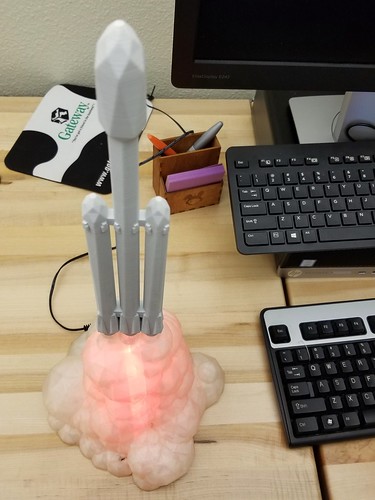
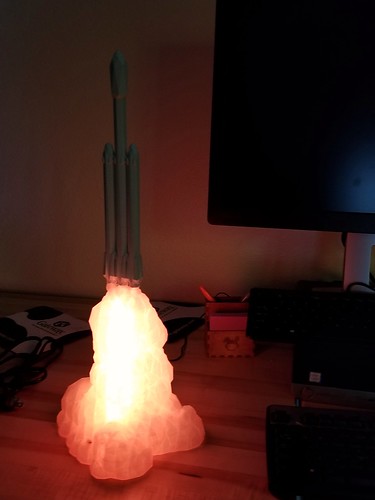
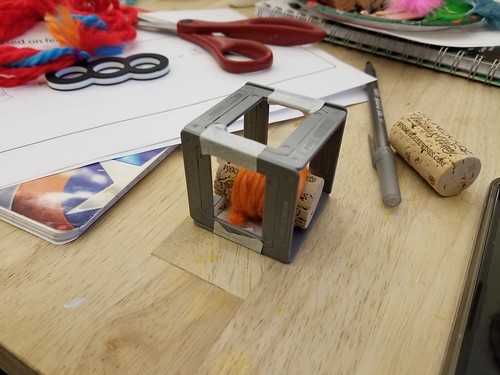
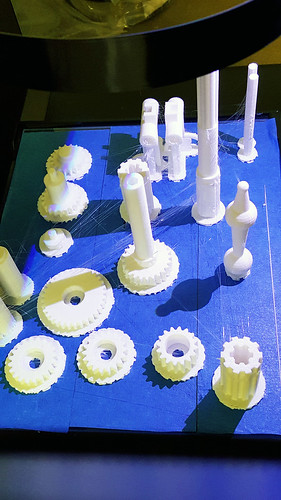
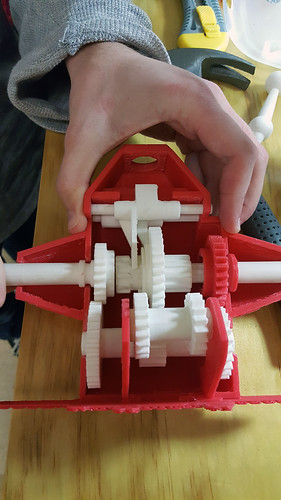
Specifications for the prototype included that it be free-standing, crafted at 1:24 scale, include at least one digital fabrication element – an object created/modified using the laser cutter, CNC, vinyl cutter, or 3D printer – and that it incorporate LED lighting.

Making Monuments Challenge

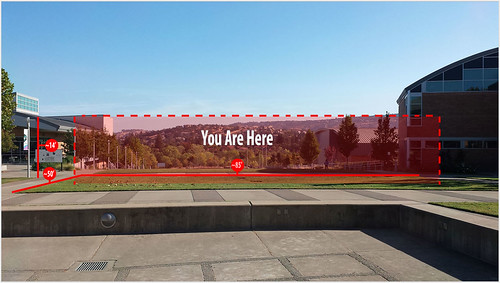
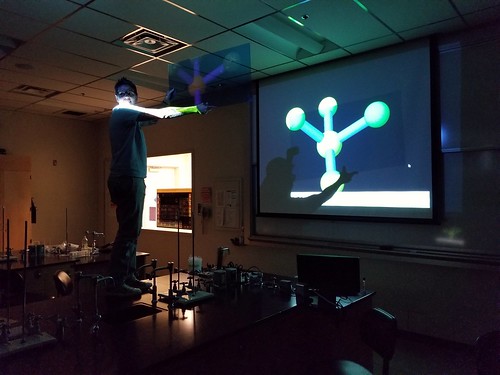
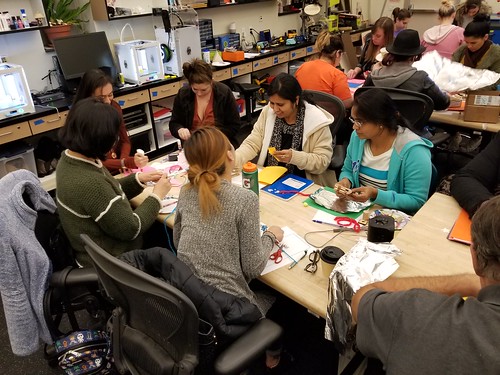
We took a walk out to the proposed monument site so that students would have a sense of the scale and surroundings.  Back in the lab, students set to work on their proposals.  In a very short time – about 2 hours, really – groups were able to craft some really thoughtful proposals and interesting prototypes.

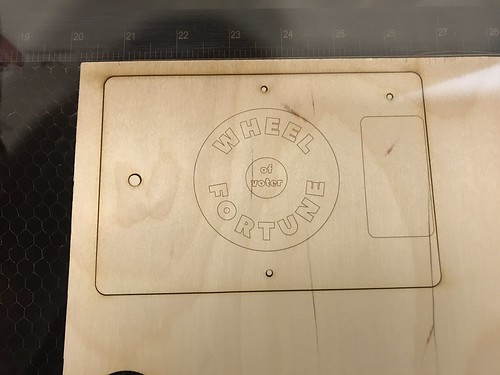
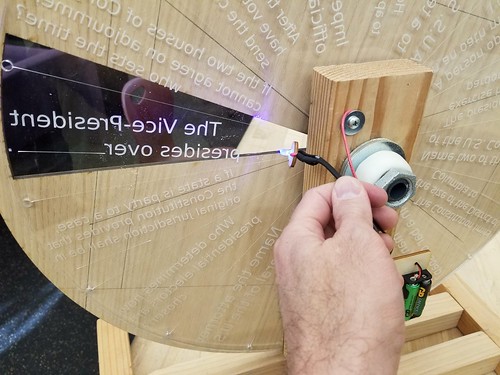
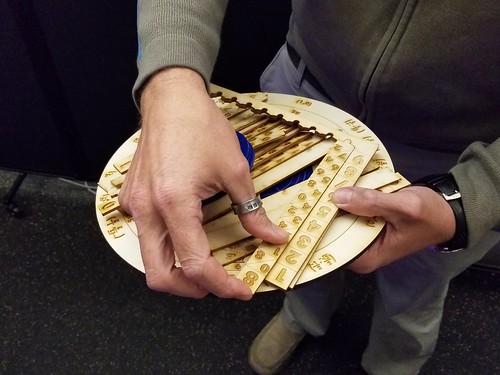
David, Clarity, and Luna developed their proposal around the idea of differences and commonalities among Folsom Lake College students.  Their prototype was based on a maze concept, with many paths leading to a central common ground.

Making Monuments

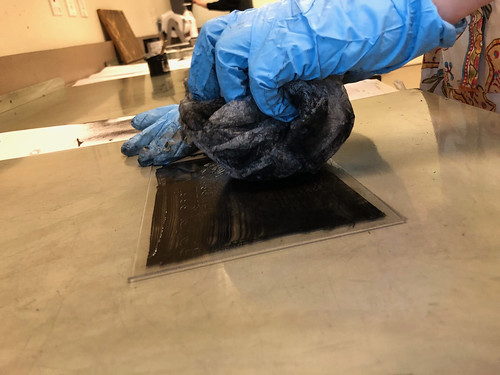
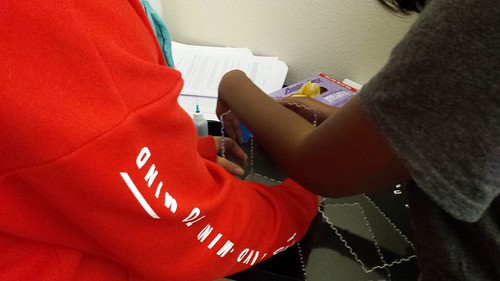
Another group developed their proposal around issues of food distribution and food insecurity.  They incorporated a greenhouse into their prototype, using www.makercase.com to generate the cut file, and the laser to cut the parts from clear acrylic.  Here Nusaybah and Micaela are preparing to solvent weld the pieces together.

Putting the Greenhouse Together

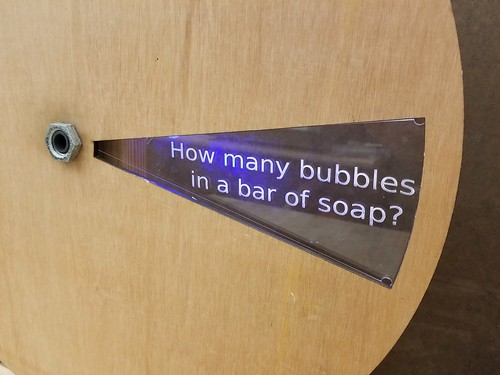
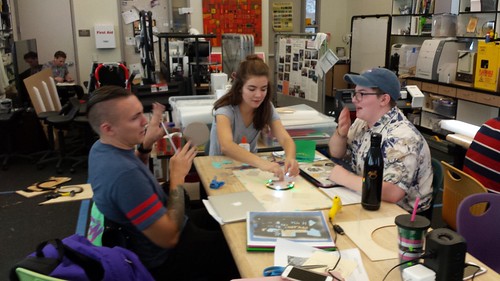
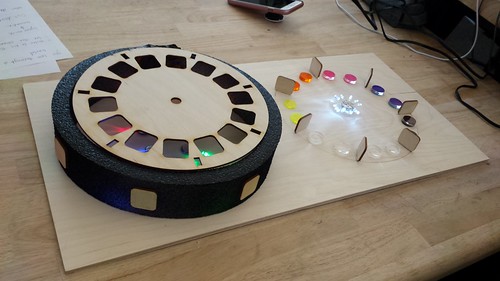
Zainub, Heather, Jeremy, and Kila based their design on a View-Master Viewer, and were able to modify a Custom View-Master Disc they found on Thingiverse (CC BY TheHeadlessSourceMan), which they cut from wood using the laser.

Prototype of Interactive Monument (Based on a Viewmaster Viewer)

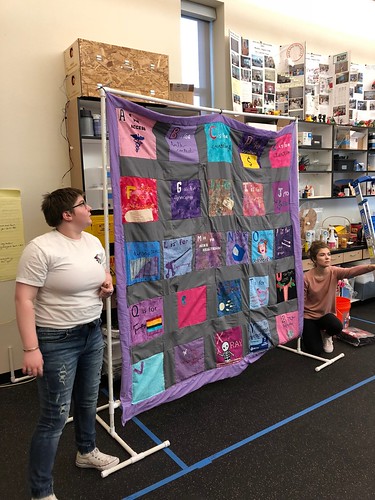
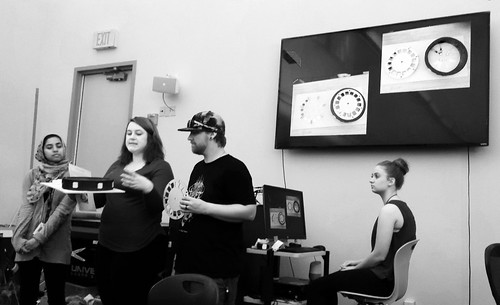
As the final step in the process, groups shared their proposals and prototypes and took questions from their peers.

20171009_154849

We’ve got a great group of students, and I’m continually impressed by their open, collaborative, and creative approach to the course.

Way back in 2008, the Innovation Center got its first 3D printer, a Z Corporation Z450.  At the time, it was very difficult to explain to most people what “3D printing” even meant, as it hadn’t yet entirely entered the public consciousness.  Professor Dan Ross (Engineering and Computer Information Science) was an early adopter, and was in fact the first FLC faculty member to incorporate 3D printing into his courses.

Fast forward to 2017.  The Z450 has long since given up the ghost, and we’ve got a few 3D printers sprinkled around the college, including a LulzBot Taz down in the Theater Arts shop, a few Makerbot Replicators in the Engineering classroom, and the U2E+s, U3s, Rostock Max, and Form 2 in the Innovation Center.

This semester, students in Dan’s Engineering 312 : Engineering Graphics course worked on designing and printing gear boxes.

Gearboxparts

I had the chance to talk to some of the students in the lab toward the end of the semester (which is winding down), and saw some of the parts-in-progress on the printers, but until Dan sent these photos, I hadn’t seen the completed student work.  I have to say I’m pretty impressed, and it’s great students using digital fabrication to solve real-world challenges.

Gearbox