With the semester over, we’ve had some time to regroup and plan for the fall. One of our main goals this summer is to make sure that each staff member is comfortable on each fabrication process and machine. To accomplish this goal, the person most fluent in a particular process – 3D printing, or woodworking and power tools, for instance – is responsible for cross training all of the other staff.

2018-06-06_06-30-31

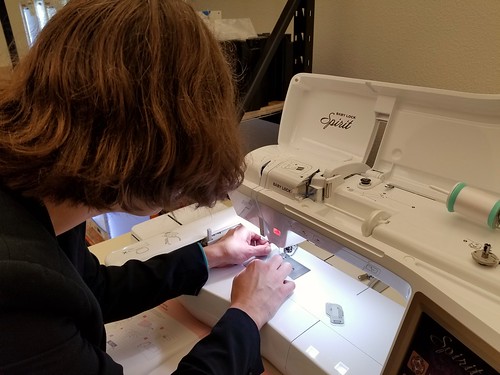
Clarity (student and makerspace staff) is an accomplished fiber artist, and she’s been the point person for sewing in the Innovation Center since the Making Social Change class last fall. Her group created the A-Z of Planned Parenthood quilt for their final project, and she has become quite skilled at using our Baby Lock embroidery machine, most recently using it to create the embroidered bean bags…

Beanbags

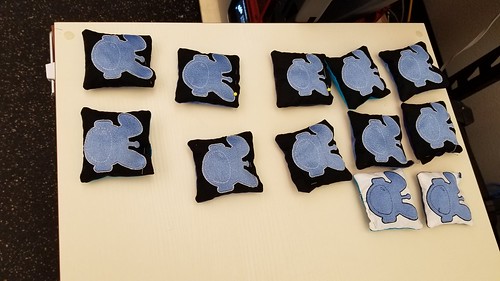
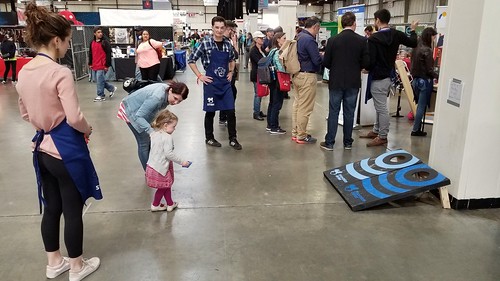
…for the cornhole game we brought to Maker Faire.

2018-05-18_06-35-54

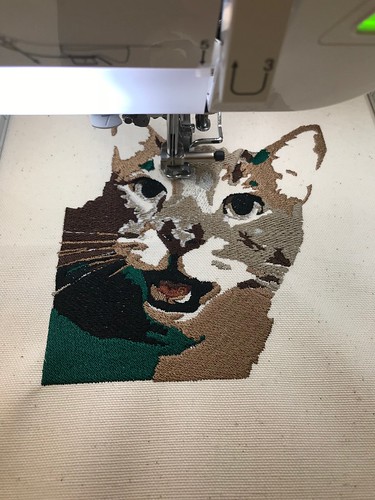
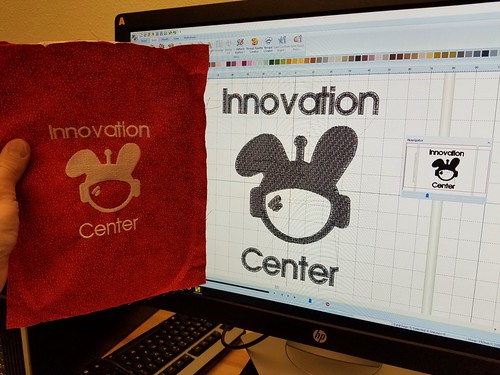
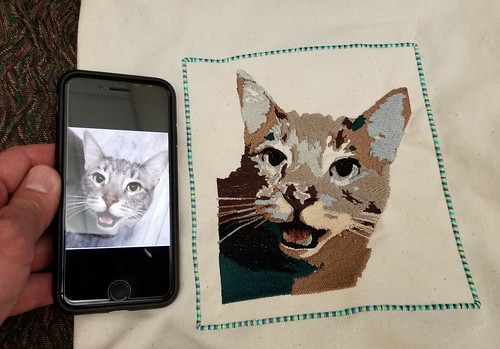
As the resident expert, she’s been training up the other staff, and today, she spent the day working with Nicole (student and makerspace staff) to create a really amazing canvas tote with an image of Nicole’s Mom’s cat on it. Requiring multiple thread changes and lots of tweaking in the embroidery software, it took quite a while, and Nicole now feels confident in helping makerspace visitors through the embroidery process. The resulting artifact is truly magnificent!

12 Color Embroidered Cat

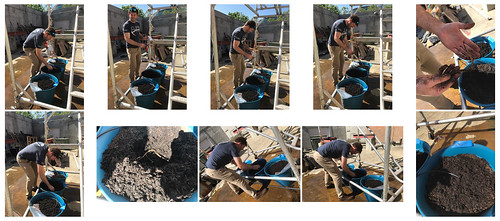
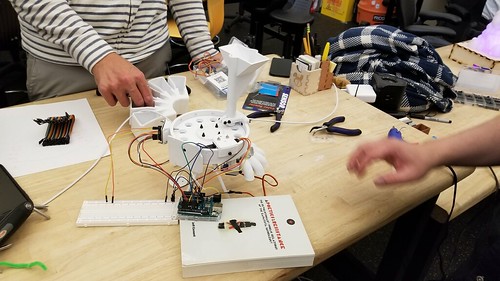
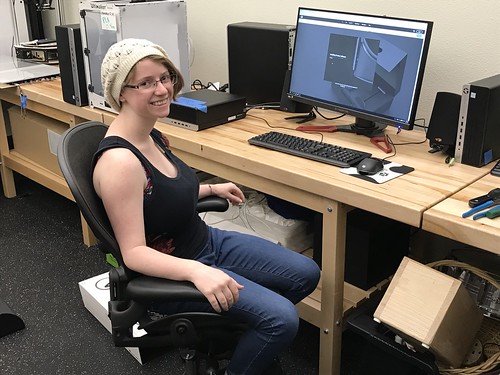
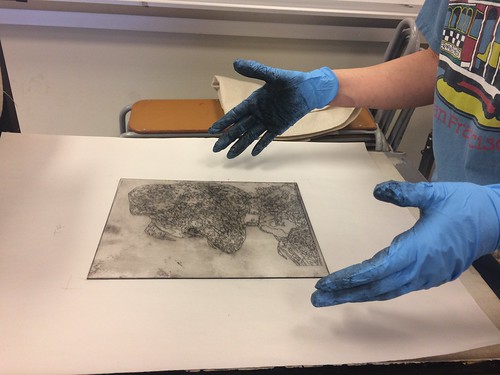
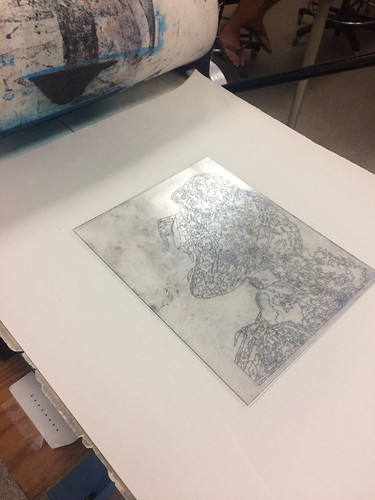
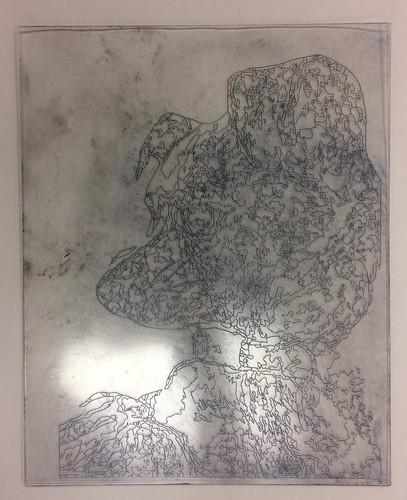
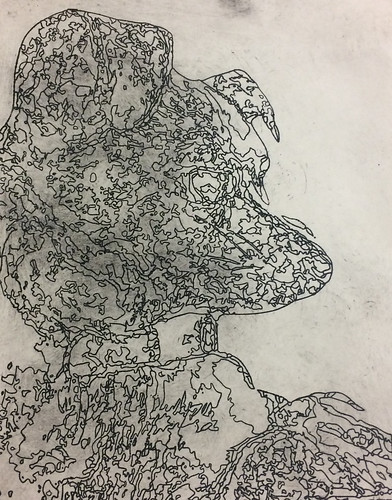
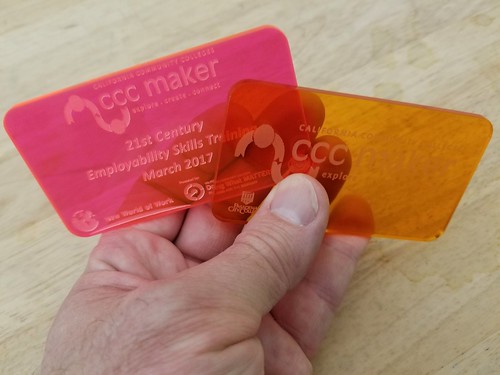
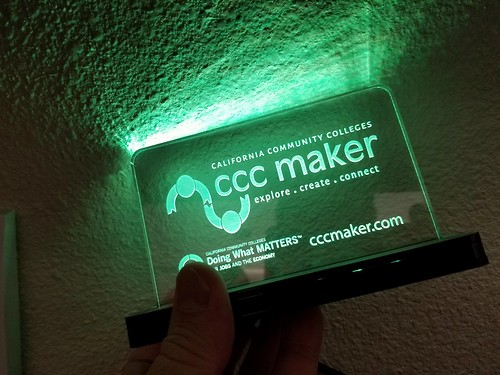
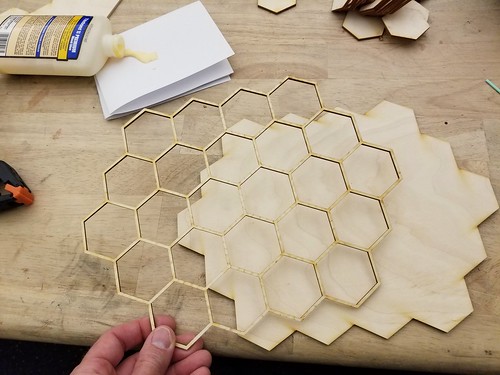
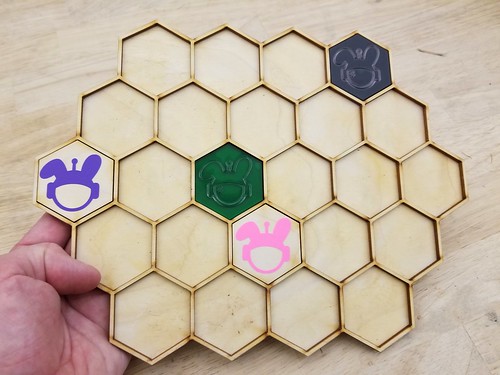
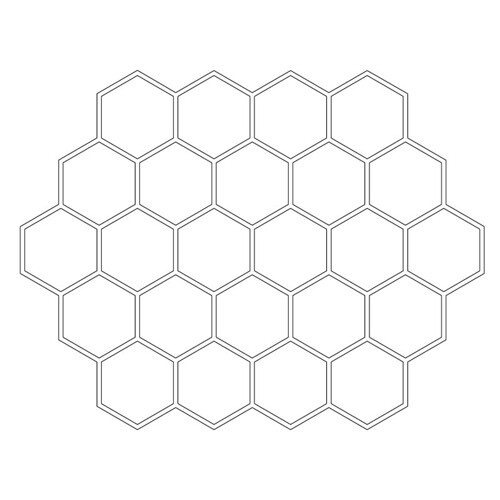
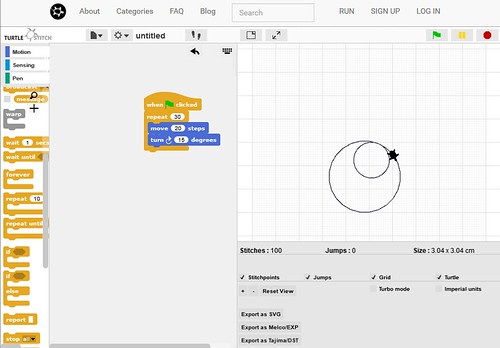
flickr gallery of work-in-progress photos:

Cat Embroidery

Turns out there isn’t any such thing.

A visit from Intel’s Samer Batarseh to talk about the three ships: partner, mentor, and intern…

Samer from Intel Visits the Makerspace

Max Mahoney planting hops out in the Backyard for some fermentation science and IoT experiments…

Max Plants

Sociology students doing some design thinking in the Living Room…

Sociology Students Solutioning

Volunteers converting the Living Room into a Vive holodeck…

2018-04-25_05-13-59

Rebekah perfecting our new low resolution prototyping supply cart…

Low resolution prototyping cart

A student-organized/planned/led workshop using the laser cutter to create dice…

WoodWorkingWorkshop

FLC Raptors Overwatch team photo…

FLC Raptors Overwatch Team

A Skittles sorter?

Skittles Sorter

Emma (student and VR volunteer at the Folsom Public Library) standing up our Oculus rig…

Emma Getting the Oculus Set Up

The space – the community, really – feels different these days.  The point at which it becomes difficult to keep track of all the creative things happening is the point at which the community seems to have achieved a level of momentum, of (sometimes shambolic) vibrancy. I open my office door and am surprised by the buzz.  Daily.

Clarity (Making Social Change student and now Innovation Center employee) has continued to work on sharing the laser intaglio process with artists from the college’s printmaking course, here using Illustrator’s Image Trace functionality to achieve a sort of low-resolution abstraction of a photograph of a family pet.

Prepared

Ready To Roll

Inked Plate

Finished

This morning I stumbled upon (or perhaps became re-acquainted with?  Clarity might in fact already be working on it, but it’s sometimes difficult to keep all of the ongoing projects straight) this DIY Printmaking Press project via @joshburker on Twitter.  The files for the press can be downloaded from Thingiverse, and I can’t wait to get one of these tiny marvels printed and up and running in our space!

I’ve been thinking about ways to connect with our sister labs in the CCC Maker community.  Inspired by Deborah and Salomon’s party favors from visits to the PCC space and related events…

Party Favors

…and by the excellent light created by the folks at Sierra College we received as a gift at the advisory board meeting…

CCC Maker Light

…and by a project that we worked on with FLC faculty last semester, creating stickers for our Science Center hands-on workshop series…

Stickers!

The hexagon is a fascinating shape, and I’ve spent a lot of time with them for various kumiko-inspired project(s).  It’s the shape I’d like to propose.

For the sticker project, we used a published hexagon laptop sticker standard, which states:

A hexagon sticker must be represented by a regular hexagon where the largest diagonals should measure 5.08 centimeters, and which must remain within 1 millimeter tolerance. The sticker must be oriented with a vertex positioned at the top.

I developed an Illustrator file of 24 hexagons – 1 for each college in the network – and worked up a prototype this morning.

Laser Hexagons

One nice things about the size of the hexagons and the number of colleges in the network is that all of the chips (and a little frame besides) fit on a standard 12″x12″ piece of hobby plywood, a common material used with a laser.

Hex Grid

I cut a second outline on another piece of wood to act as a back, and glued the whole thing up, placing a few Nova (our space bunny mascot) hexagons to visualize how it might look.

2018-03-24_12-09-54

Here’s the PDF, which can be opened in Illustrator or Inkscape and tweaked to match the settings of your laser or whatever other machine you might want to use:  cccmaker_hexgrid_v1

CCC Maker Hex Grid v1.0

My dream would be that every makerspace in the CCC Maker network would have one of these on the wall, with chips from each of the participating colleges.  Any material – wood, metal, clay (Payson – I’m looking at you) – and more or less 3mm thick.  Who’s with me?

Brie Lindsey (from CCST) was out at the college the other day scouting rooms for the upcoming CCC Maker symposium, and dropped by the Innovation Center.  Brie is an accomplished maker, with a lot of experience with sewing and other fiber arts, and she offered to help get the embroidery machine (which has a place to live, now that the fiber arts work table is built) up and running.

Threading the Needle

Brie showed me how to wind the bobbins and thread the needle, and after backing the fabric with stabilizer and mounting it to the smaller of the two embroidery frames, we let the machine do its work.

Here’s the view of the finished piece, analog and digital…

Software to Finished Piece

…and here it is framed up in the entrance to the space.

Finished!

In parallel, I’ve been experimenting with TurtleStitch, essentially a mashup of Snap! (itself inspired by Scratch) and Logo that seems to be a perfect jumping off point for combining basic programming and automated embroidery.  From the website:

Turtlestitch is based on a browser-based educational programming language (Snap!) to generate patterns for embroidery machines. It is easy to use, requiring no prior knowledge in programming, yet powerful in creating novel patterns for embroidery. It is useful for designers to experiment with generative aesthetics and precision embroidery as well as tool for innovative workshops combining an introduction to programing with haptic output.

Turtlestitch

Now that the machine is up and running, my plan is to work with faculty collaborators from Math, CIS, and ECE to develop activities and workshops using the software so that students can both program and sew.  Software to stitches.

What Works? What Could Be Improved?

Spent some time this week sharing the design thinking process with students from Diane’s (Sociology) Social Problems course.  Diane’s students were game, approaching the work bravely and with enthusiasm. Our hope is that they’ll use the approach for their end-of-semester projects, creating solutions for social problems.

Sharing

My favorite prototype of the day:  The Self-Care Cube.

Self-Care Cube

Photo gallery…

Design Thinking in Sociology

It’s great to watch a project progressing, and Rebekah and Nathaniel (with help from Aaron and Nathan) have made a lot of progress on their Tetris coffee table project. Just a couple of days ago, Rebekah prototyped a grid system…

One Row

…and after a bunch of soldering and laser cutting and assembly, the full grid system took shape.

Lights

This evening, Aaron contributed some of his coding wizardry…

Wizard!

…and voilà!

Still lots of work to do, but great progress being made!

As people enter our space, we’re looking to find ways to communicate answers to the questions “Who belongs here?” and “What kinds of making are valued?”  To the first question, we were influenced by some of the practices of Stanford University’s d.school.  On our University Innovation Fellows trip last summer, we spent some quality time there, learning about and documenting the ways that physical space can be used to communicate and encourage various ideals and behaviors.  The walls of the d.school are covered with photos of people who use the space.

IMG_0096

We decided to borrow and adapt that idea, and purchased a little Instax Mini 9 camera…

Instamax

…to begin to create our own version.

Entryway

We take photos of visitors and users, and ask them to write their name and major on the bottom of the photo, just using a Sharpie.  The goal is to fill up the mobile wall, top to bottom.

Things We Make

As a multidisciplinary and interdisciplinary space, Making Across the Curriculum is an important part of our mission, and we hold as a cultural value an inclusive vision of making.  In the center of our emerging “people wall” is a word cloud generated by Jennifer Kraemer (Early Childhood Education and maker educator champion), based on a student discussion during a “tinkering night” activity for her Constructive Math and Science in Early Childhood Education Class.  The kinds of things represented – largely crafts and more “traditional” arts and activities – signal to people the range of making valued in the space, and offer something of a counterweight to the idea that making is only about 3D printers and laser cutters.

Things We Make

The space is always a work in progress, but we hope that through intentional signalling – putting our community loom front and center, for instance – we can continue to create a welcoming and inclusive environment.

In addition to being scientists, Max (Chemistry) and his brother John (who teaches Math) are also musicians, and they recently collaborated on designing and 3D printing a saxophone mouthpiece, using the Form 2 with tough resin. The results are promising.

3D Printed Saxophone Mouthpiece

Here’s John performing some sweet sax using the v1 mouthpiece.

The two are planning to experiment with different geometries and configurations, and based on their experience with the v1 prototype a) they’ll print future versions oriented reed side up so that any support structure scars end up on the less important face, and b) we need to get some dental resin, as the tough resin reportedly tastes terrible.