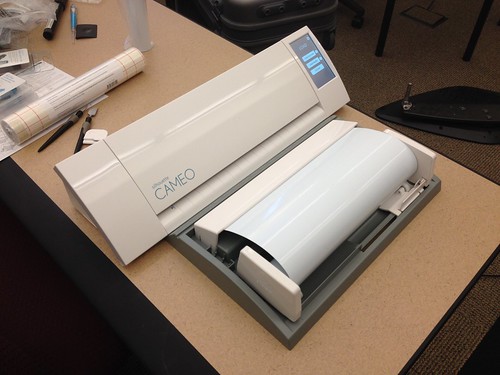
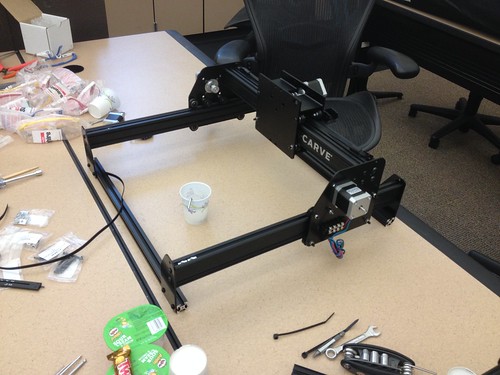
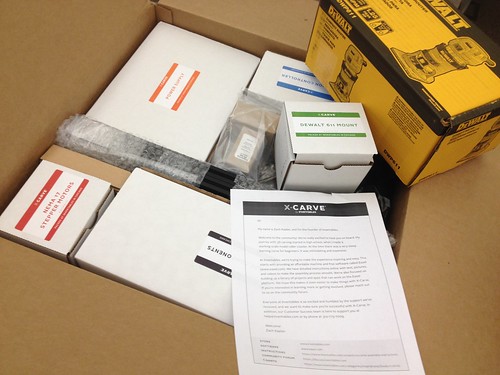
A couple of days ago, in the midst of the x-carve build, a new vinyl cutter arrived.

Vinyl Cutter

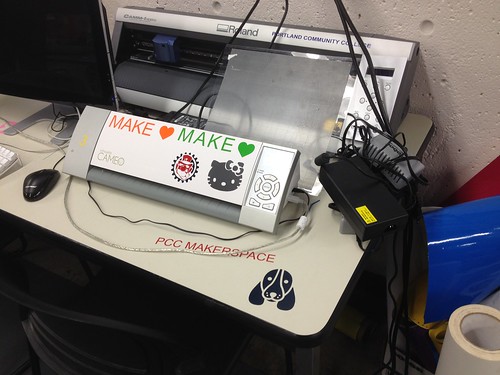
I had seen a lab full of them at a recent visit to Portland Community College’s MakerSpace, and Gregg Meyer (coordinator of the space and all-around enthusiastic and generous person) mentioned that they were an inexpensive and useful bit of gear, and quite accessible to makers at all skill levels.

Cameo Vinyl Cutter

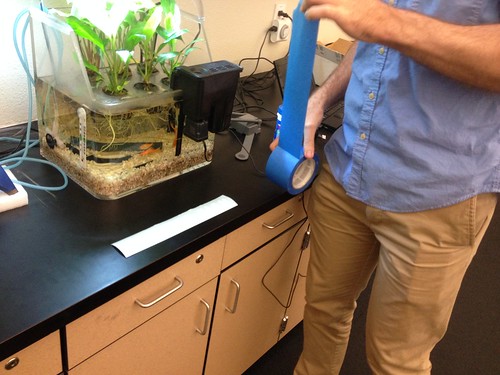
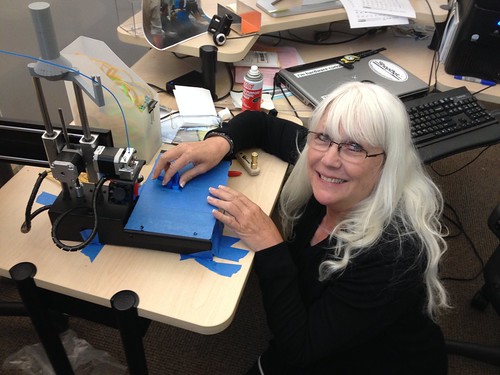
We needed a project to put the new machine through its paces, so we decided to label the experimental aquaponics system. The software that comes with the machine is pretty straightforward, and we were able to design and cut out some signage relatively quickly.  After cutting out the letters, we realized we didn’t have any transfer paper, so we made do with blue painter’s tape.

Preparing the Science Fish Sign

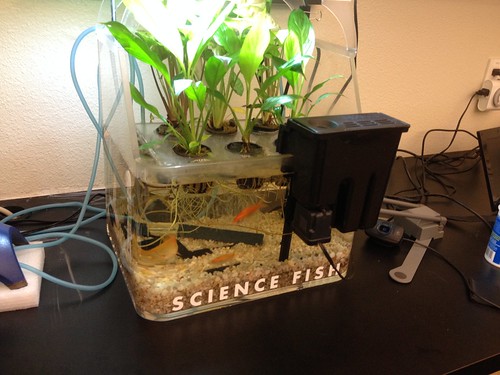
The transfer went off without a hitch!

Science Fish!

The build crew met again this morning for the third and final X-Carve build day.

Untitled

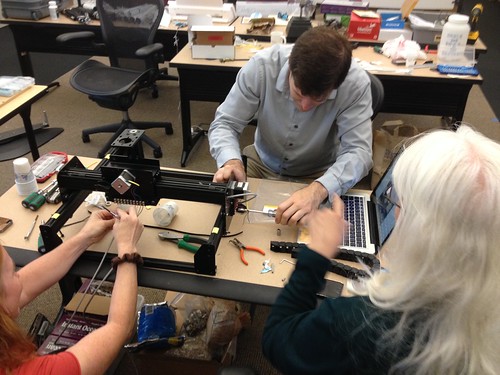
Finished up the work area, z-axis, drag chains and final wiring…

Untitled

After a few perplexing challenges, especially regarding the mounting of the y-axis drag chain, we were able to finish the build, fire the machine up, and make our first test cuts!

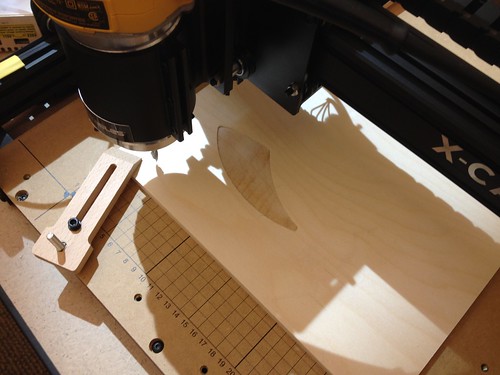
Very First Cut!

All in all, a very satisfying build, and we learned a lot. For anyone looking to build an X-Carve, I would advise double-checking the forums at Inventables if you run into inconsistencies in the instructions – there aren’t many, but there are one or two differences between the current shipping kit and the videos and build instructions online.  I would also advise using the GrabCAD models. We ignored these until the very end, but they proved very useful when figuring out the drag chain mounting, and I wish we had checked them sooner – we pretty much ignored them until the very end of the build.

Potato quality video – I was holding the vacuum in one hand and trying to shoot video with the other, and apparently the iPhone didn’t know upon what to focus):

In the next couple of days, I hope to get the dust extraction situation worked out, and to extend the XYZ wiring so that the power supply can live a little farther from the machine.

X-Carve Build Day, Part 1

X-Carve Build Day, Part 2

Build photos

X-Carve Build Day 2 - All Hands on Deck

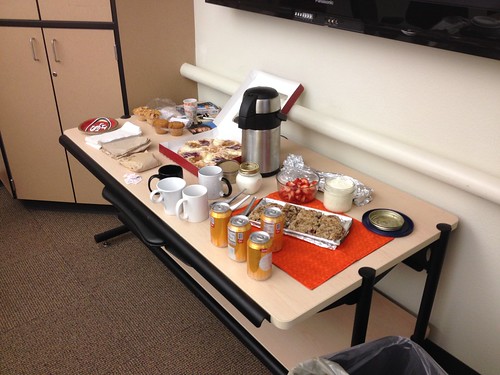
Back to the build…  After a successful build day last week, we started Build Day 2 with some goodies, including Diane’s home-roasted coffee, egg and cheese sandwiches, homemade scones, muffins and pastries:

X-Carve Build Day 2 - A Light Brunch to Start the Day Right

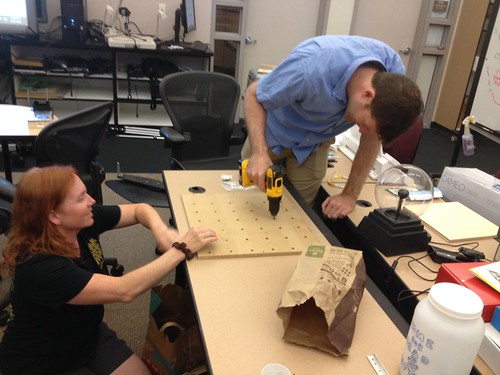
Today didn’t go quite as smoothly as I’d hoped, mostly because I mistakenly believed that one of the rails had not been tapped, which triggered a mad dash to the local hardware store for a tap and die set that turned out to be unnecessary. My mistake transformed into a learning experience and some skill building, so it wasn’t all bad:

X-Carve Build Day 2 - Jennifer Drilling

We were able to get the Z-axis assembled:

X-Carve Build Day 2 - Jennifer Adjusts the Z-Axis Drive Screw

And all of the motors wired:

X-Carve Build Day 2 - Diane and Jennifer Wiring the Z-Axis

We’re planning on finishing up the project after the weekend, and then we’ll get to carving!

X-Carve Build Day 2 - Max Wiring

Additional photos…

X-Carve Build Day - Chopsticks and Scissors

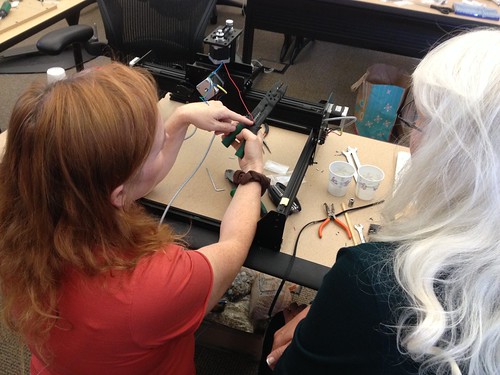
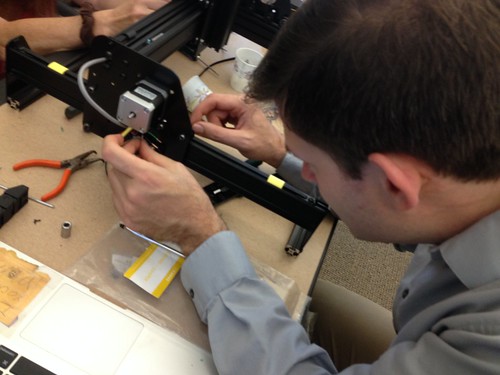
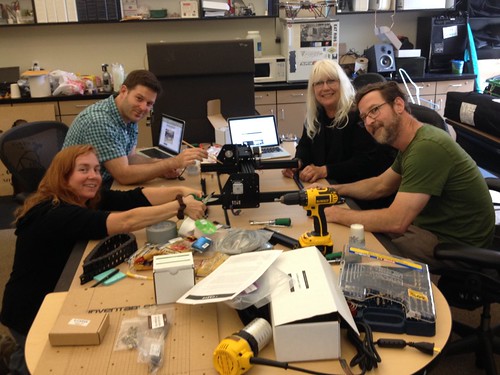
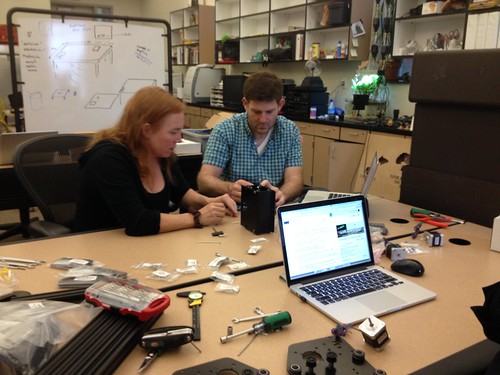
Spent much of today with a few of my primary collaborators: Diane Carlson (bottom left – she of Making Social Change fame), Max Mahoney (top left – he of molecule making and molecular visualizer fame), Jennifer Kraemer (top right, she of various making in ECE projects like the building system interoperability activity) and me (bottom right) putting together the new X-Carve.

Jennifer fine-tuning a pulley for the Y axis:

X-Carve Build Day - Fine Tuning

Diane and Max strategizing:

X-Carve Build Day - Diane and Max, Getting it Done

We ended the day with most of the structure built, and will meet again next week to tackle the belts and electronics.

X-Carve Build Day - A Day's Work

More photos from the X-Carve build day…

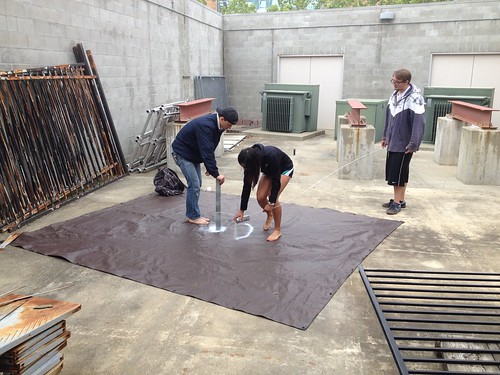
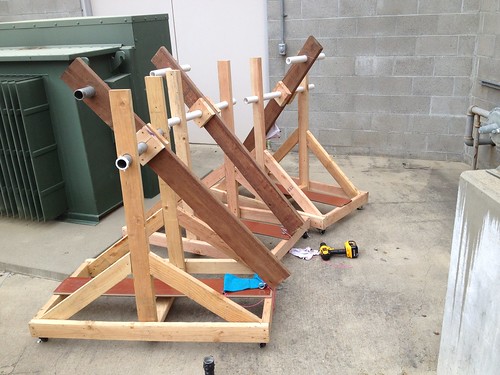
Students from the Math and Engineering Club worked in the Innovation Center this morning to prepare for a “Soak a Professor” event.

Preparing the target:

String + Spray Paint

The siege engines, ready to siege:

Flingers Ready to Fling

I didn’t get any shots from the actual event, but suffice it to say that the professors involved were indeed soaked.

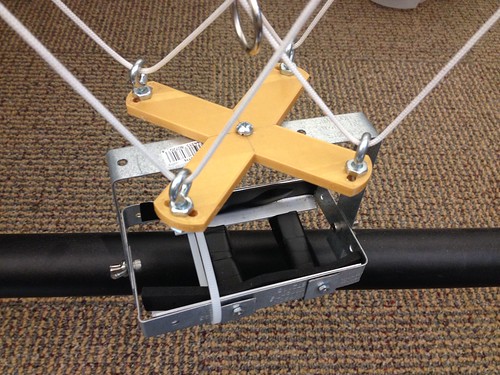
Helping students rig the balloon, with the 3D printed picavet in the foreground:

Preparing for Launch

Lowering the rig to clear the canopy:

Bringing the Balloon Down to Clear the Canopy

Nothing better than doing real science in the field with students (plus wearing a sweet safety vest):

Dowell and Pittman: Men of Science

Additional photos and datasets at the project blog dolookdown.org

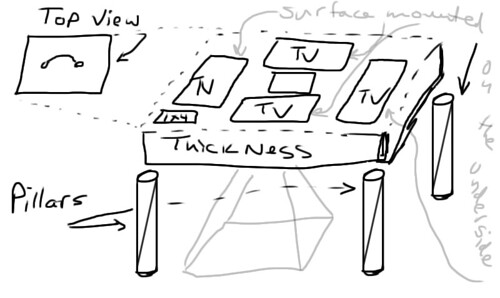
Max Mahoney (Chemistry) and I have been collaborating on a volumetric display for the 3D visualization of molecular models. We developed a pretty sweet prototype, and then Max had the idea that instead of one big monitor, wouldn’t it be easier to just have 4 identical small monitors?

Sketch of Molecule Visualizer

Indeed I think it would be.

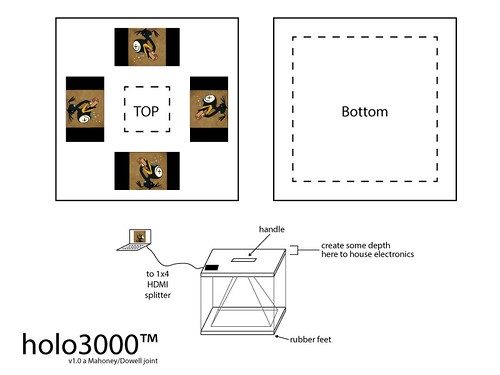
holo3000 Molecule Visualizer

The video can be sent from the computer to a 4 way HDMI splitter, then sent to 4 identical monitors – maybe 7″? – each rotated 90 degrees. No special software to deal with, no creation of a special 4plexed version of the video. An elegant volumetric appliance, at least on paper…

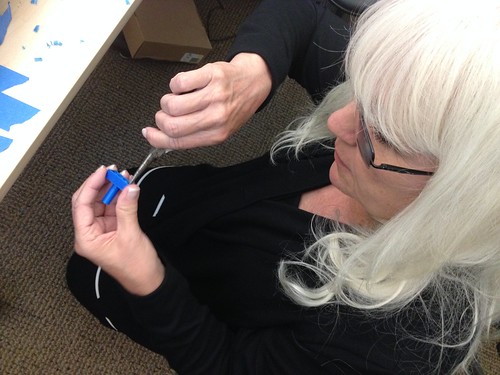
Jennifer Kraemer (ECE) Removing Support Material from 3D Printed Parts from the Free Universal Construction Kit

Jennifer Kraemer (Early Childhood Education) was in the lab today, printing up some new connector pieces from the Free Universal Construction Kit.  I used the K’NEX-to-Lego connectors in a workshop over the summer, and Jennifer is planning on printing many more pieces for use next week for activities with her ECE students.

Jennifer Kraemer (ECE) Printing Parts from the Free Universal Construction Kit

Side note – I’ve been really impressed with the performance of the Printrbot Simple Metal. It’s been getting a fair amount of use lately, with the aquaponics nozzles and Max’s molecules and molecular visualizer and the picavet parts, and it just seems to go and go without being fussy. That said, I have my eye on a Formlabs Form 2. I’m especially interested in the castable resin. It would be great to get a metal pour going in the fall!